I’m so excited to see what the students at ALBA were able to make with the set they created. Here’s their amazing trailer for the Maskoon Film Festival (2018)
Motion Design for VR and 360
It’s been a while since I’ve posted and it’s long overdue.
For the past year I’ve been working on projects integrating motion design and doing post-production on 360 images and videos. Very far from Stop Motion but it’s been really fun as well as educational. So much so I’ve created a Skillshare class to teach how to integrate 2D elements inside 360 footage.
If you use my referral code you can get a 2 month free premuim account on Skillshare:

Teaching Experience
This summer I went back to Beirut for a month and had an amazing time teaching at the Deutsche Internationale Schule and at l'Académie Libanaise des Beaux-Arts. Having such drastically different age and skill sets to approach was both challenging and rewarding. On one hand I had 11 to 12 year-olds whom I had to completely introduce to the world of Stop-Motion animation and on the other 20-something old masters students working on a more elaborate project.
Working with children was really refreshing because it allows so much freedom to really have fun. Now I'm not going to lie, I was drenched in paint, putty and glue but it's really one of the reasons I fell in love with Stop-Motion animation because you get your hands dirty (and shoes, and hair, and clothes...). It was really inspiring to see their reactions when, after the "boring" animation part, they saw their final little clip.
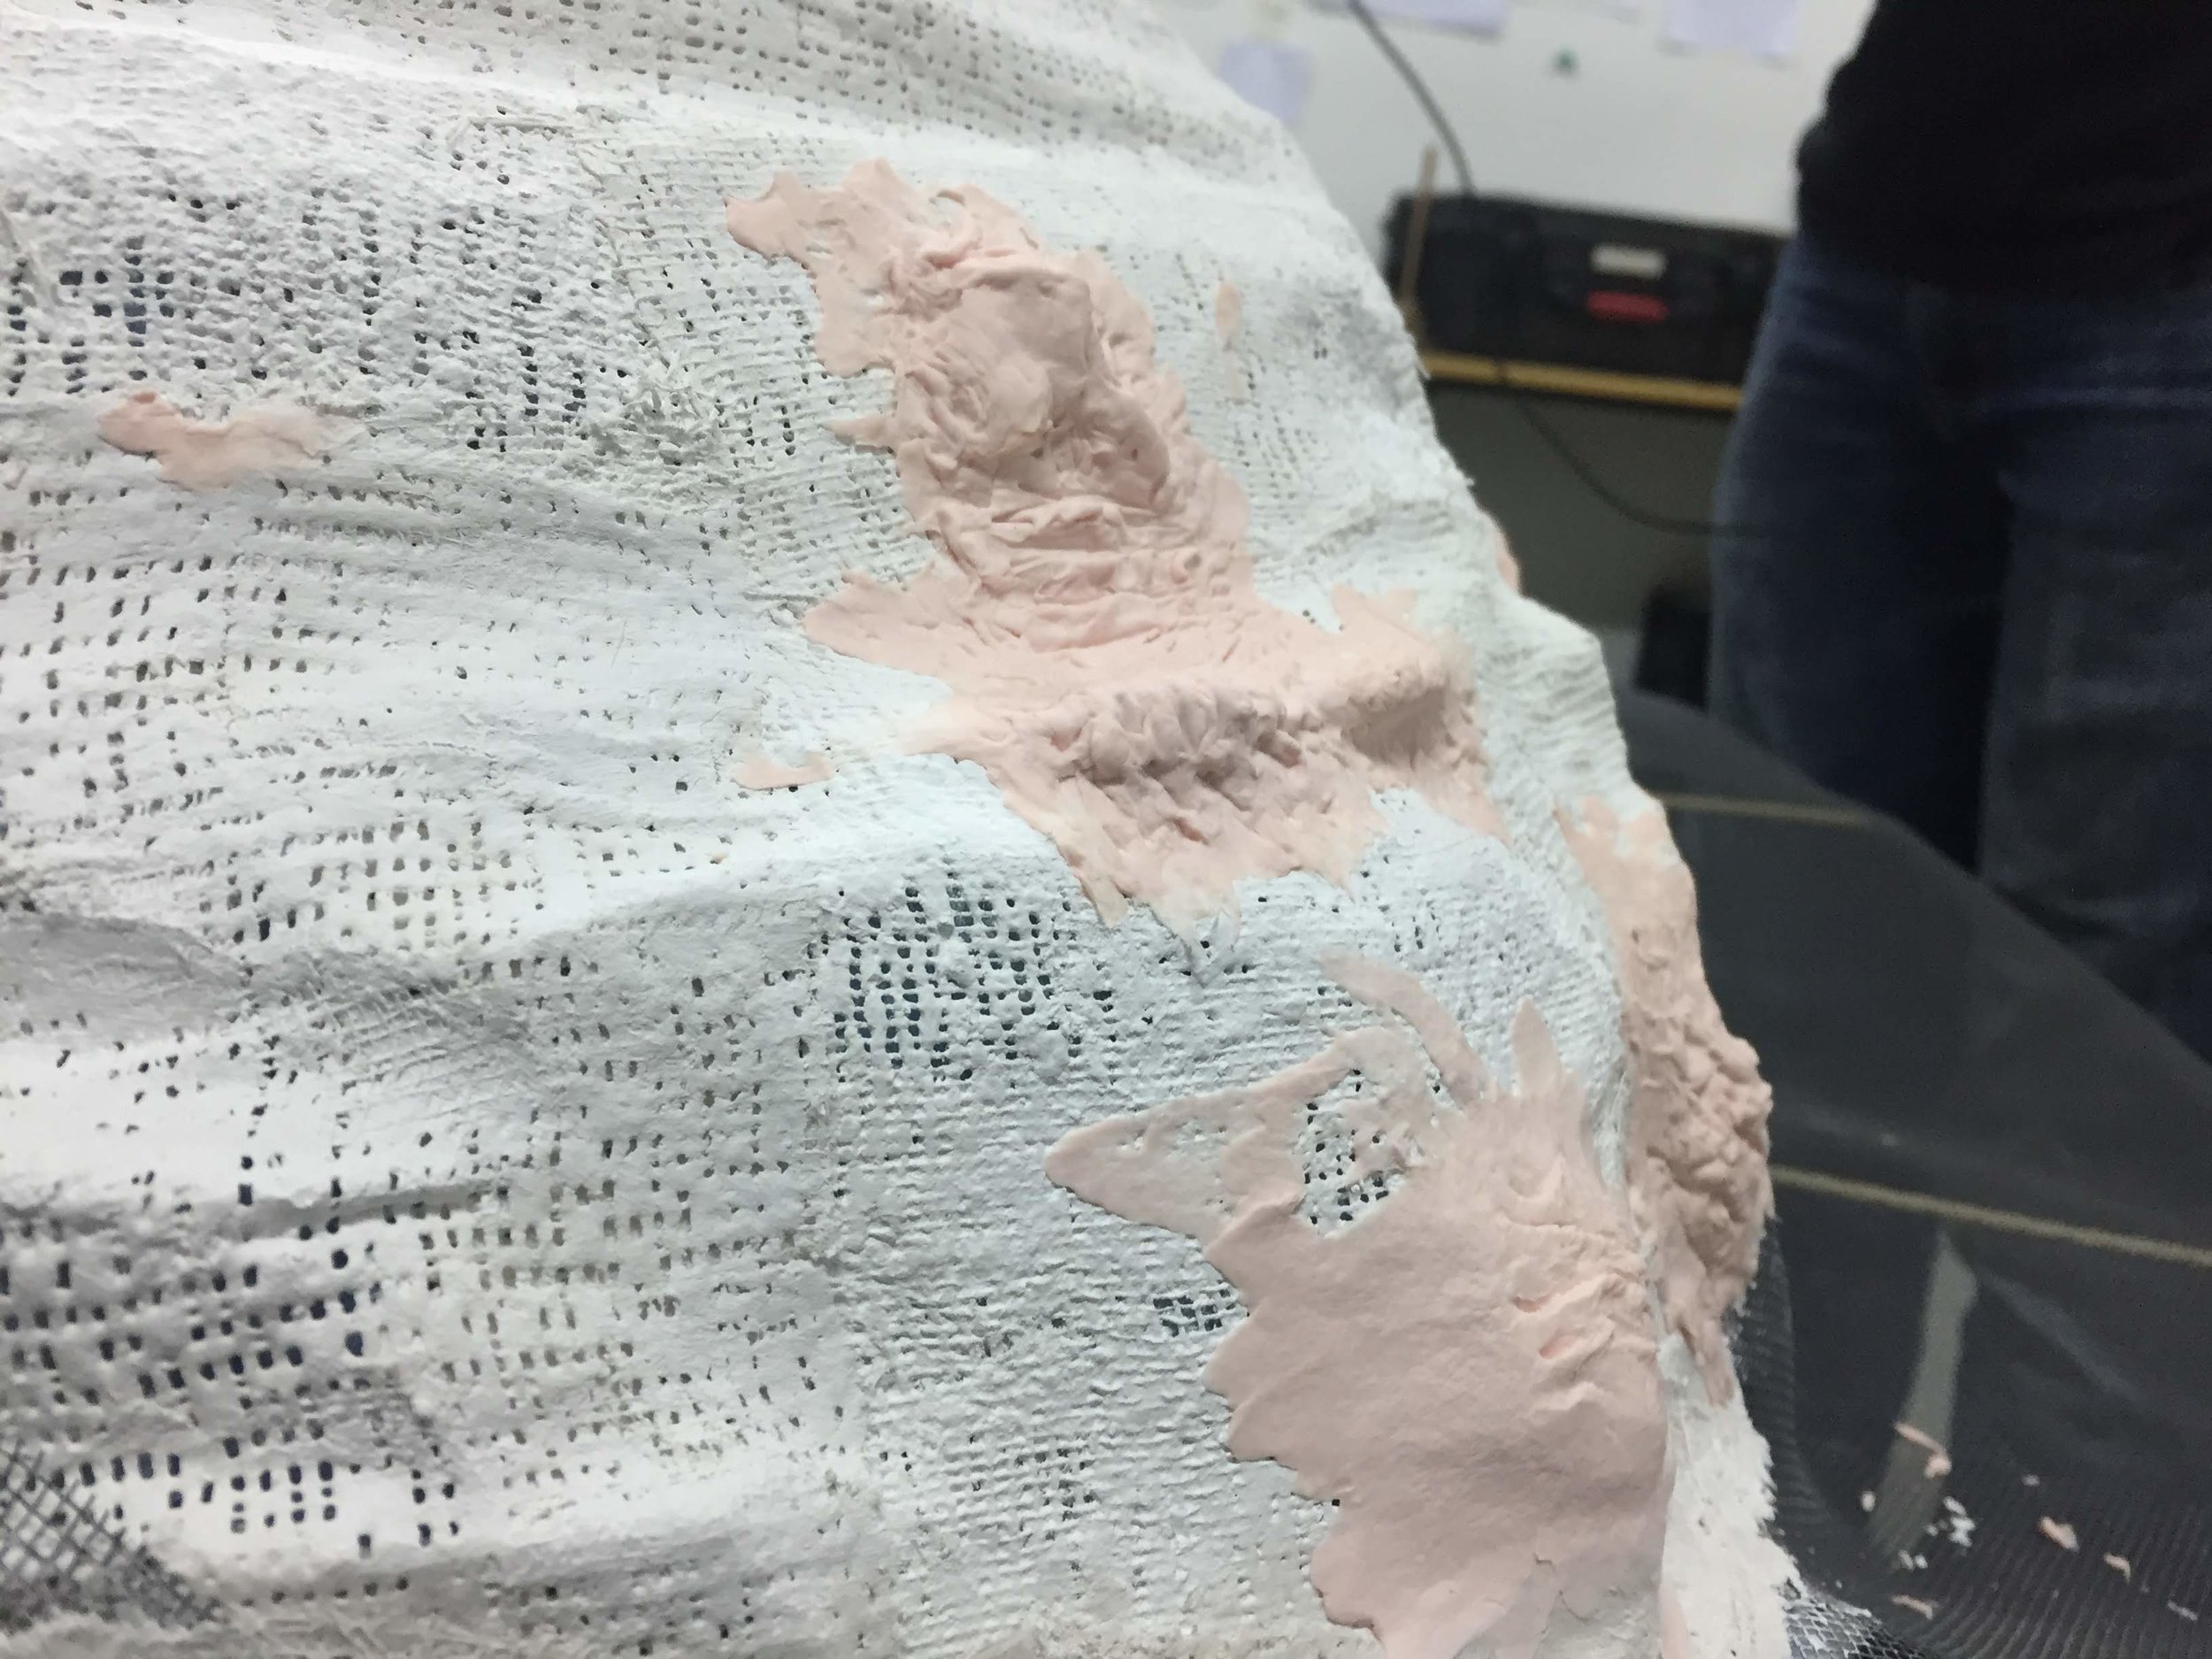
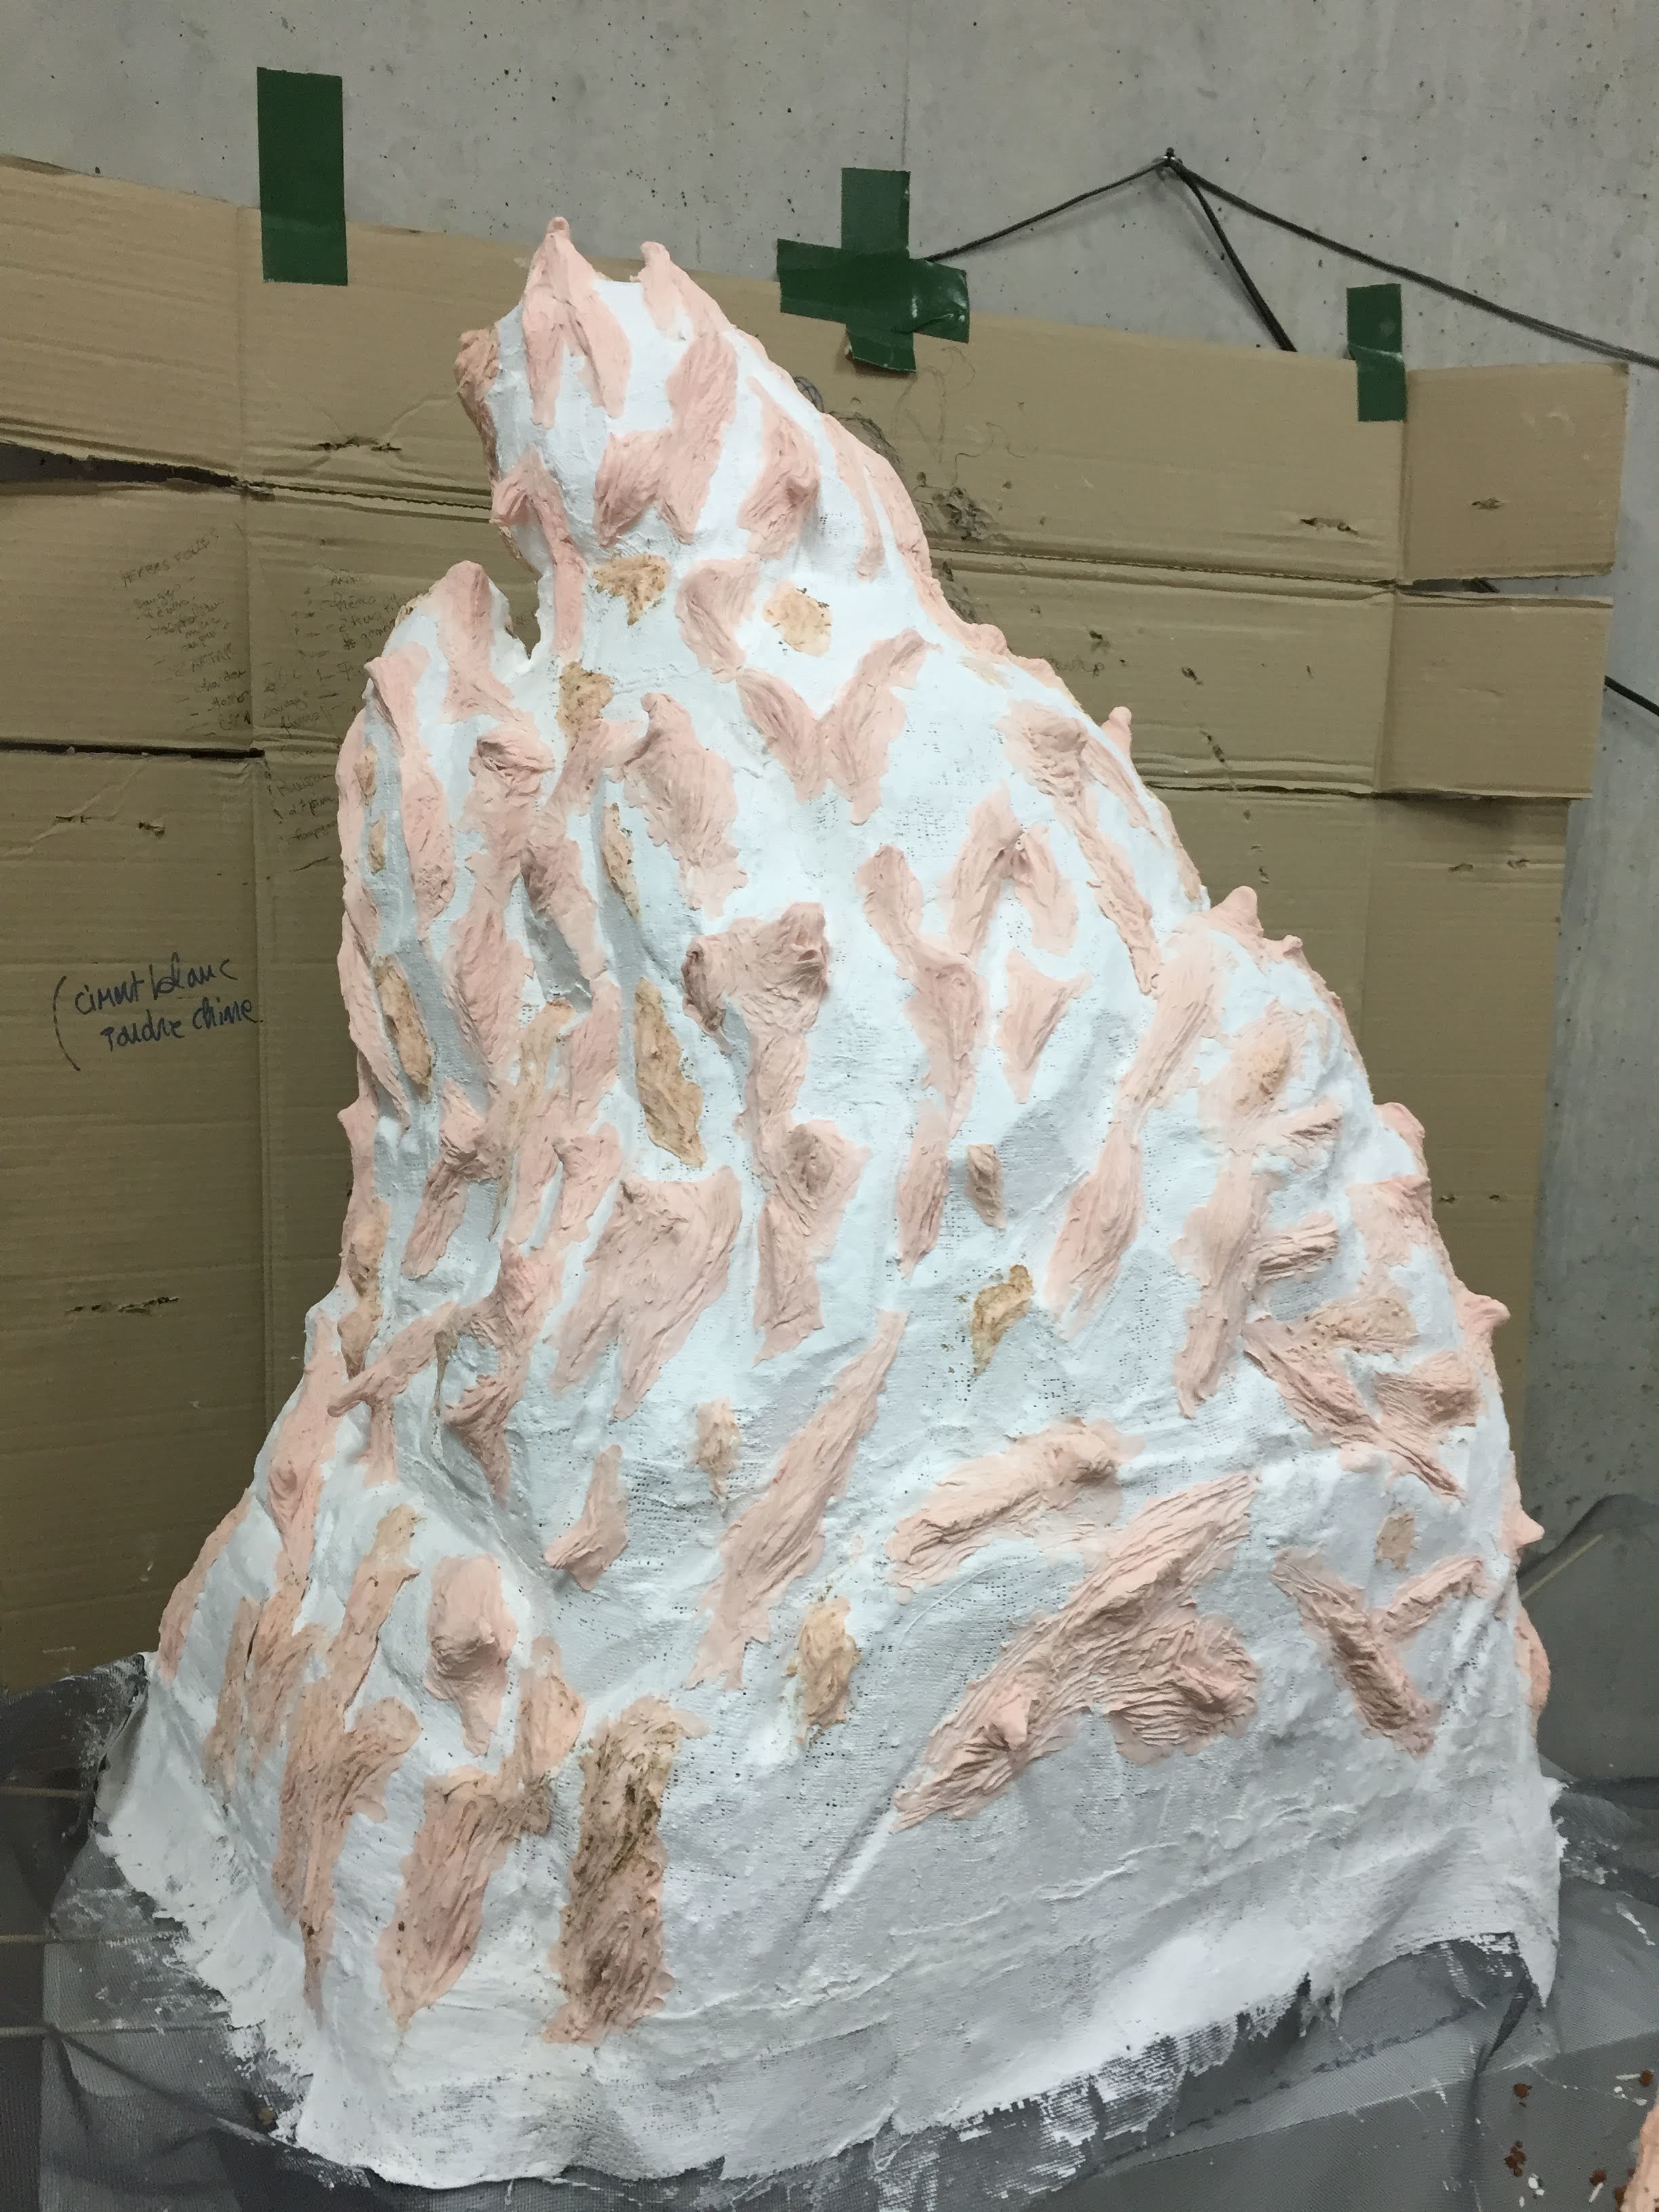
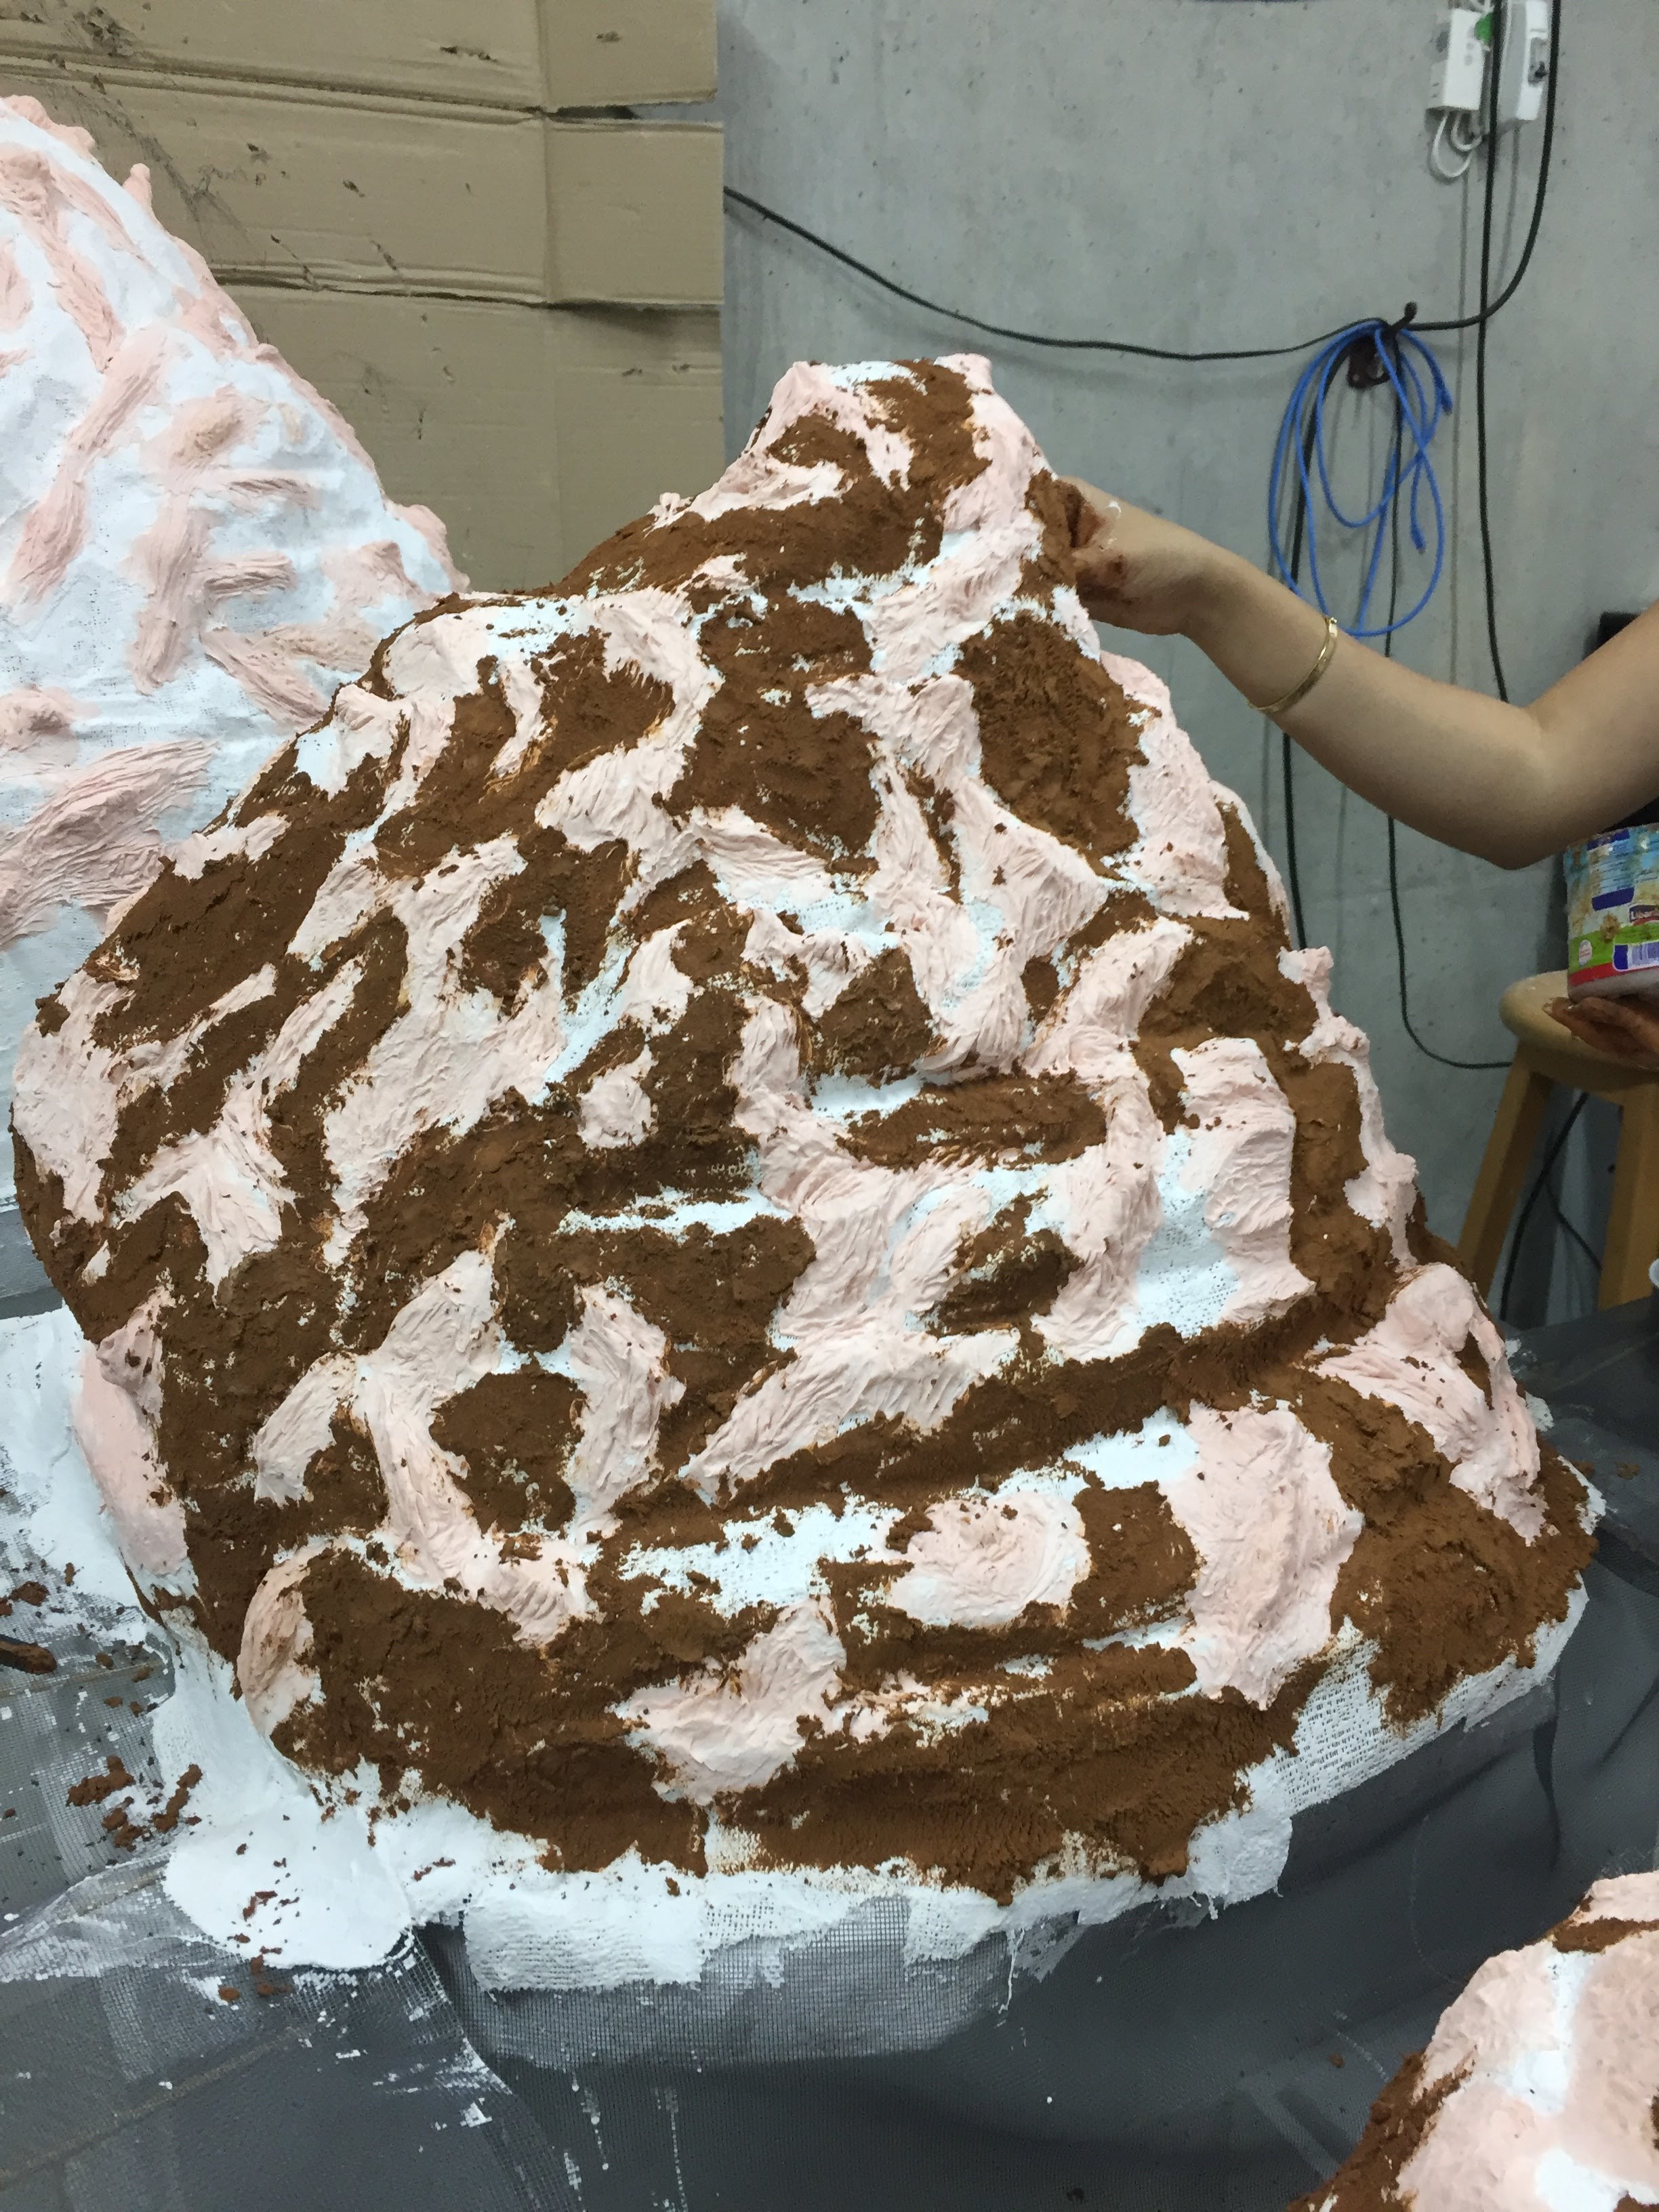
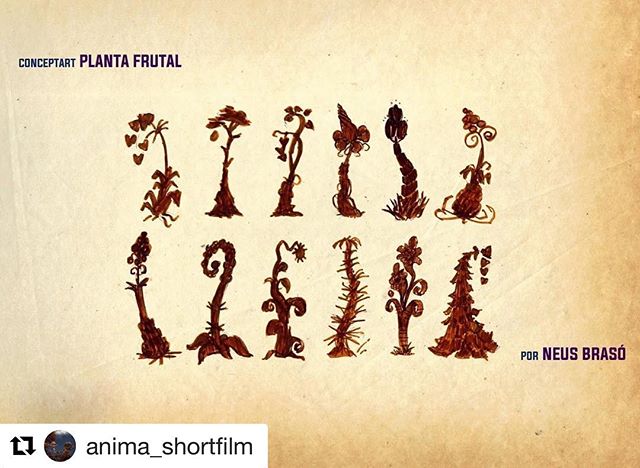
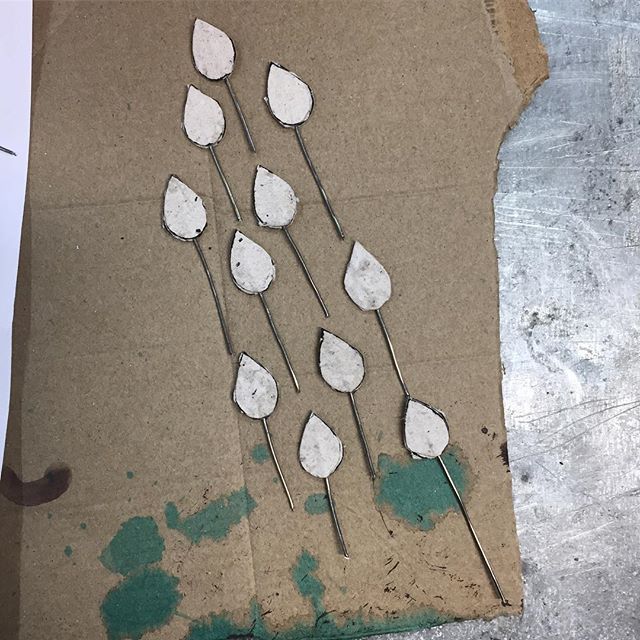
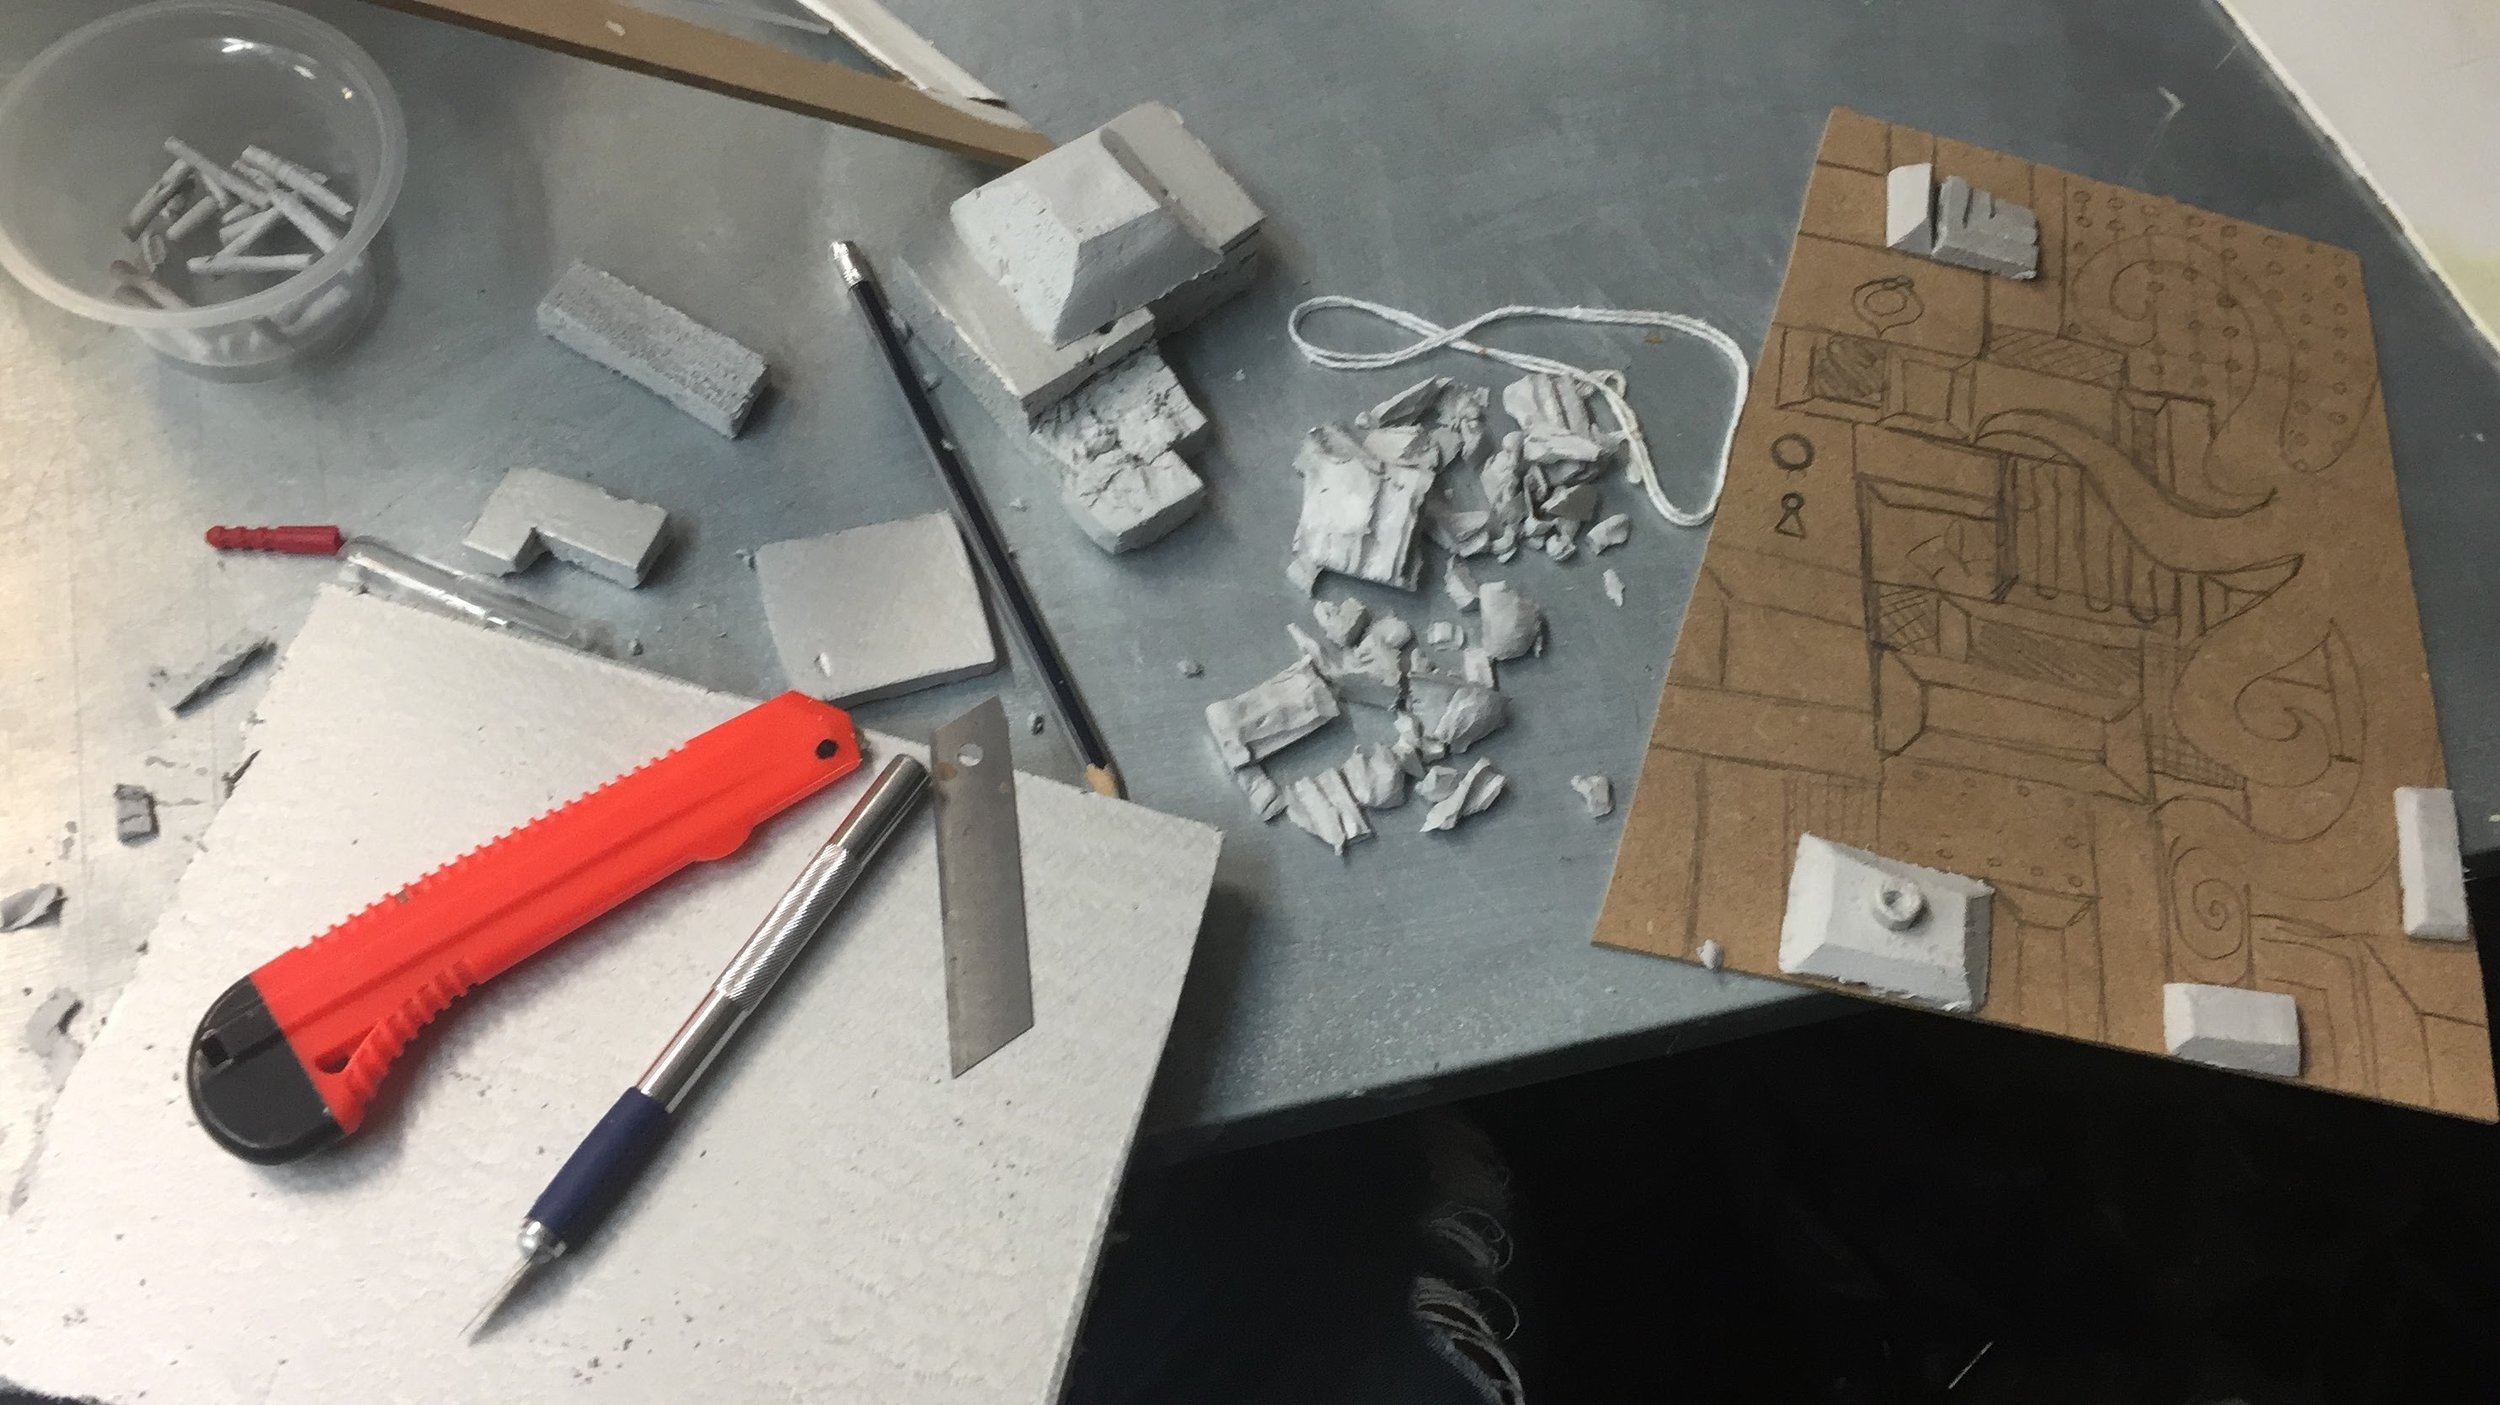
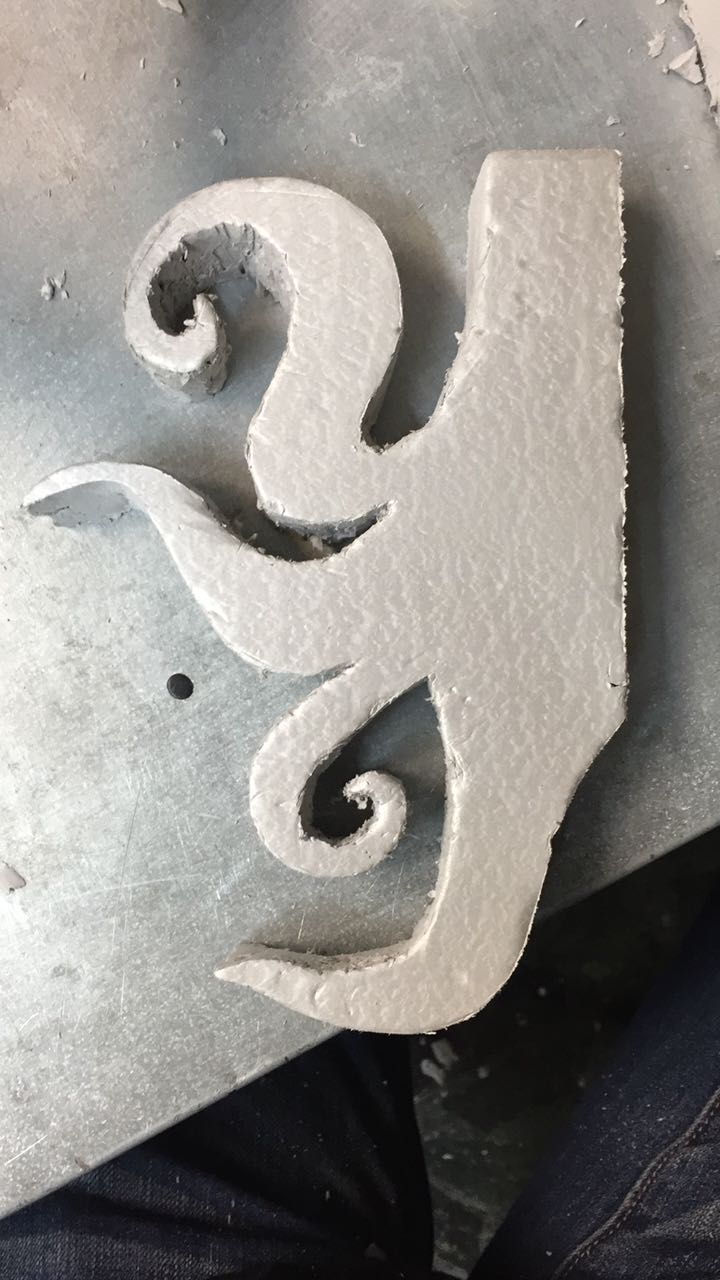
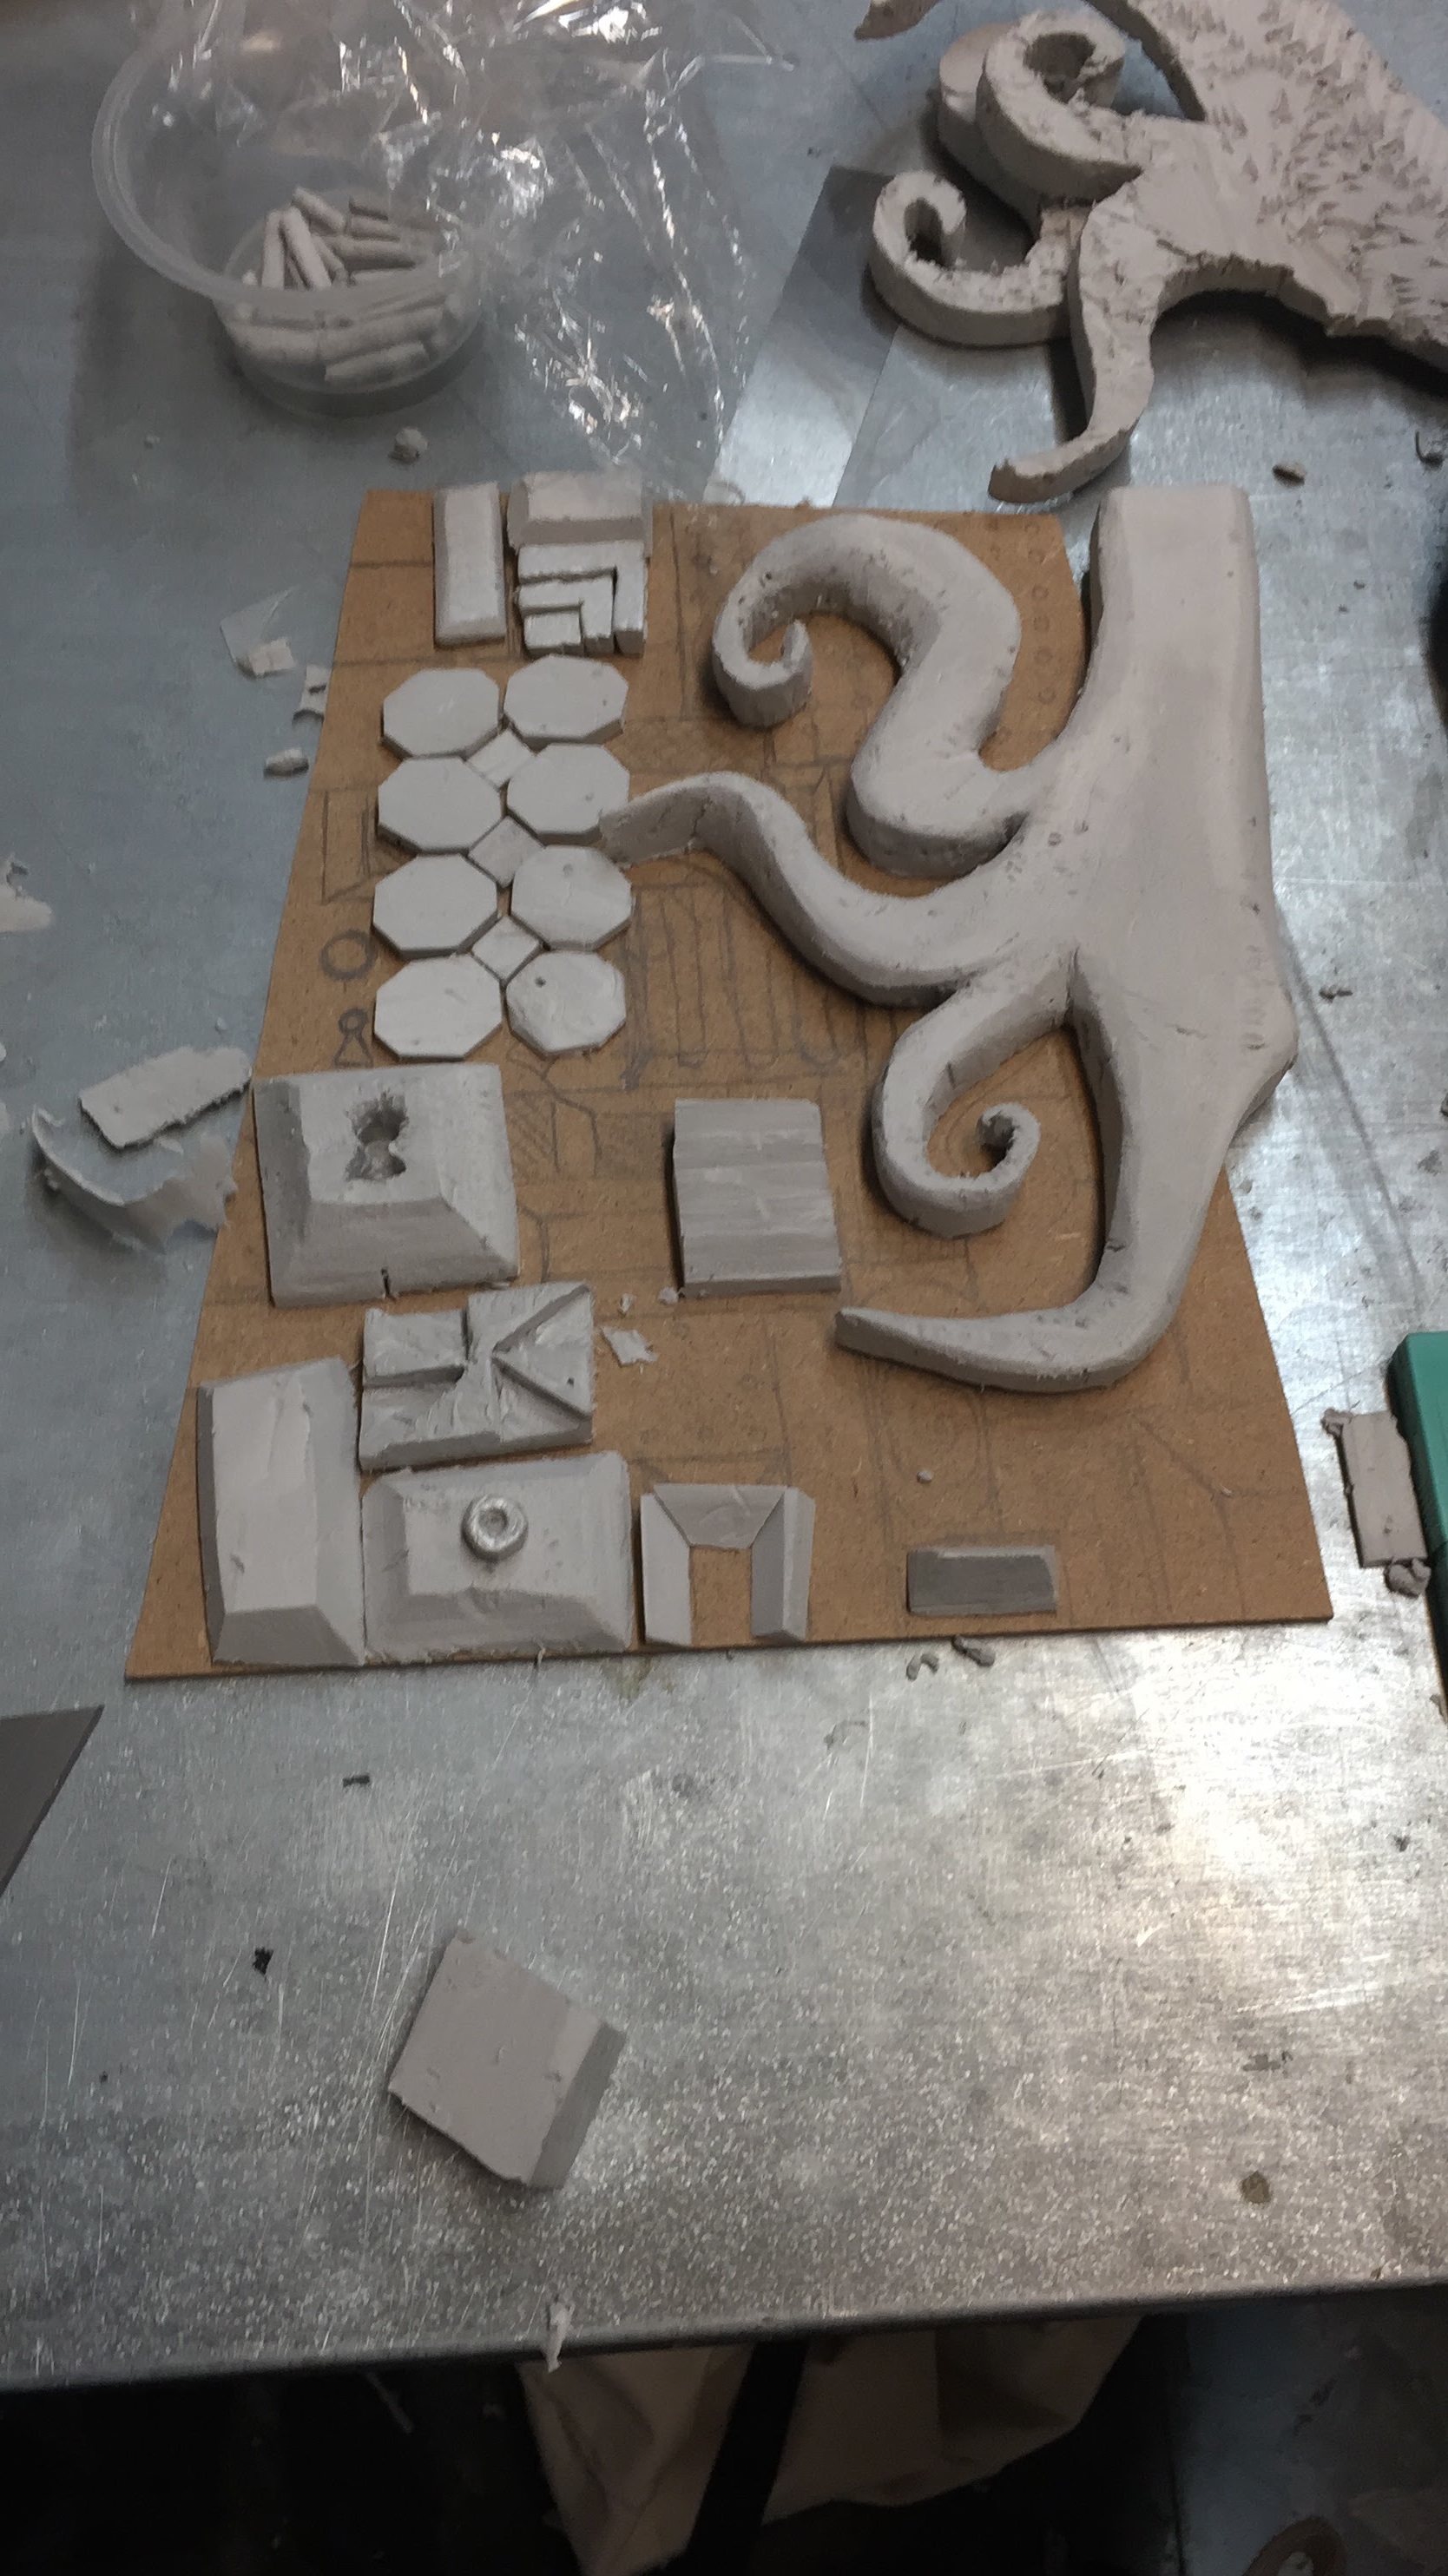
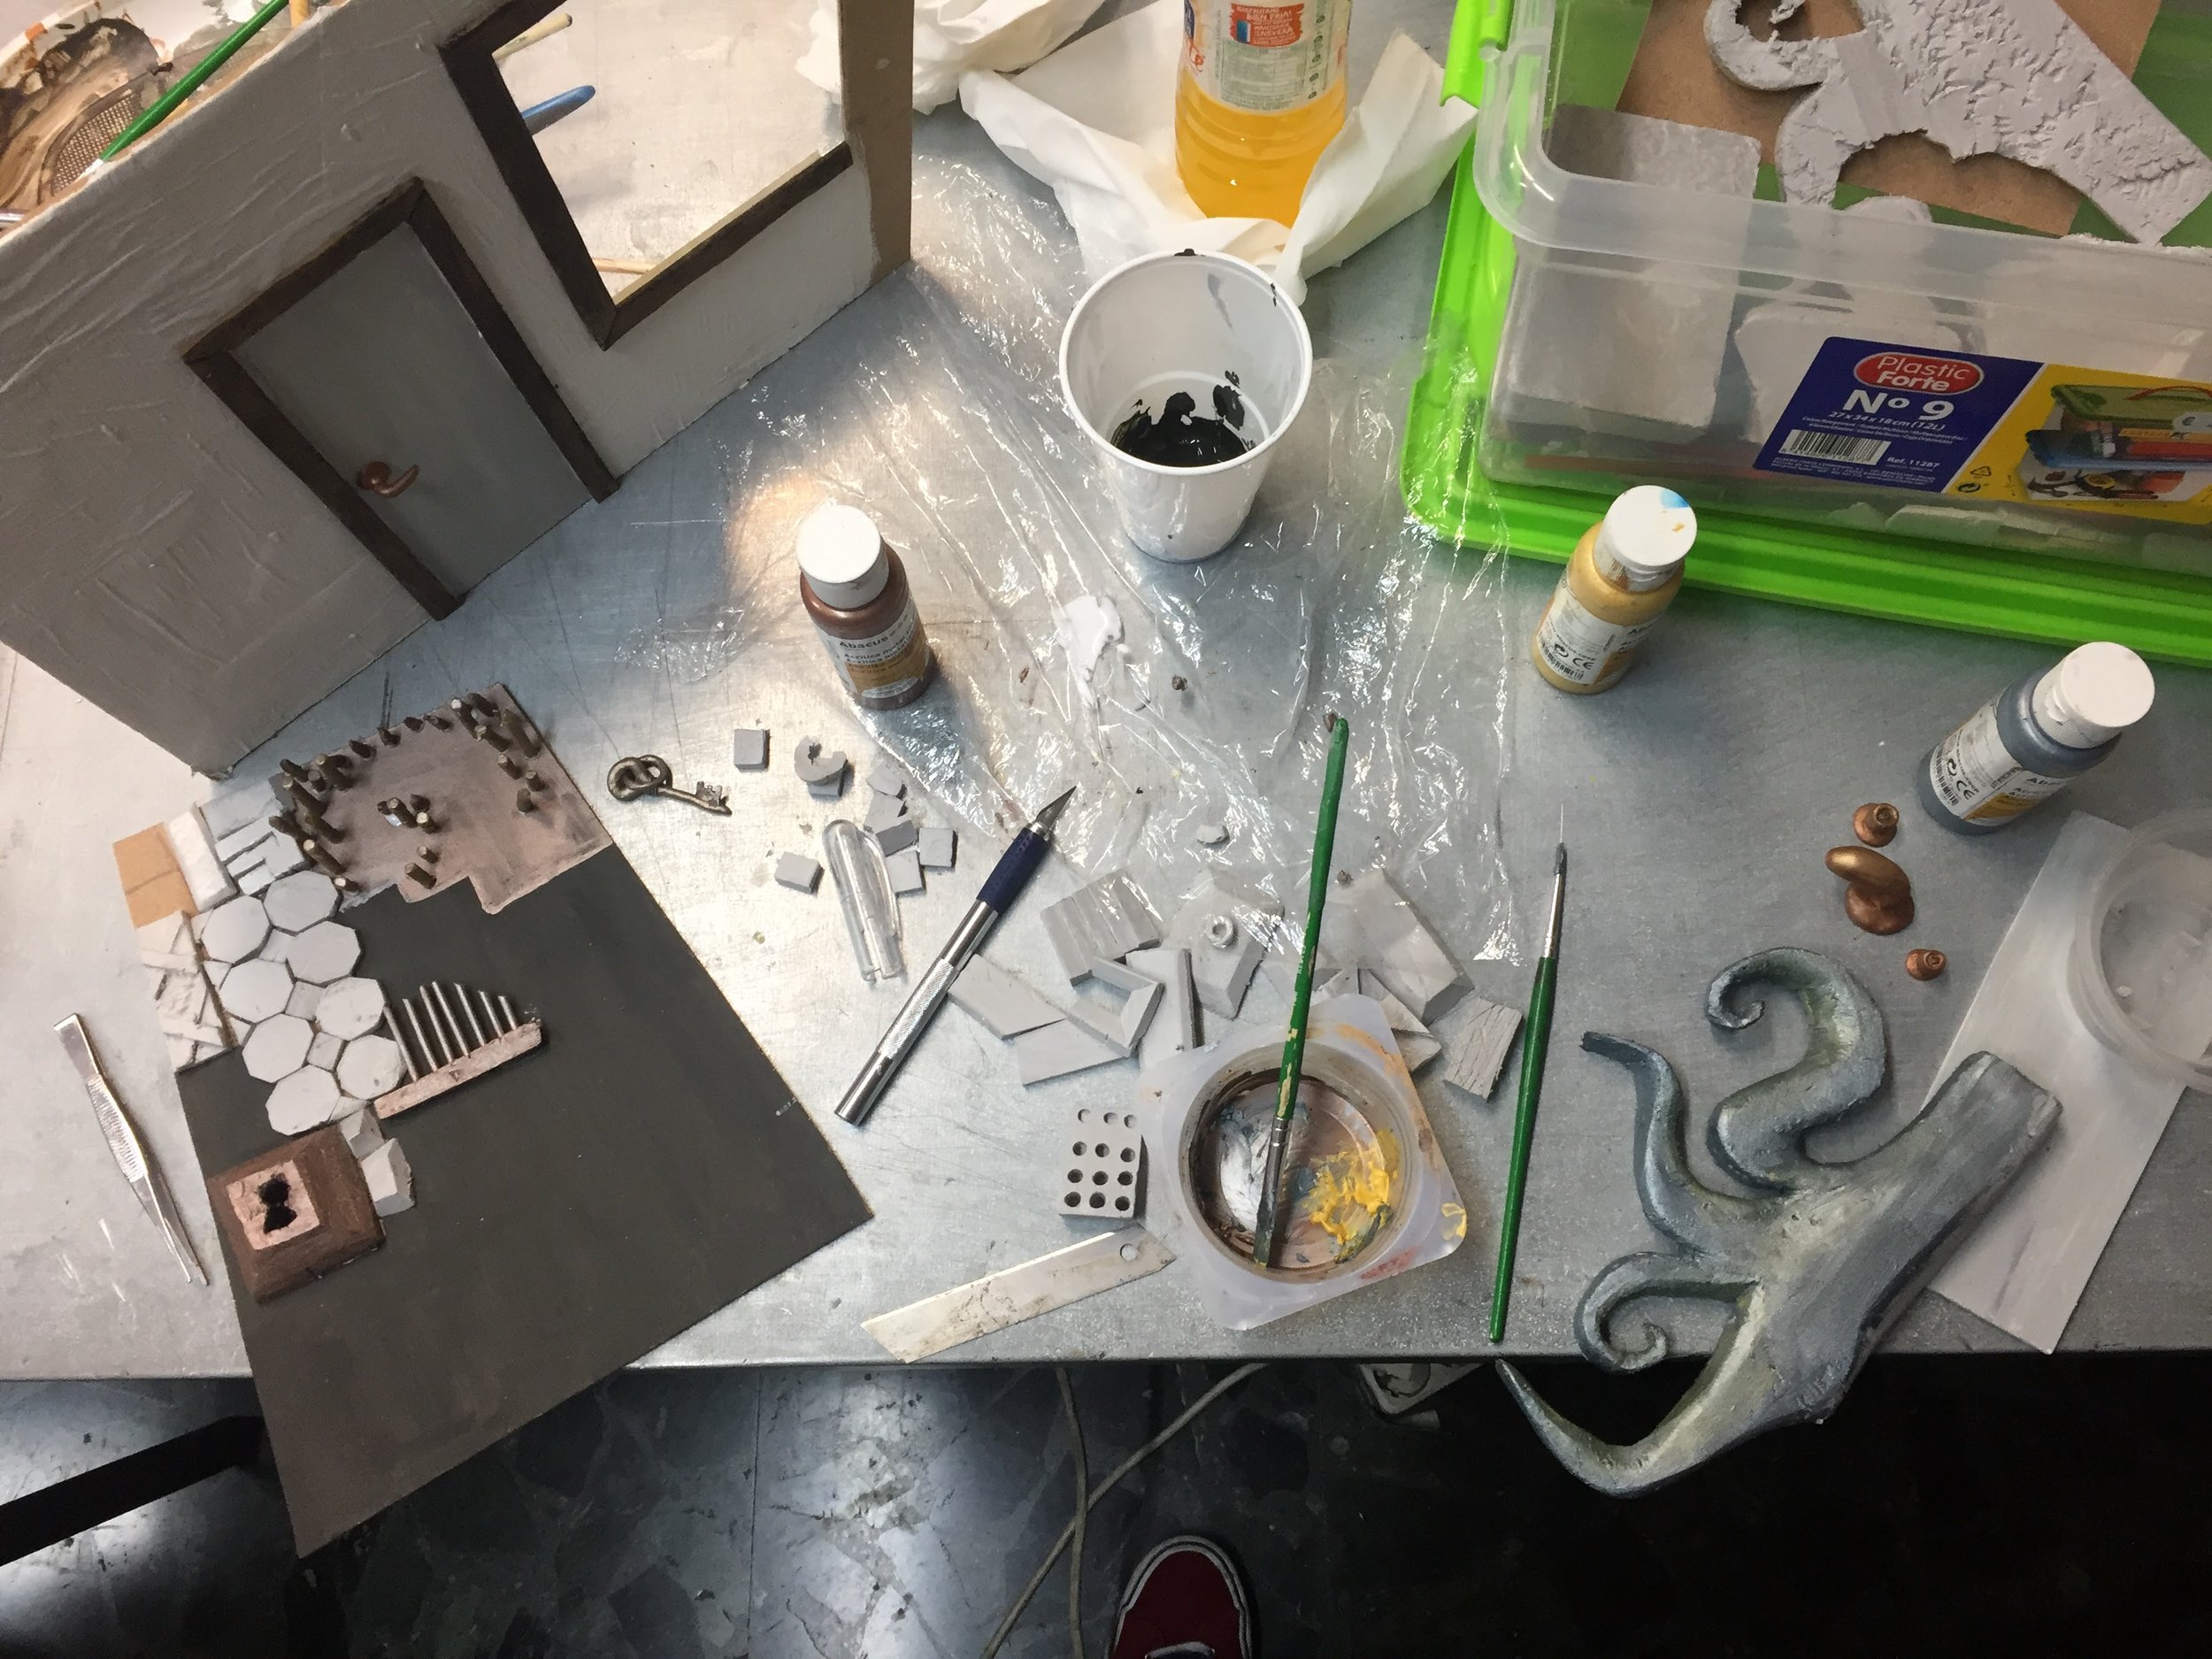
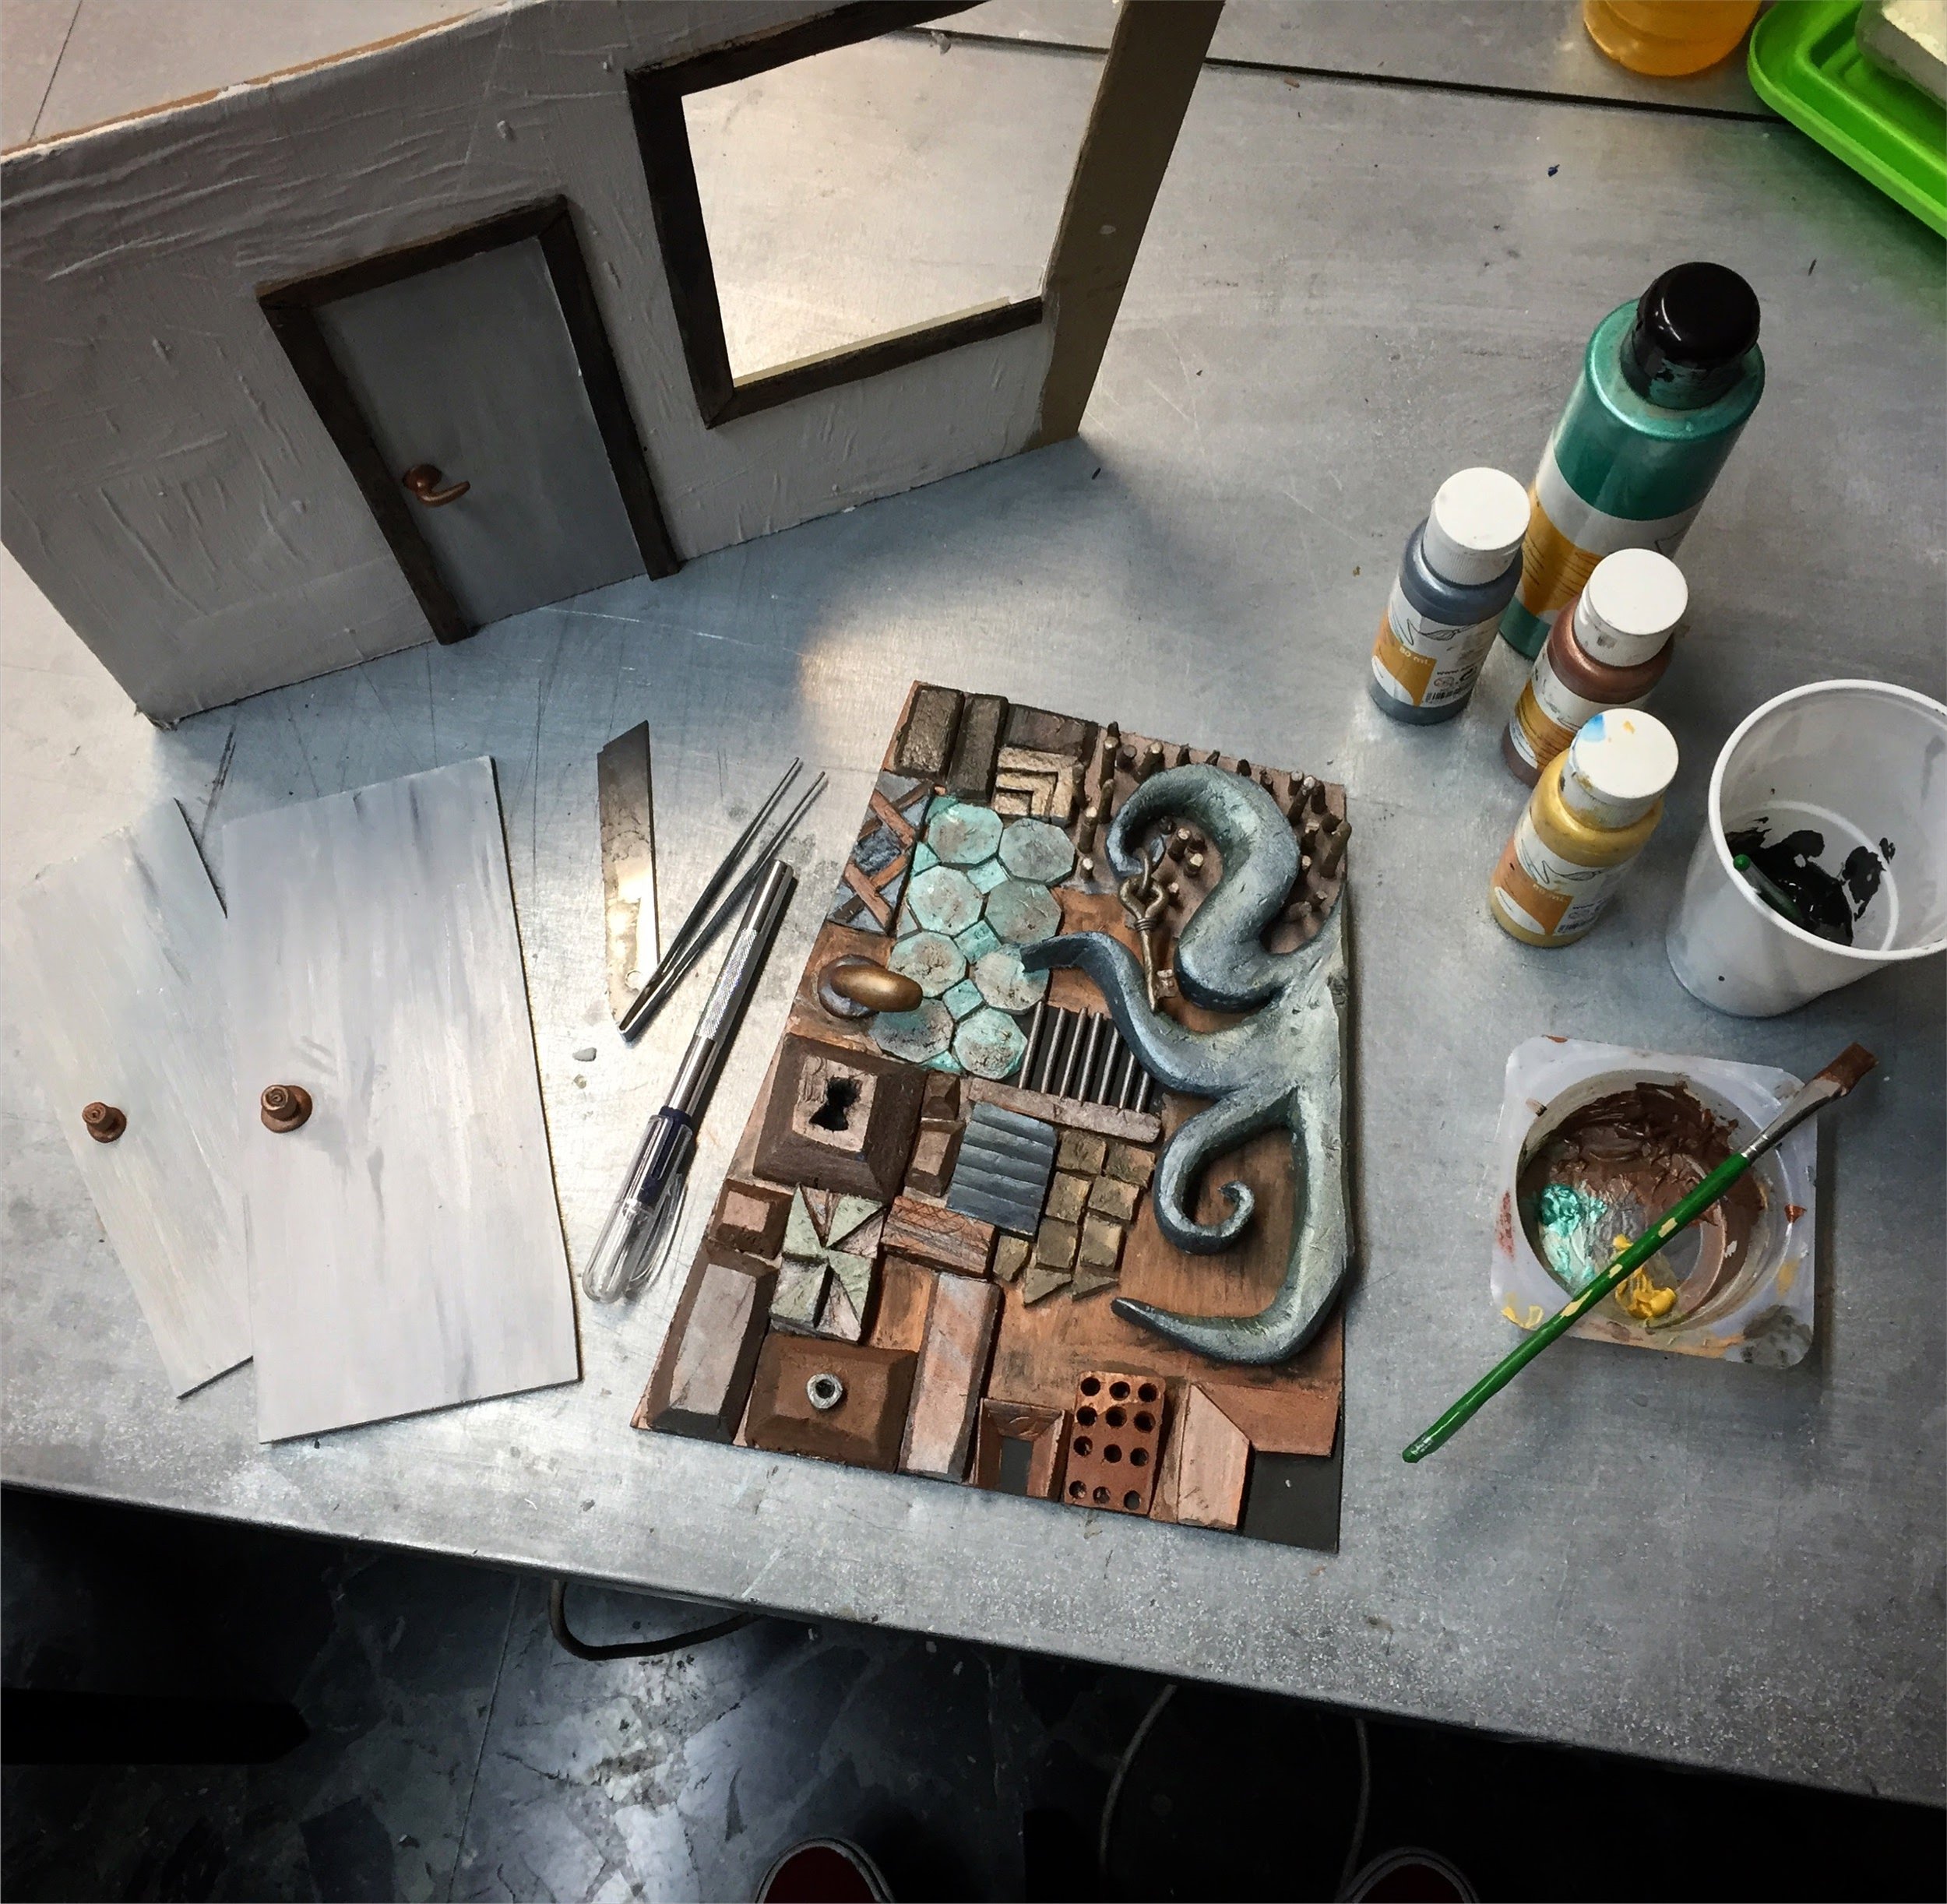
At l'Académie Libanaise des Beaux-Arts, I had the chance to really go into more advanced talks about materials, textures and set design. They worked on creating a beautiful realistic mountain and were really motivated and innovative. Below are the images of the making of from sketches on cardboards to the final set.
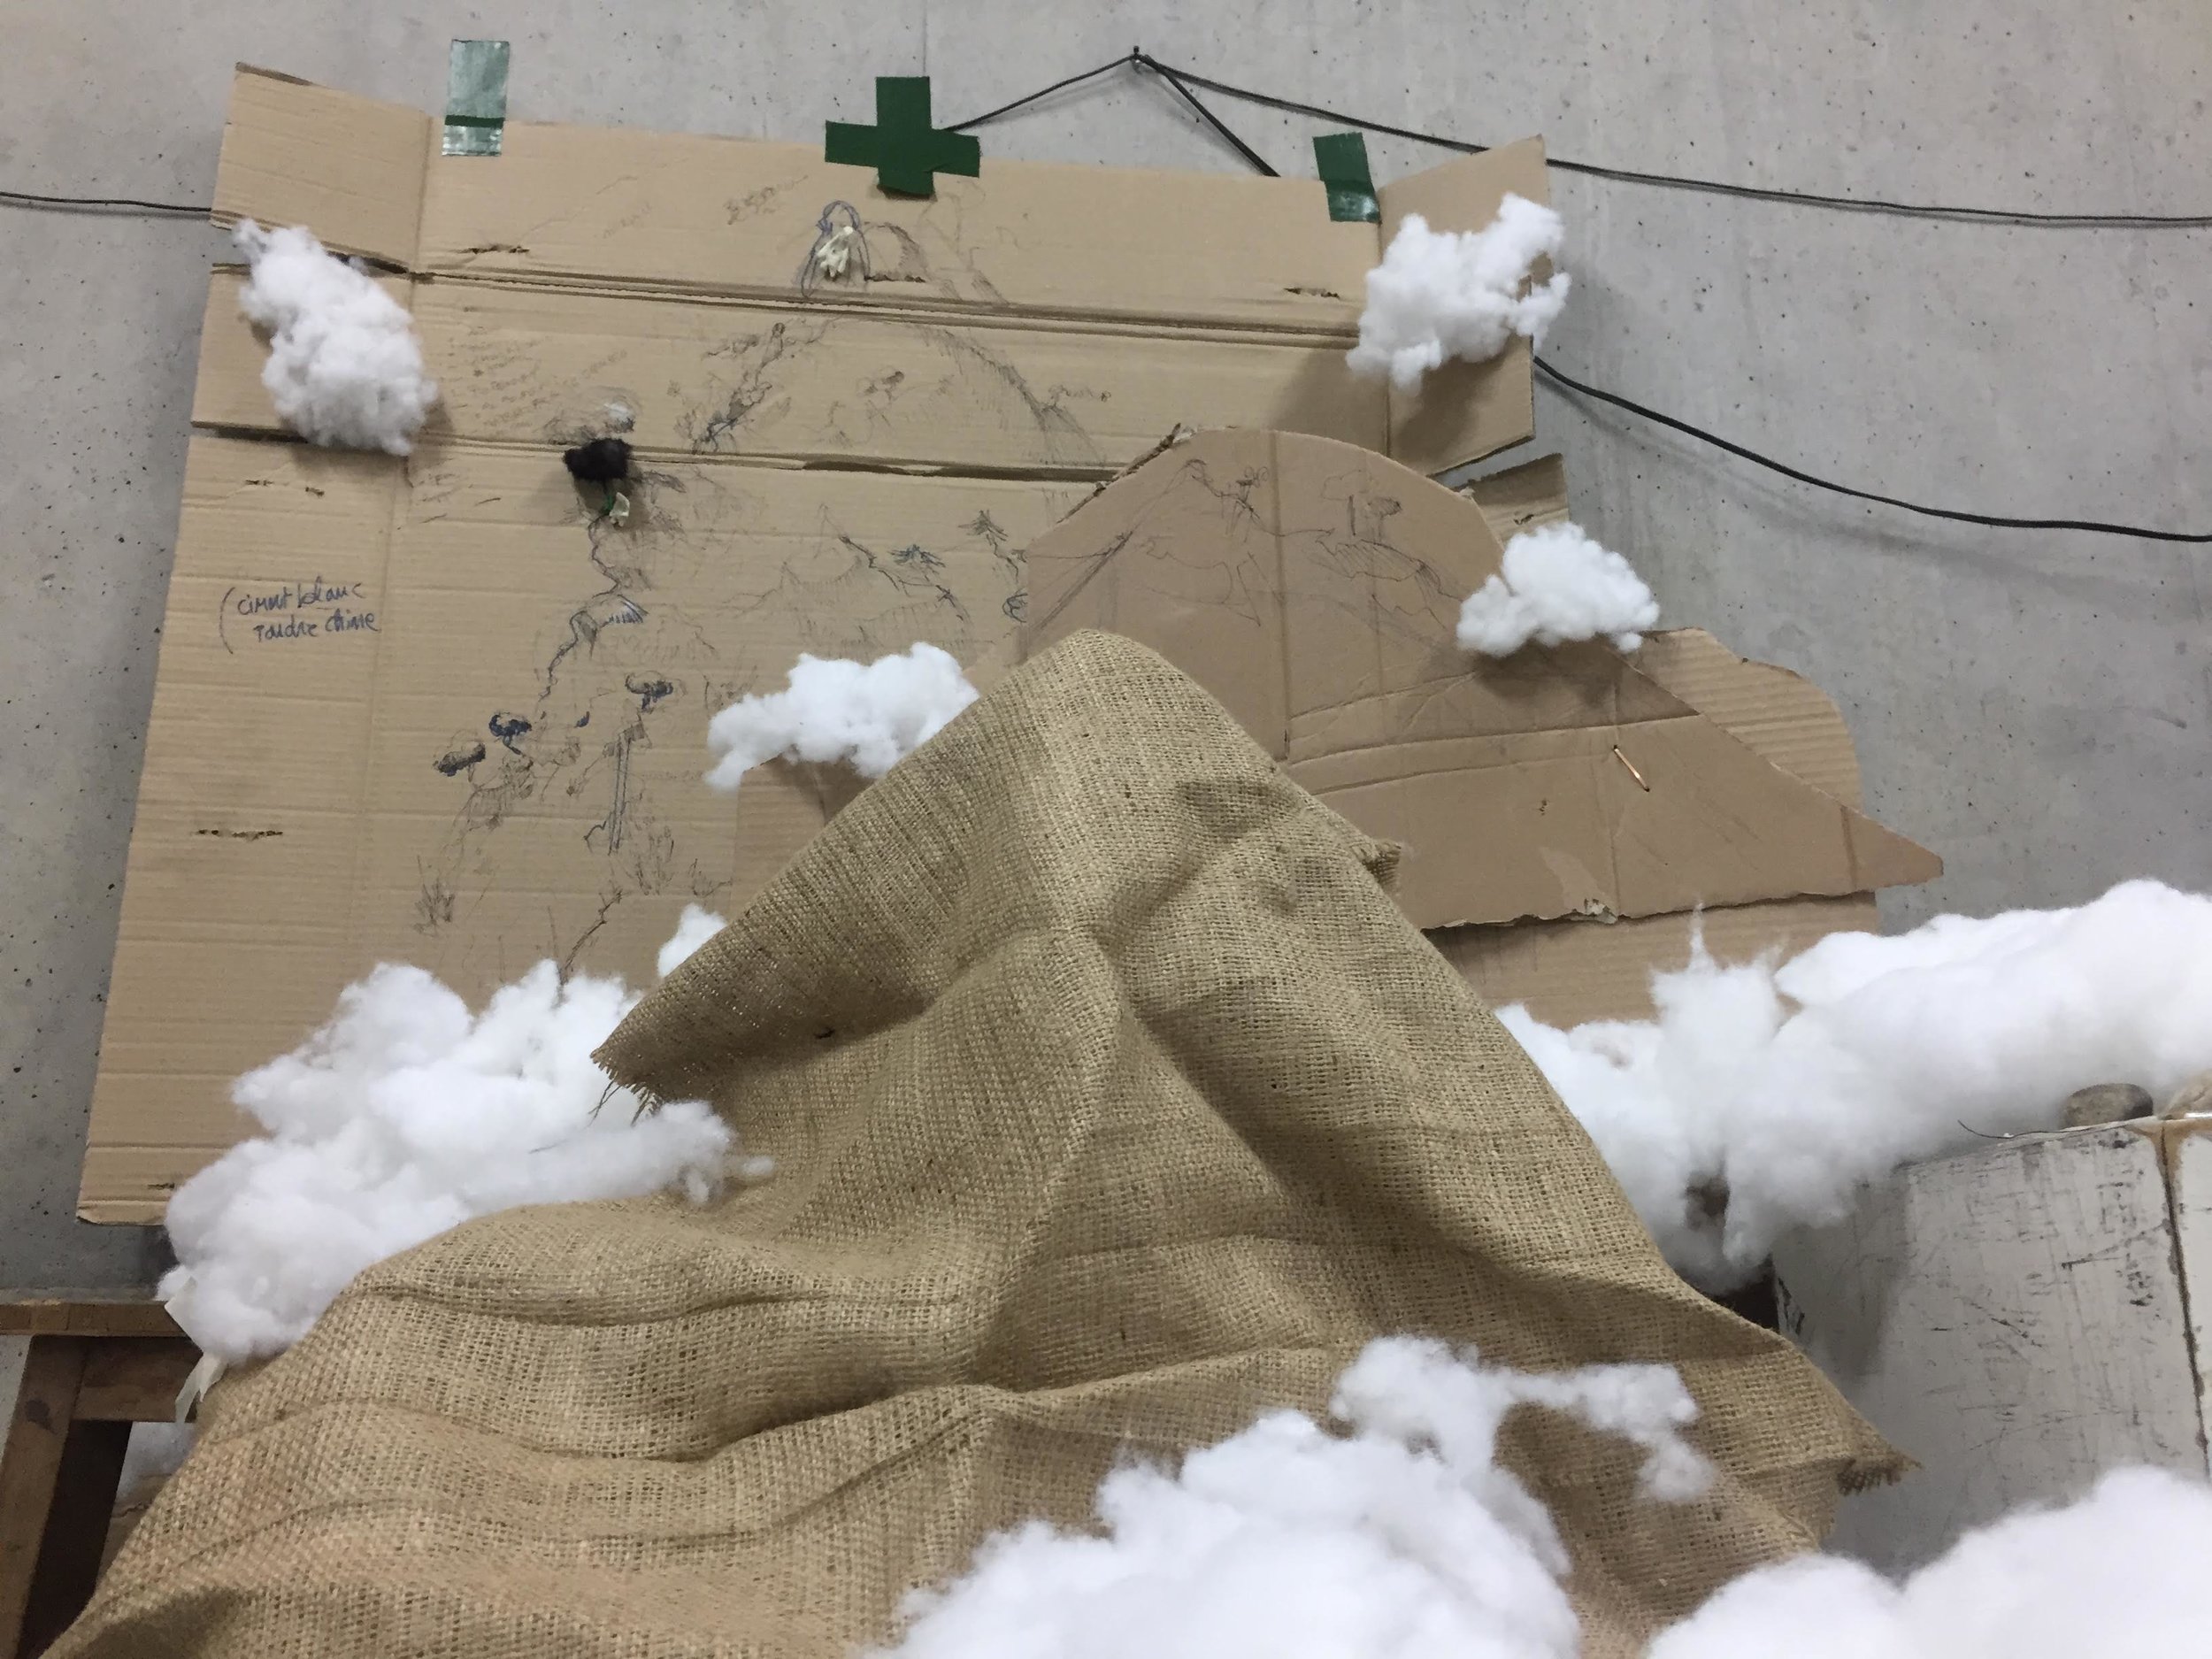
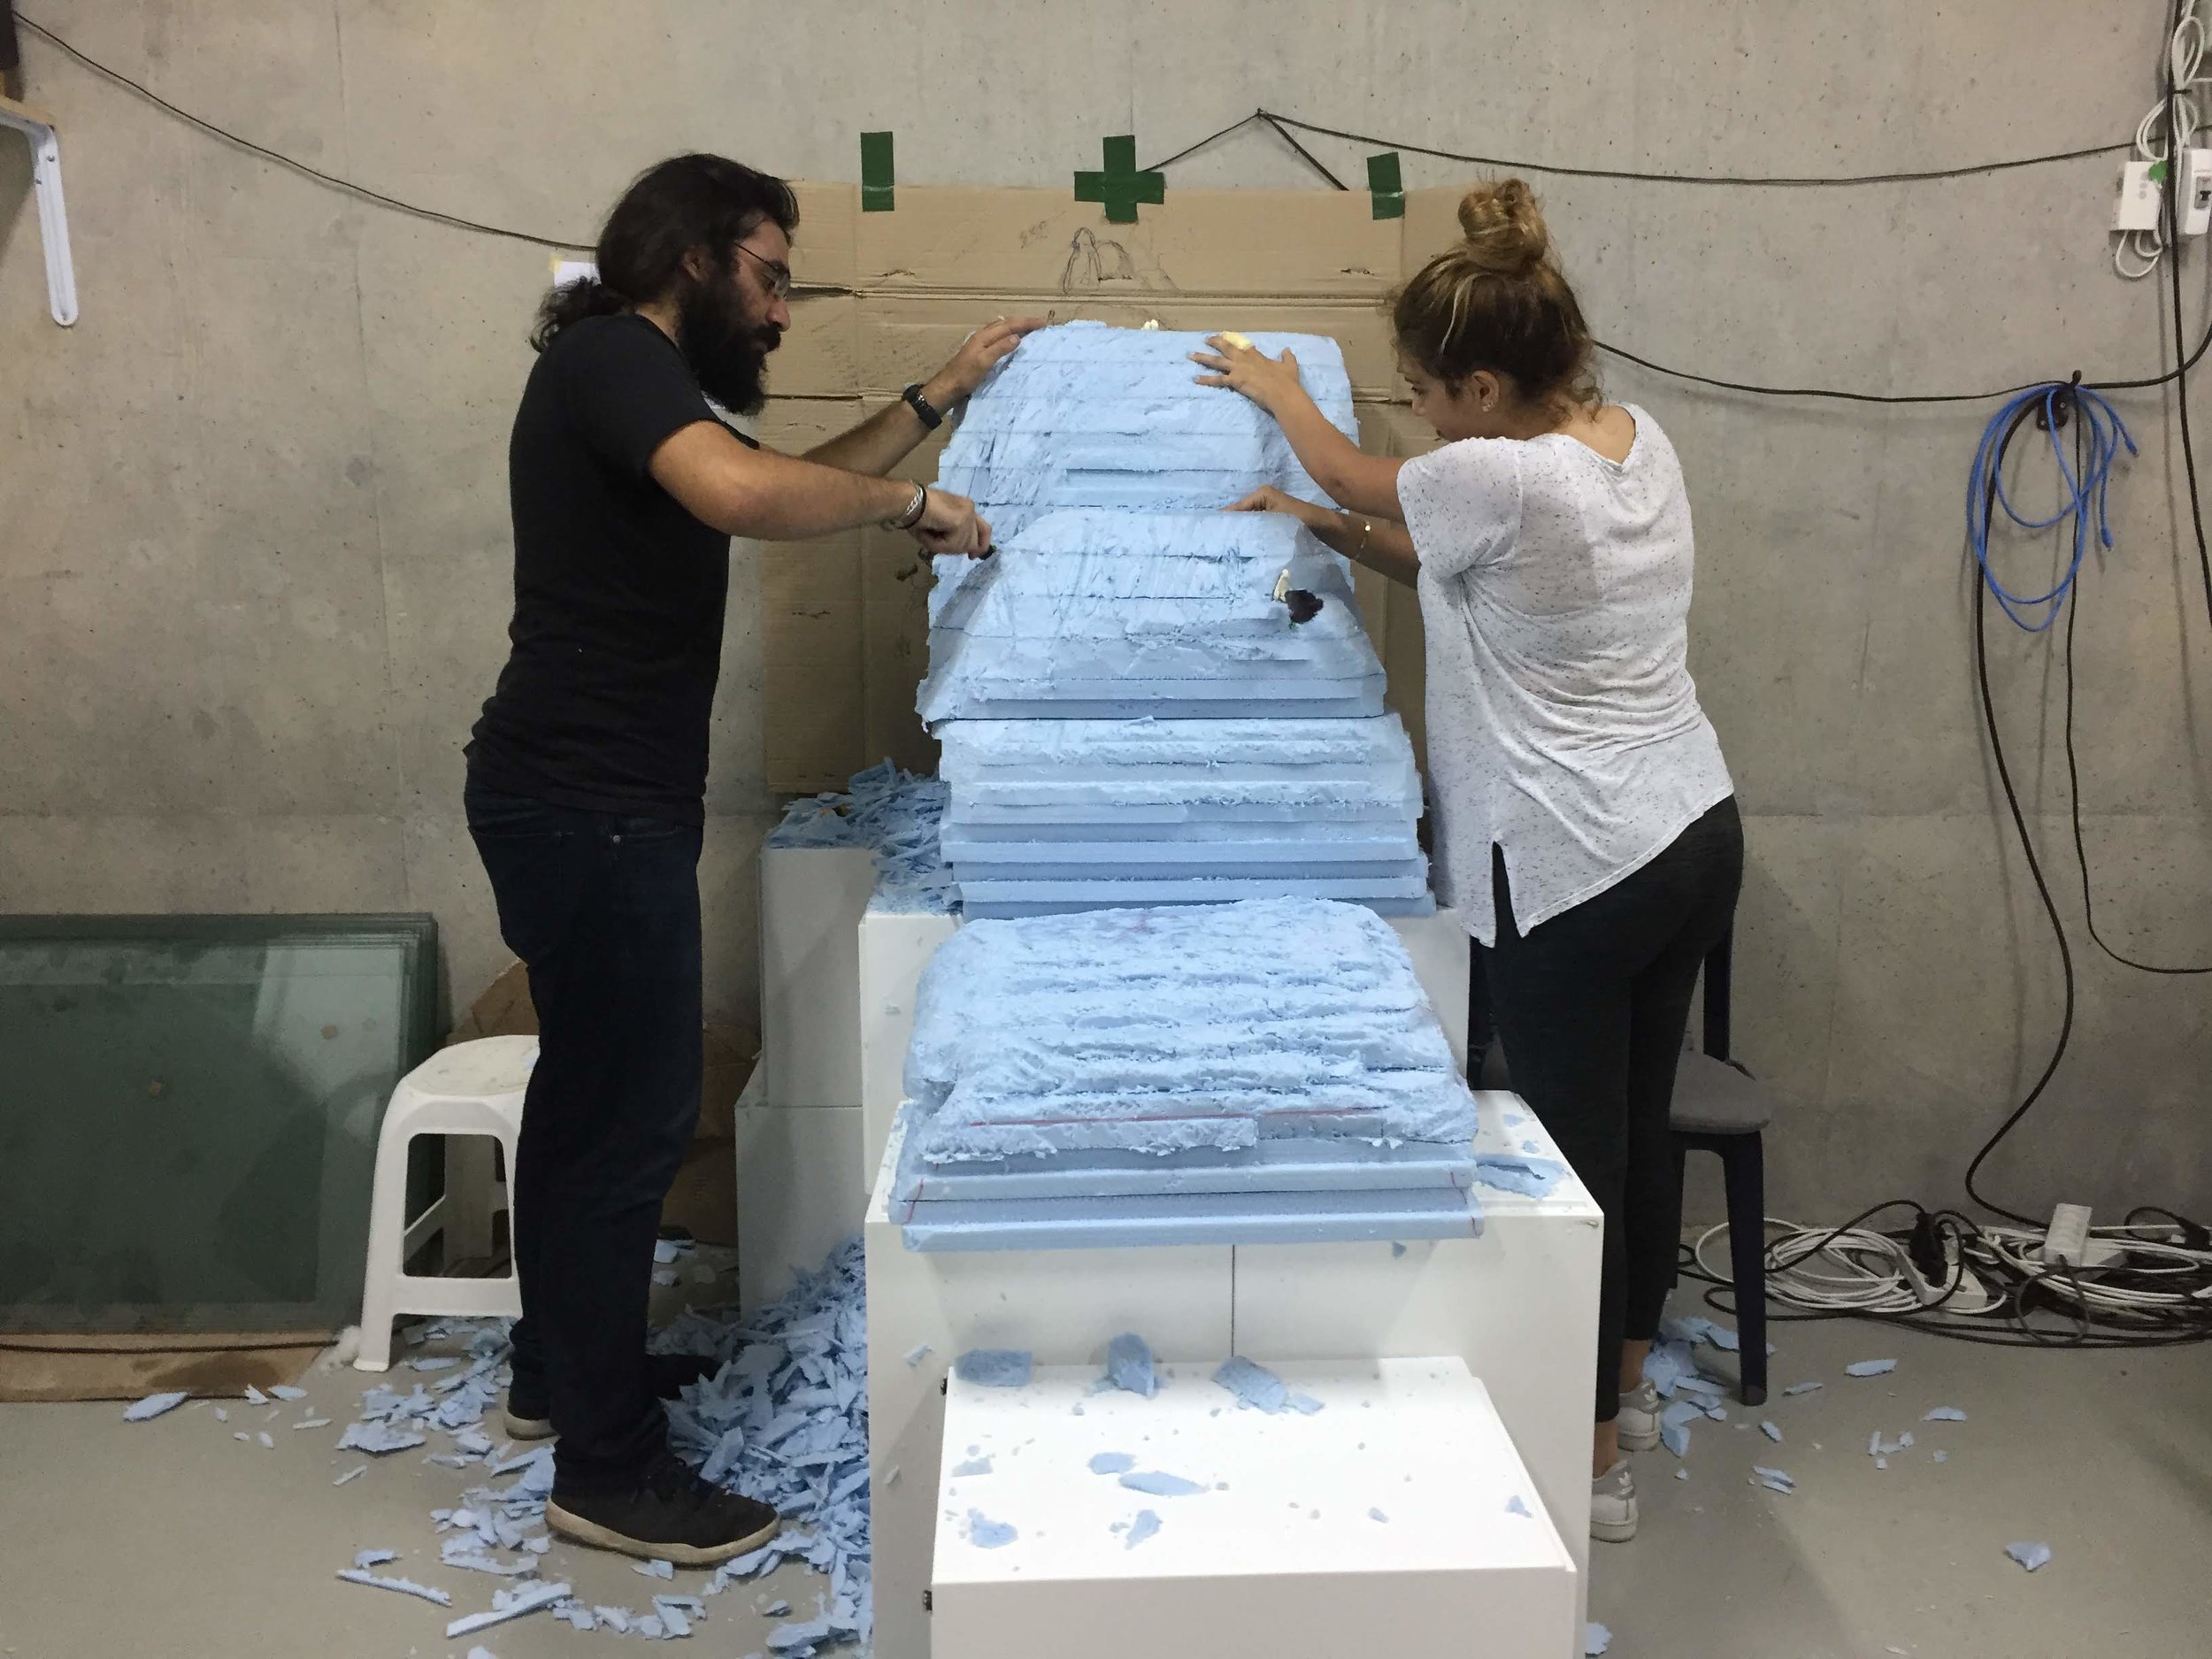
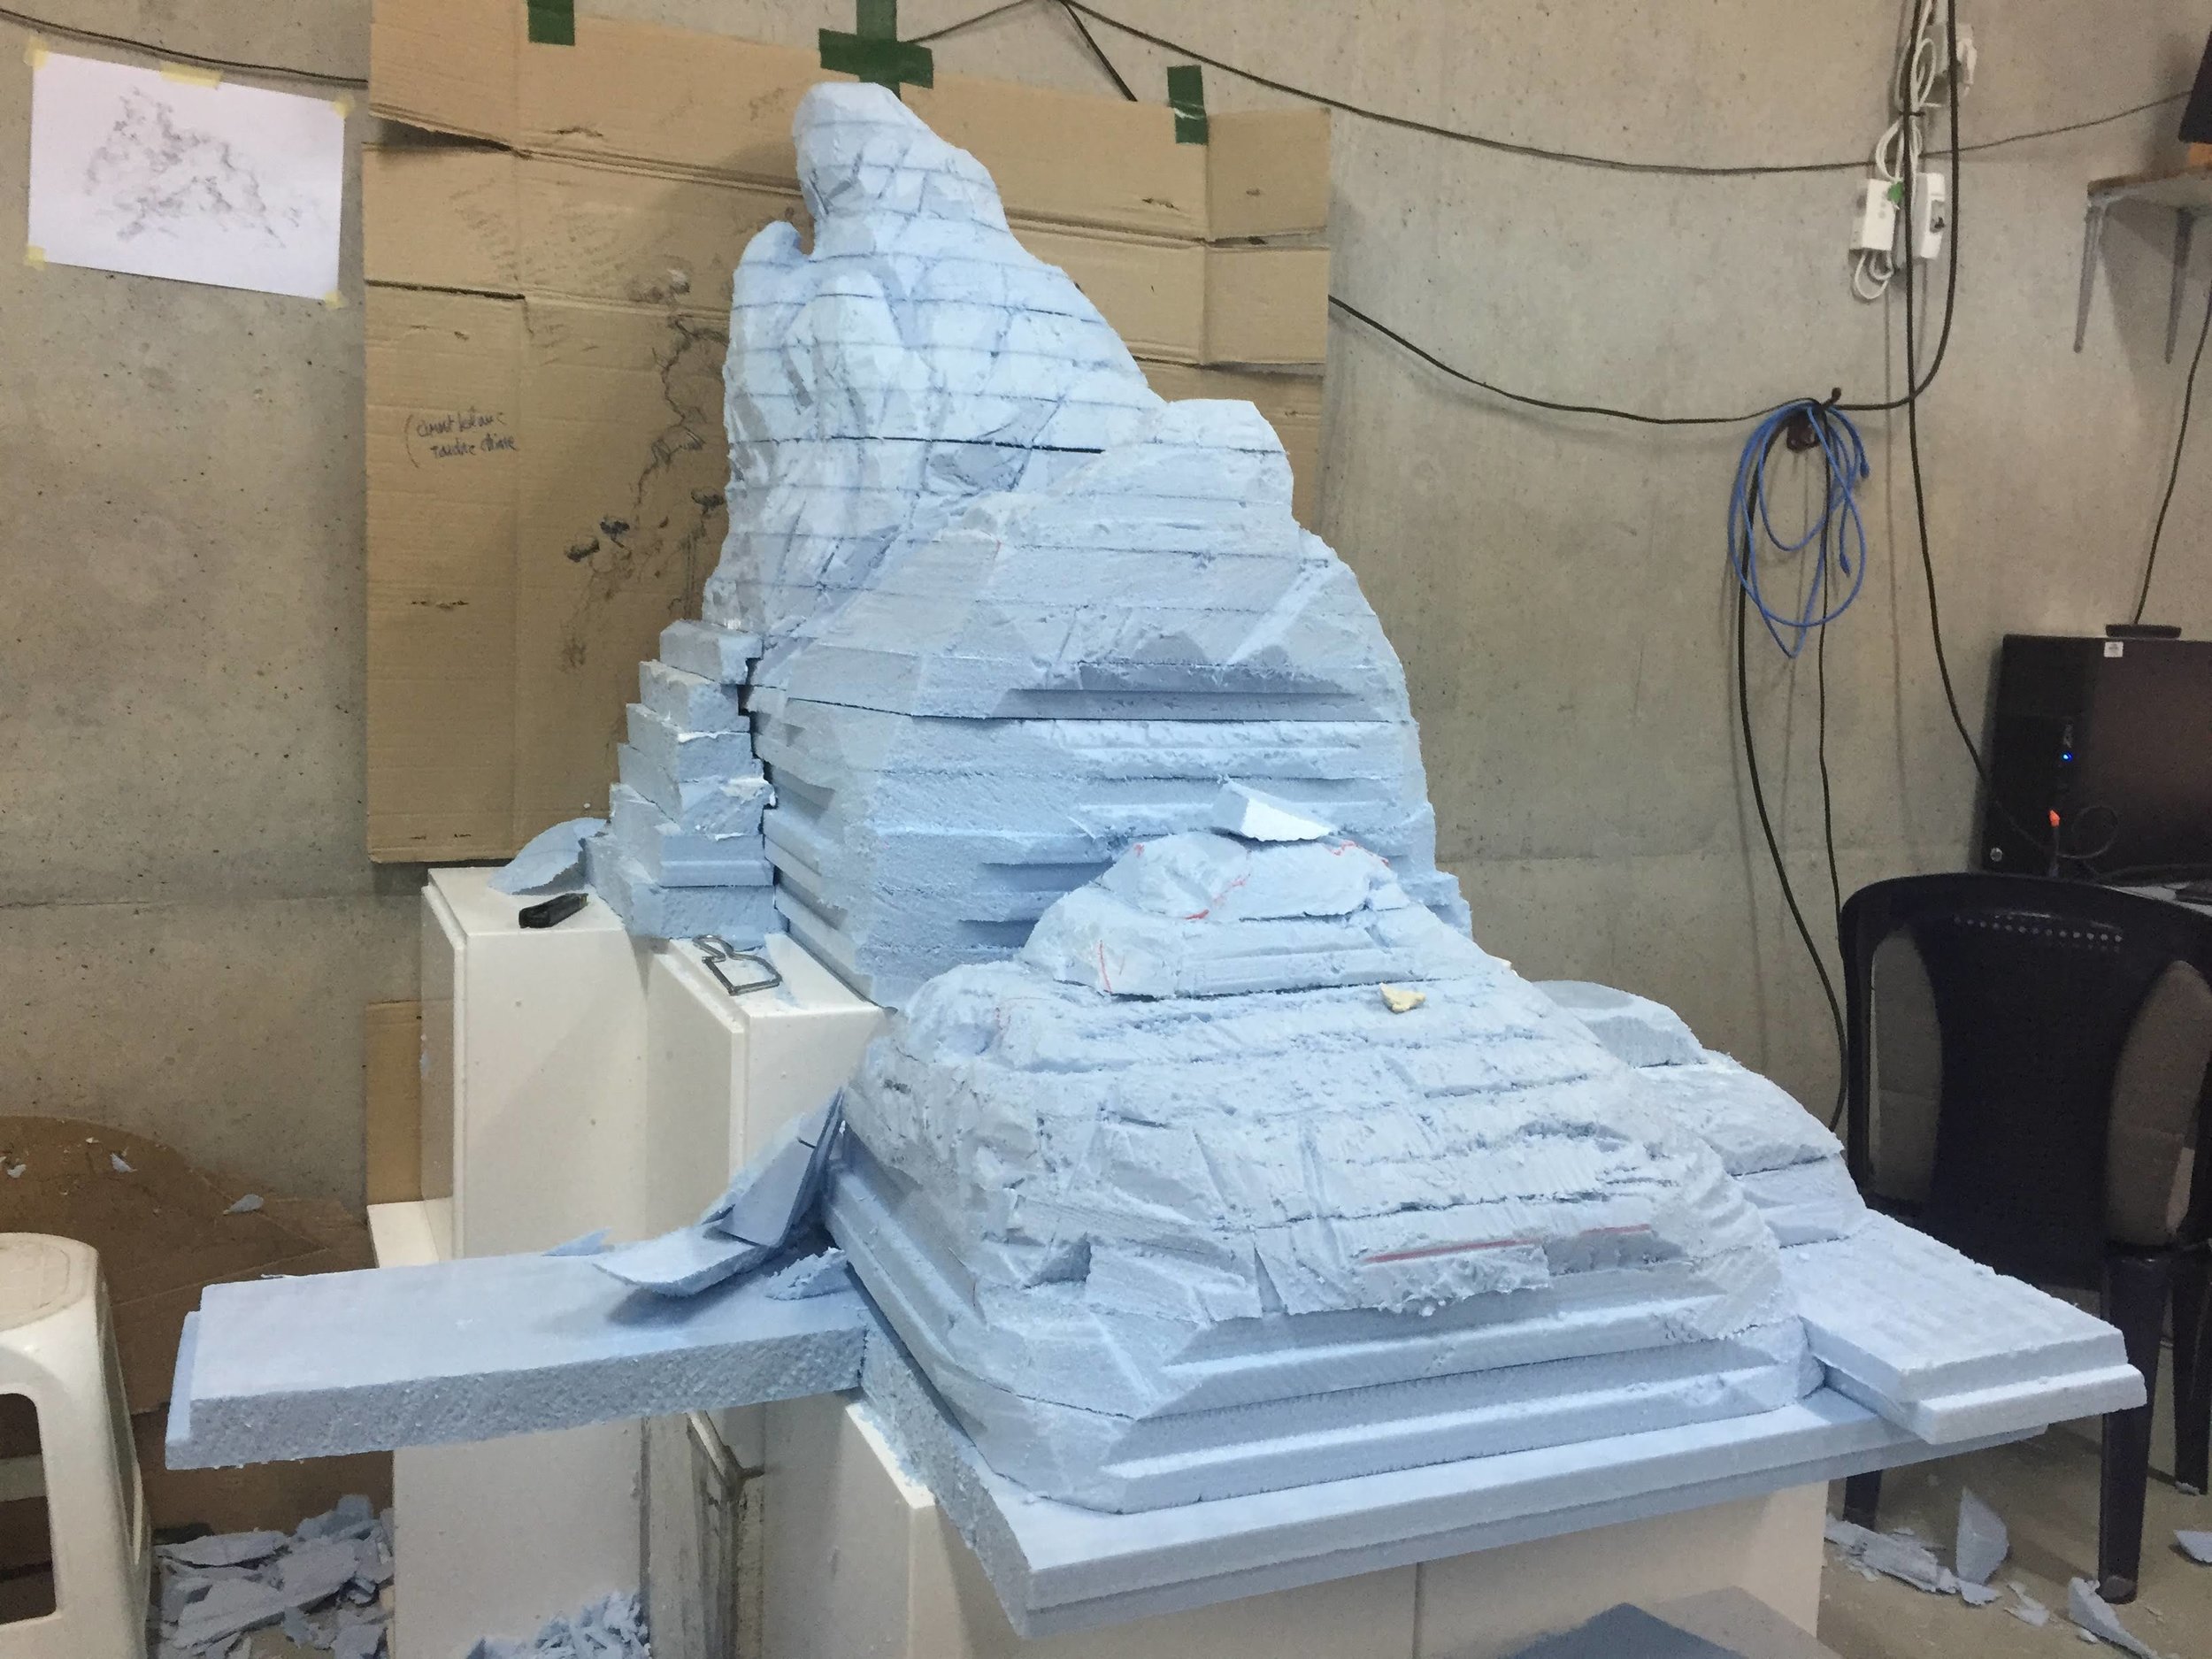
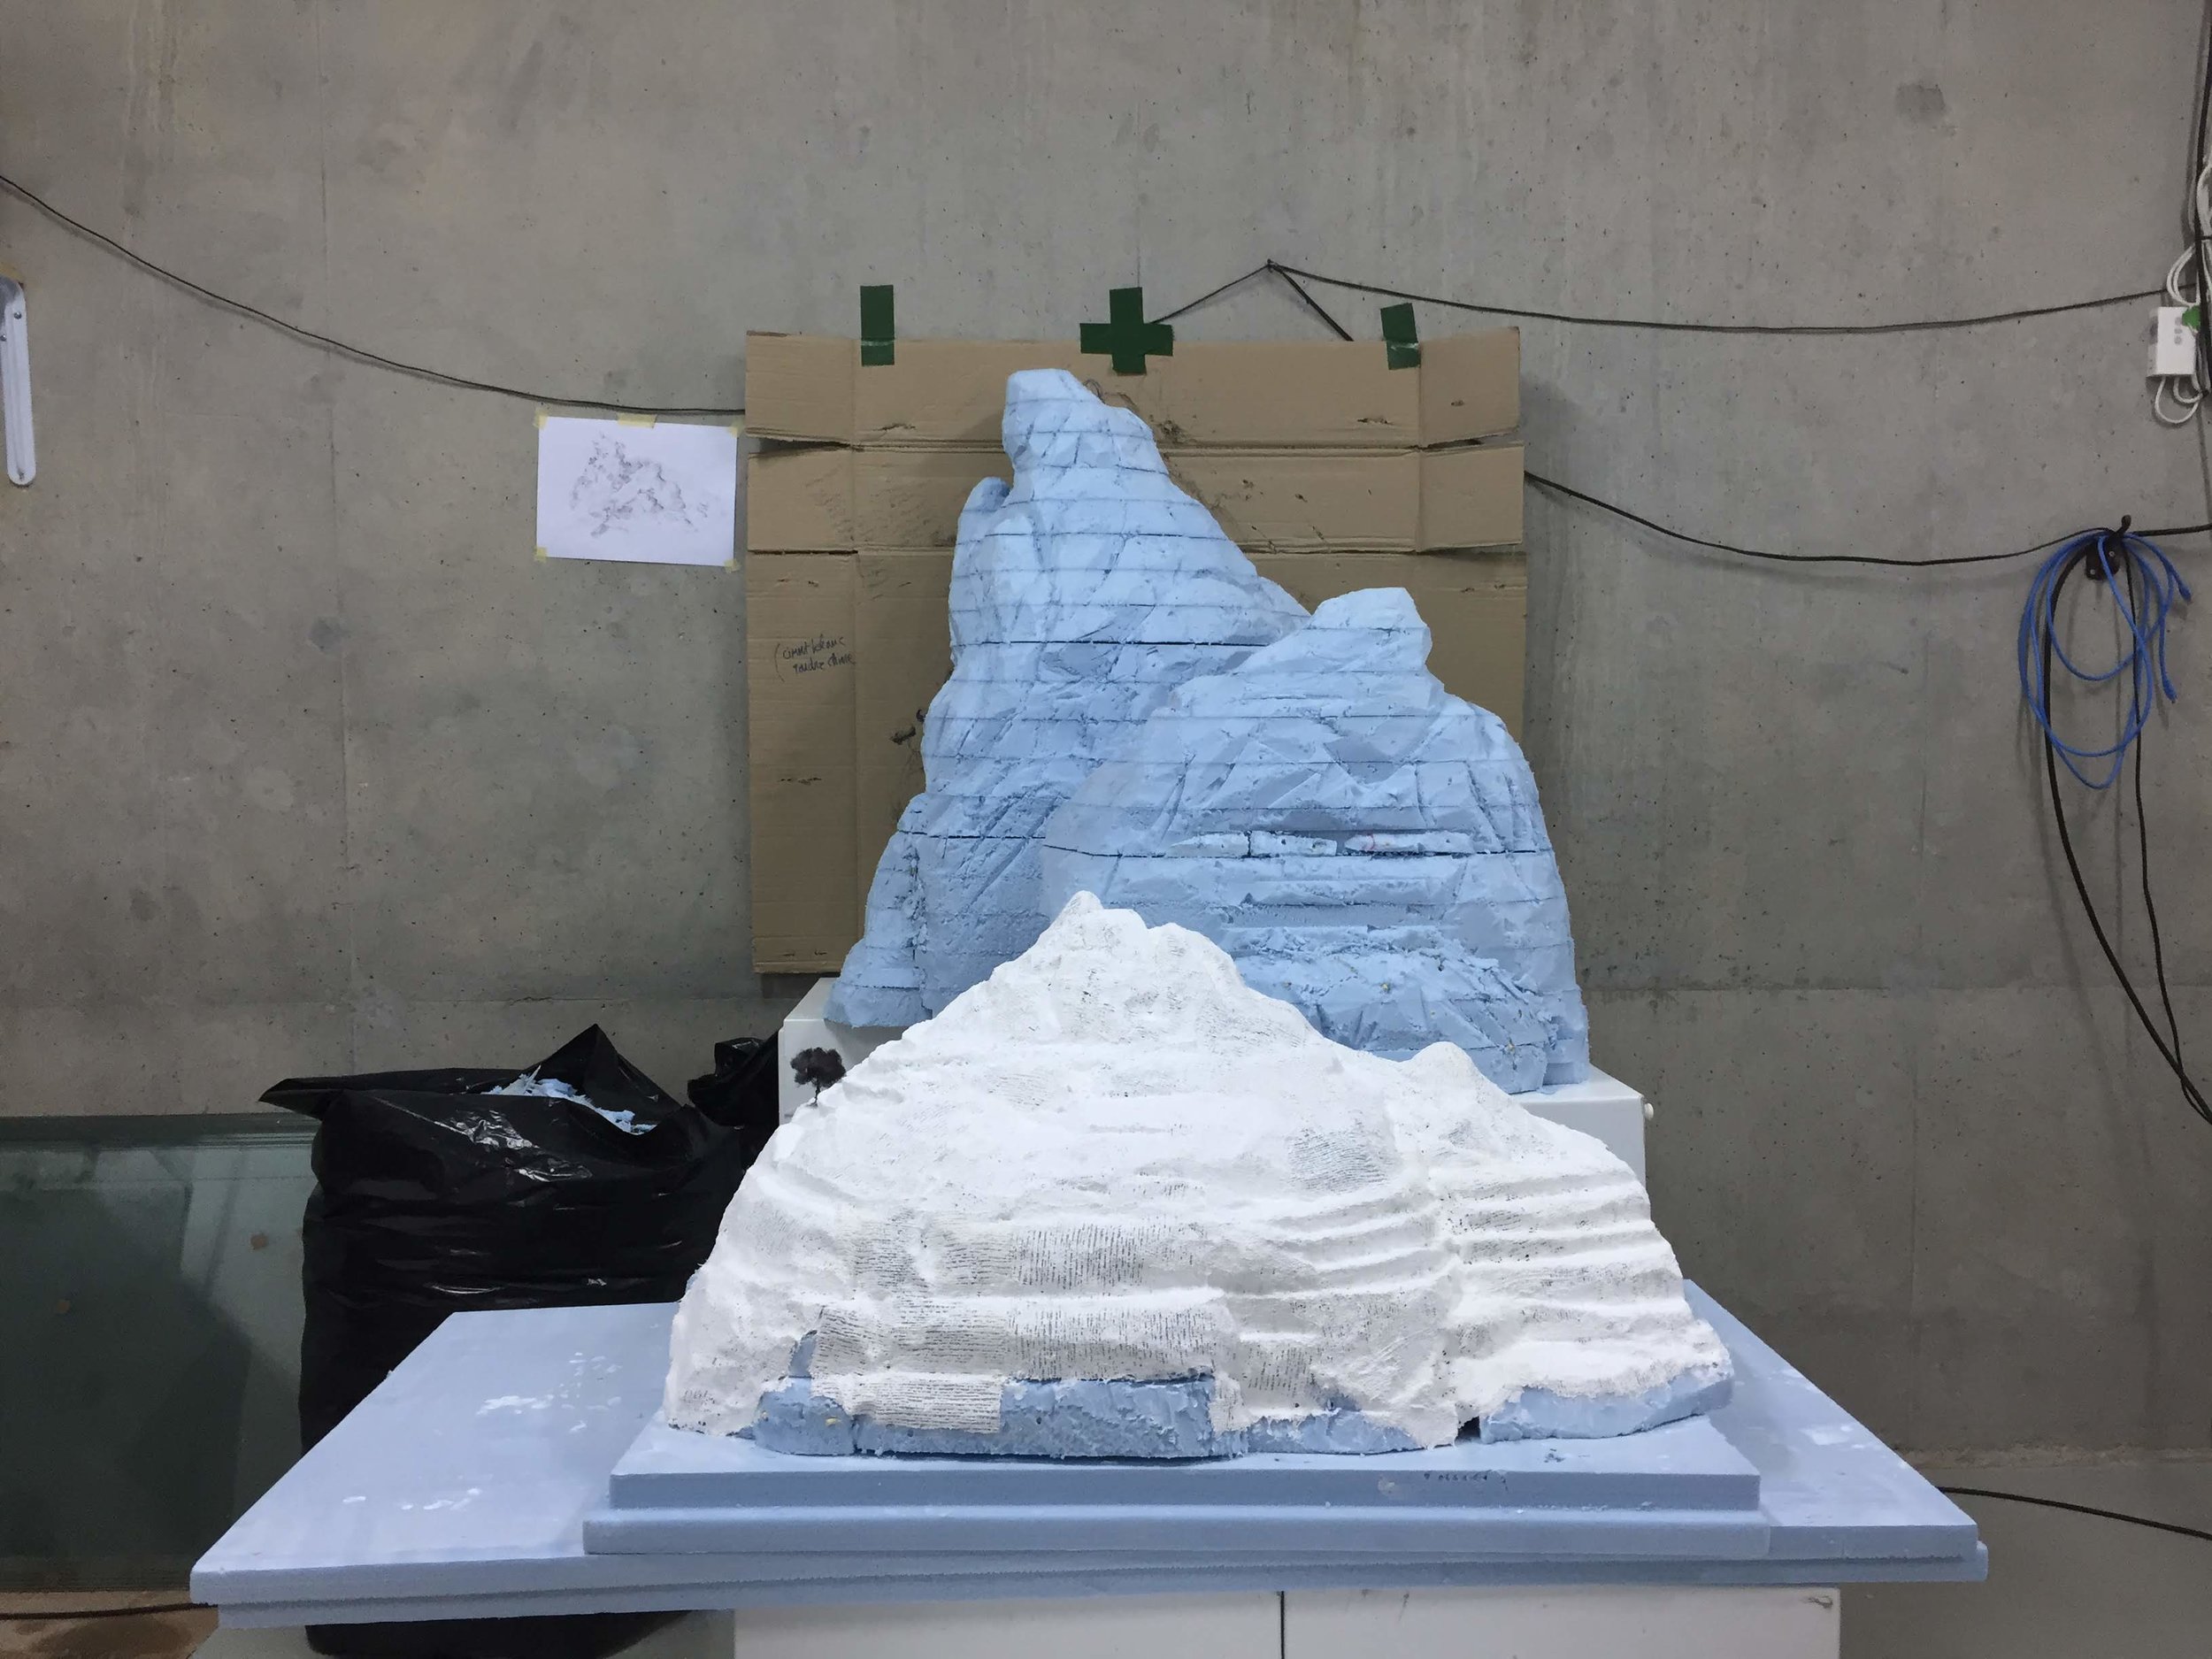
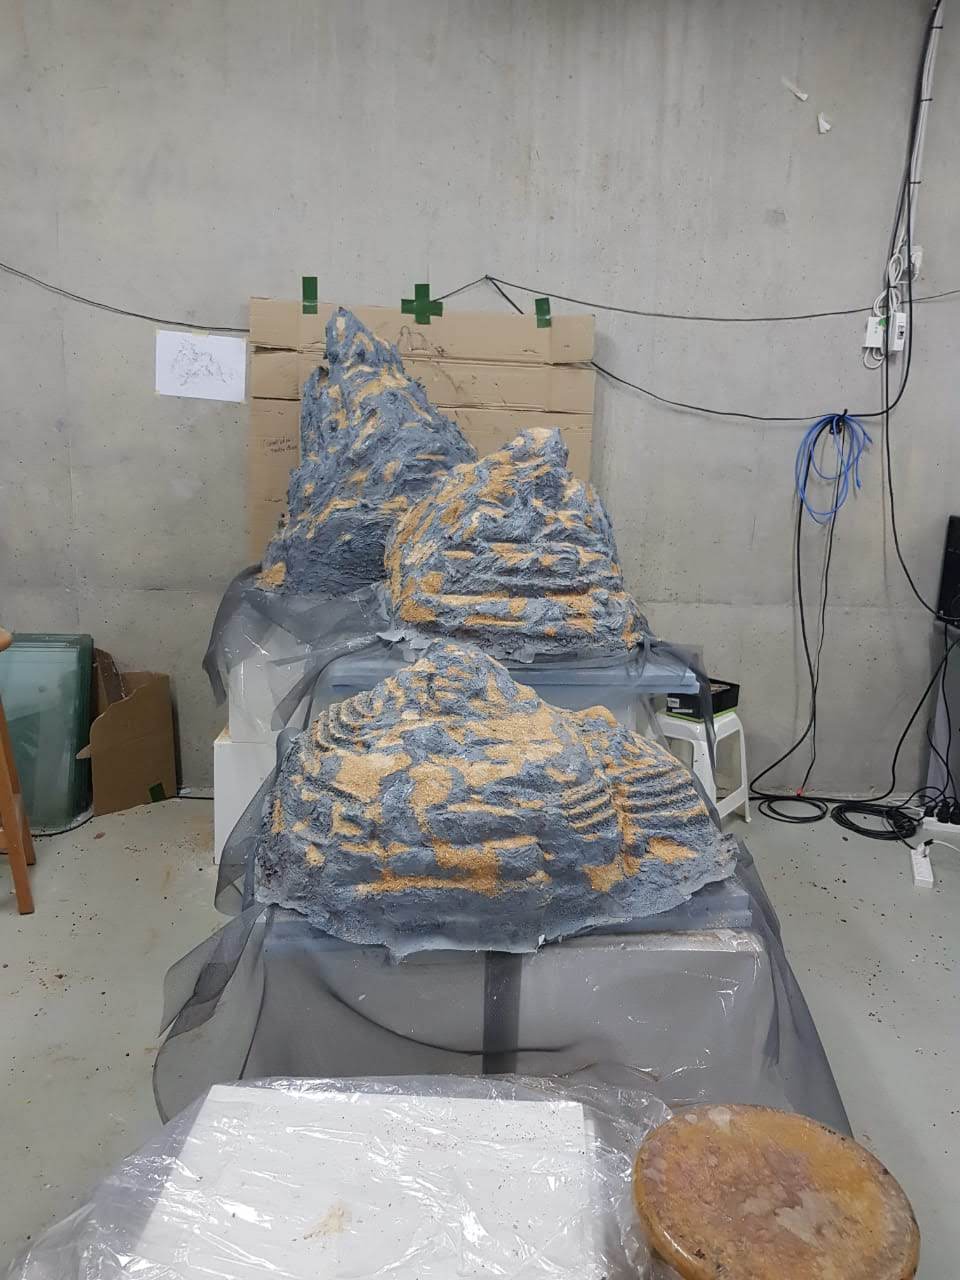
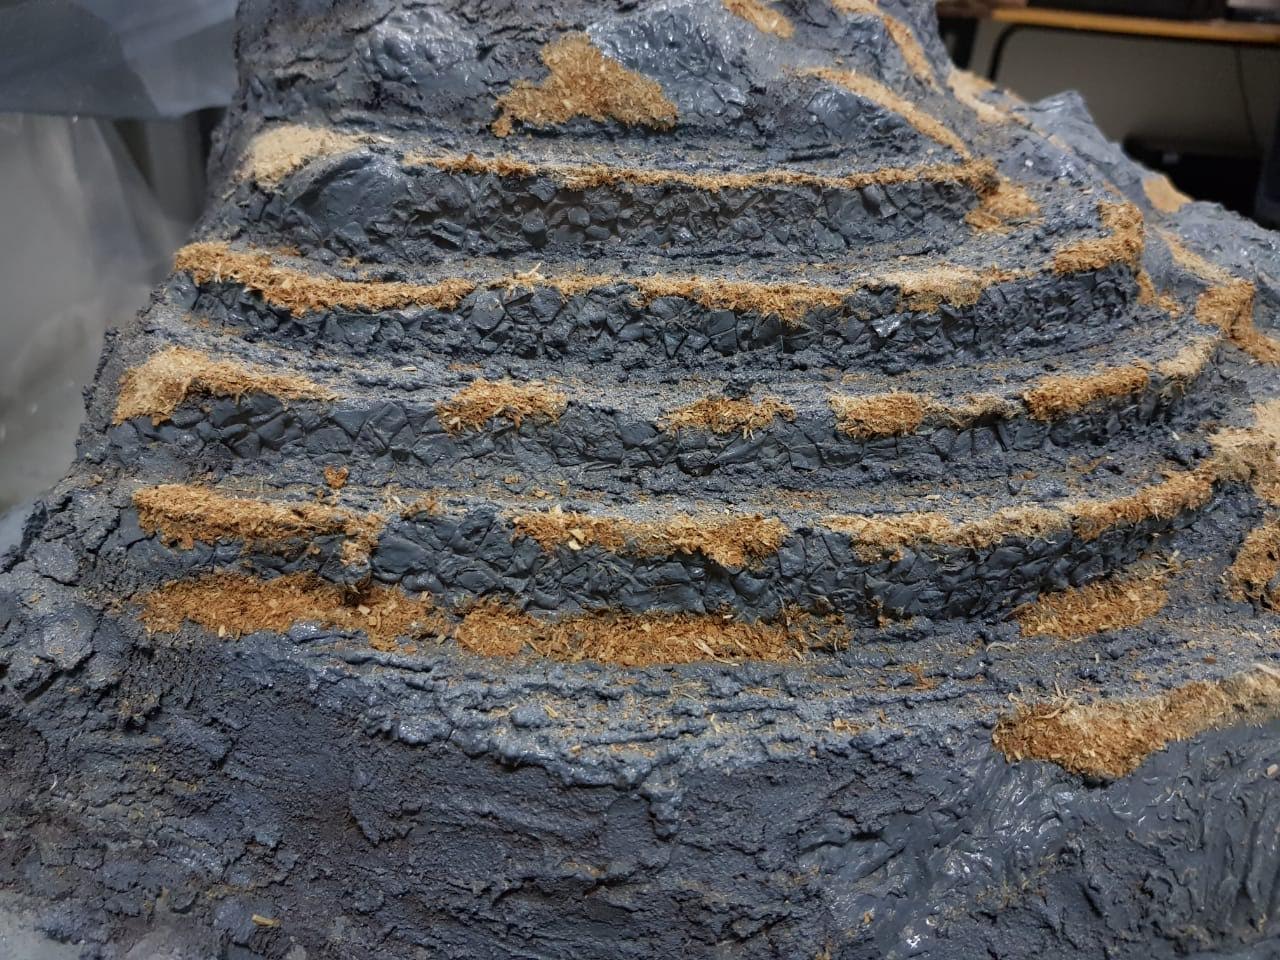
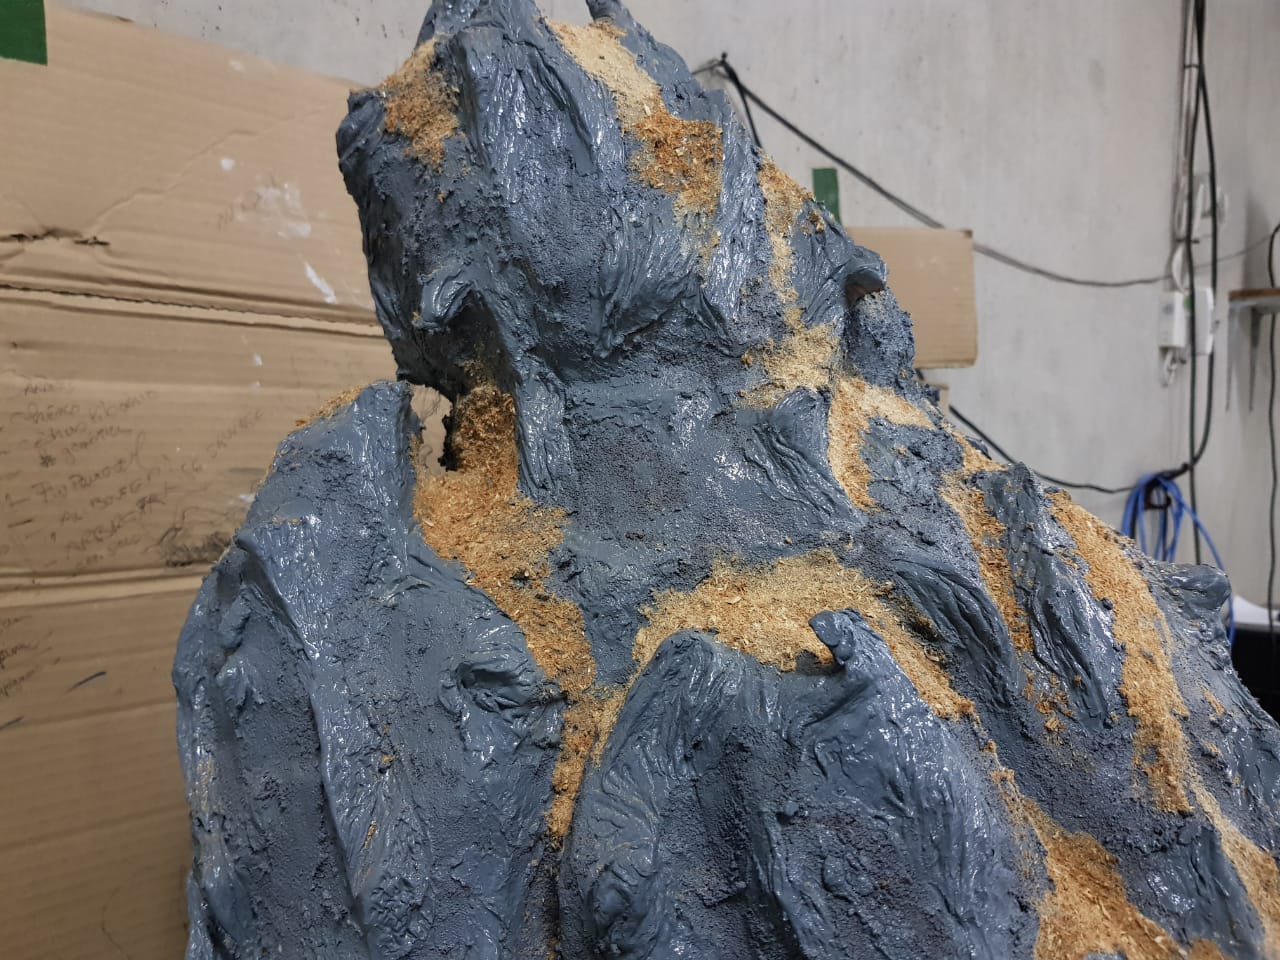
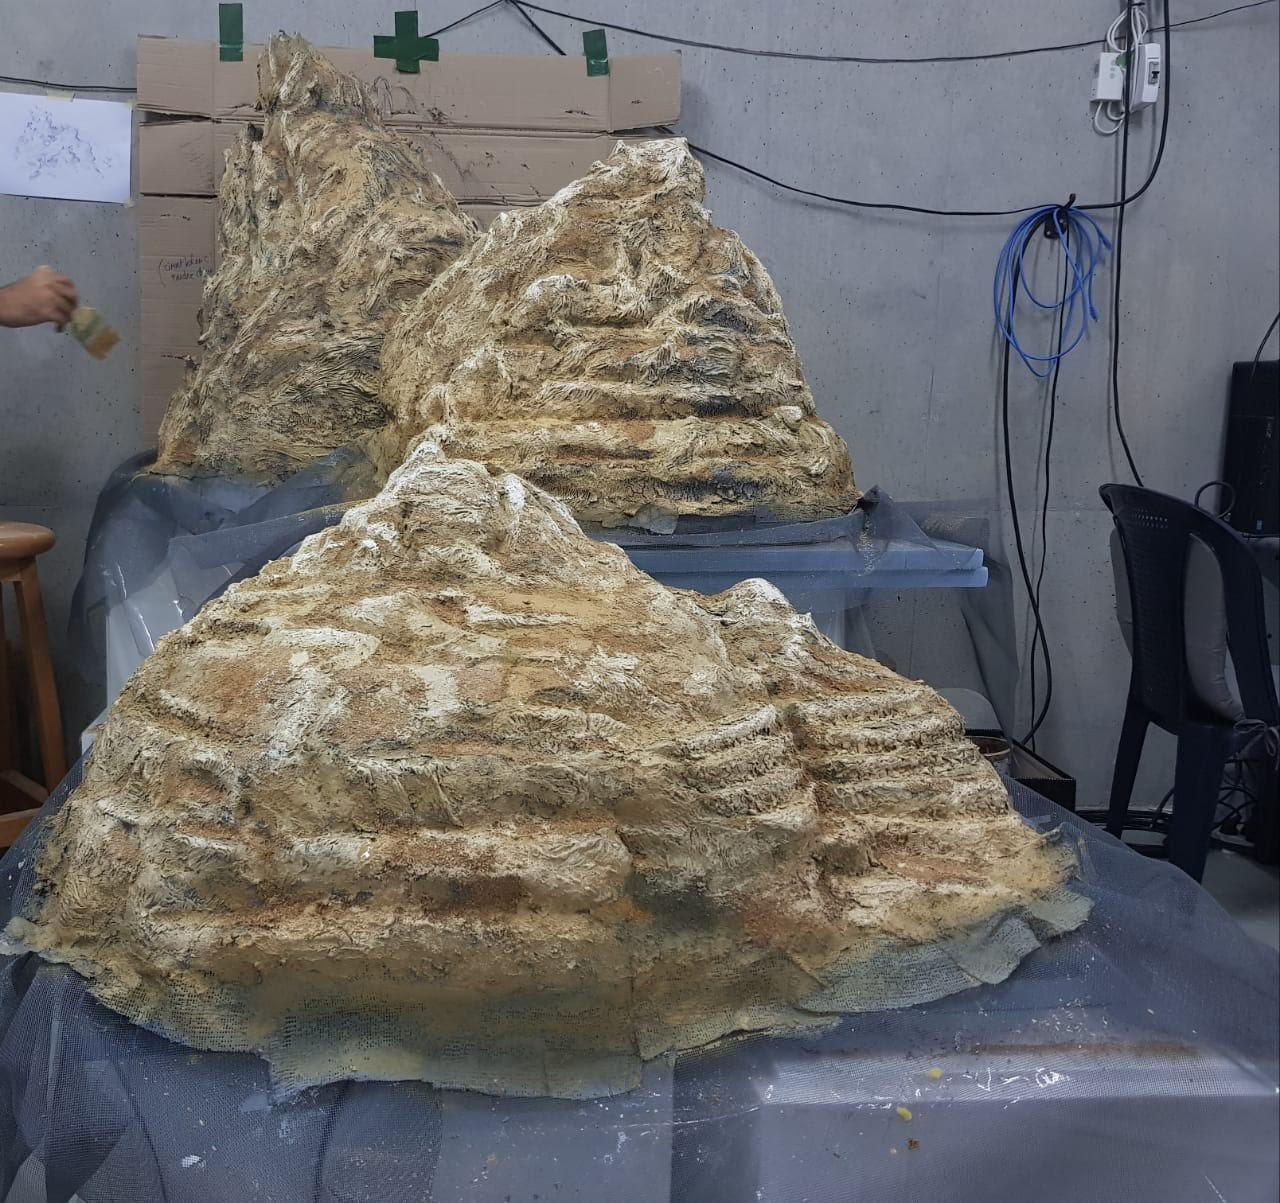
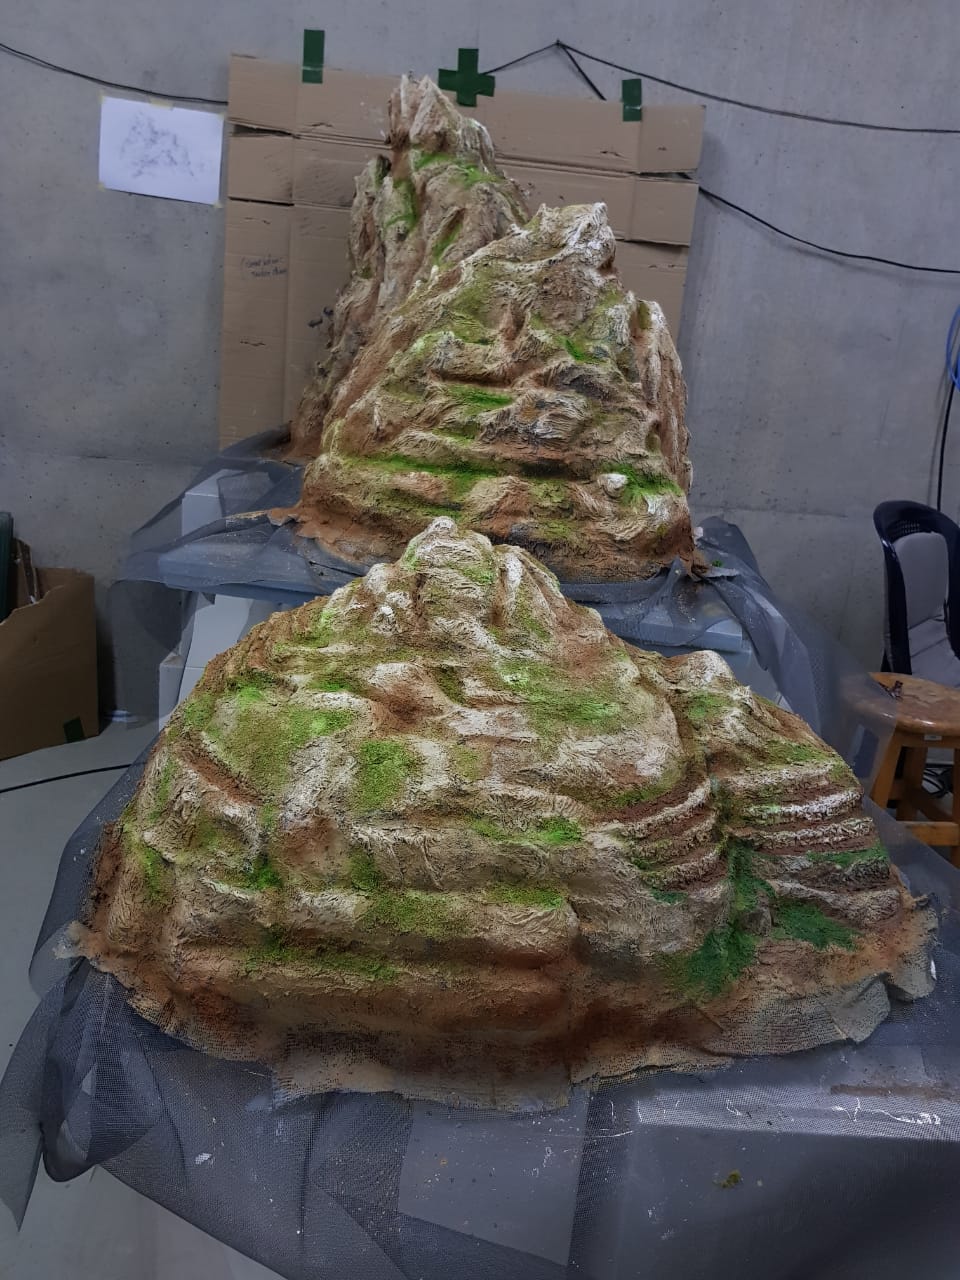
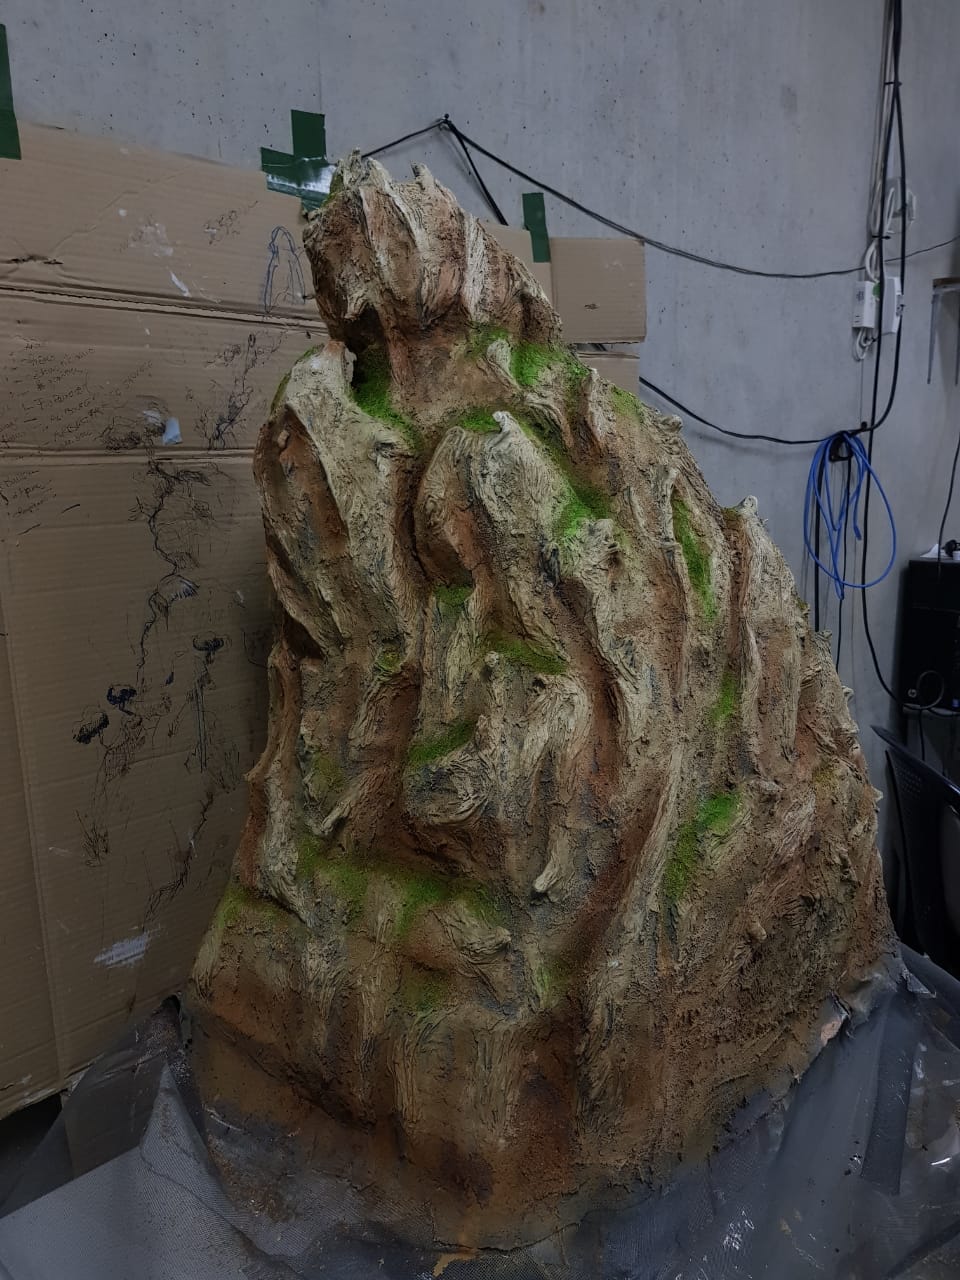
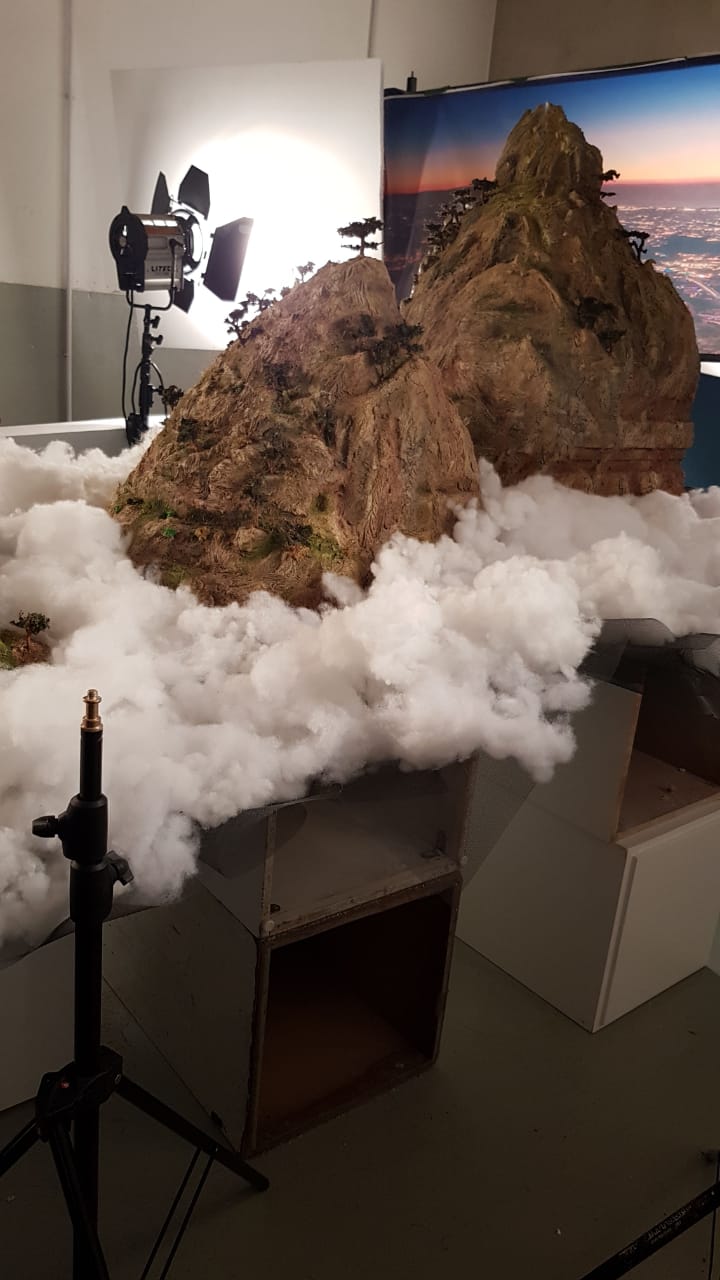
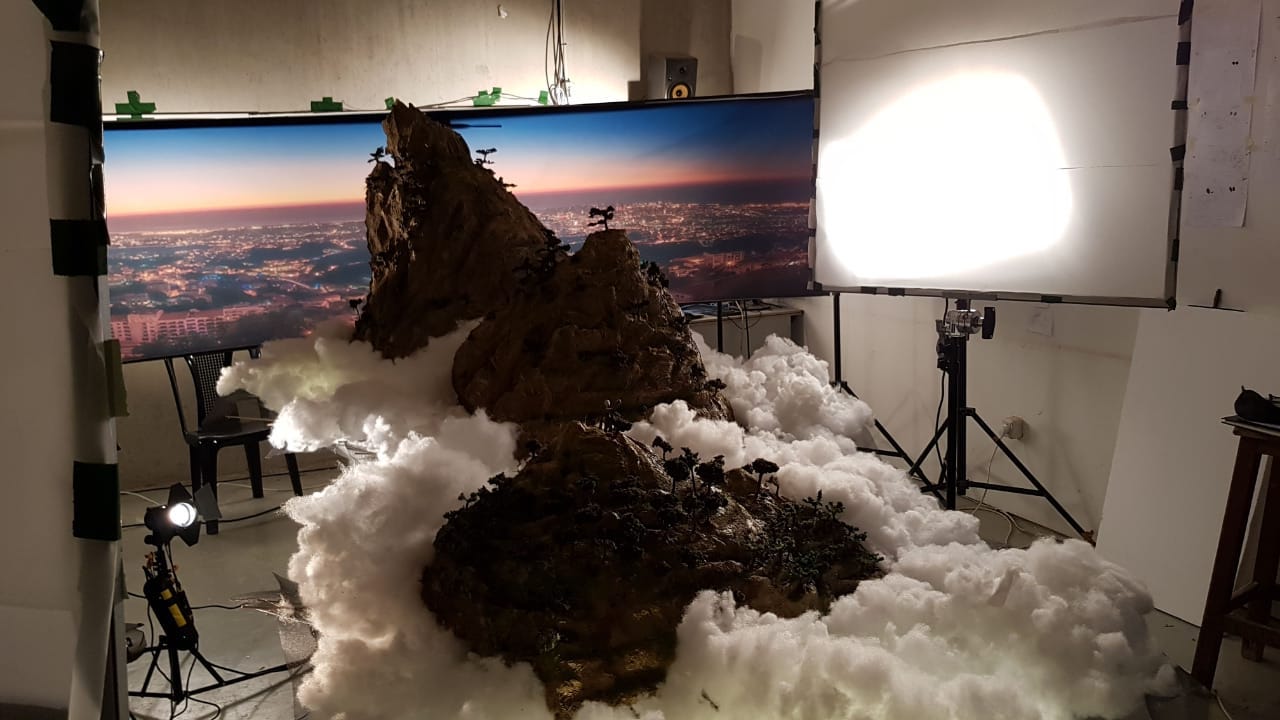
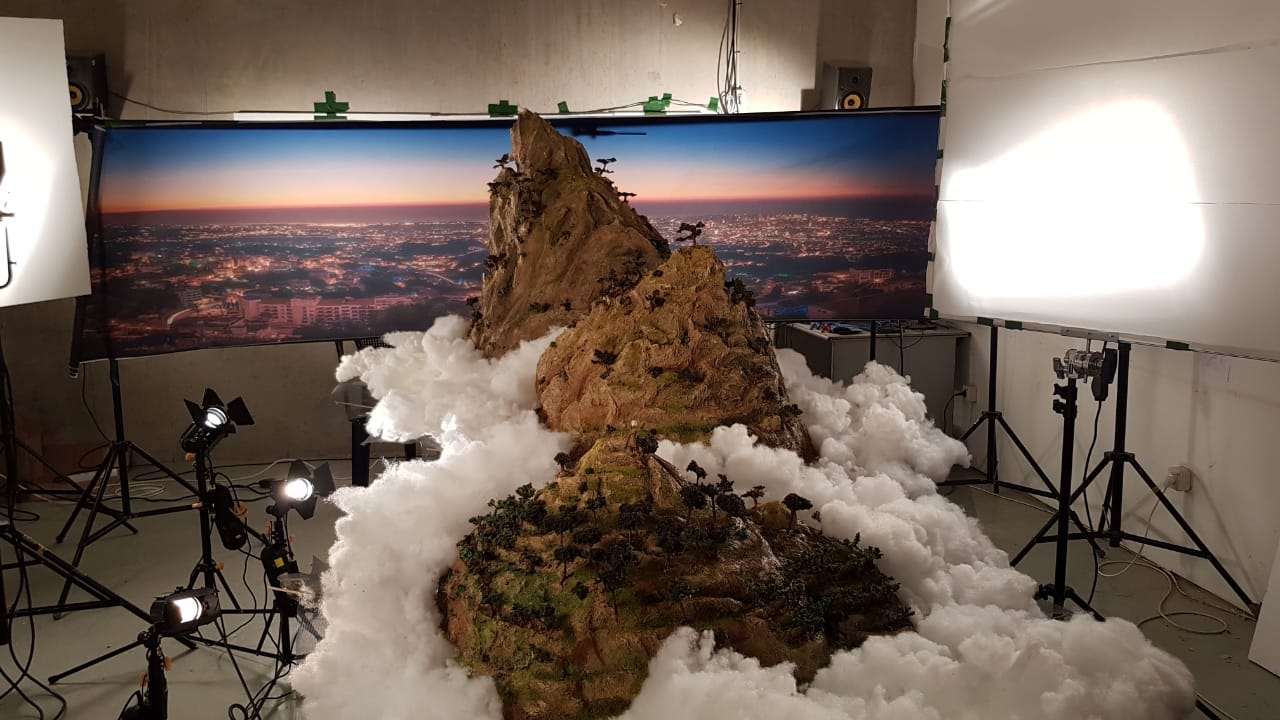

Final set by Bernard Abou Assi and Dana Ismail.
Working on a short film
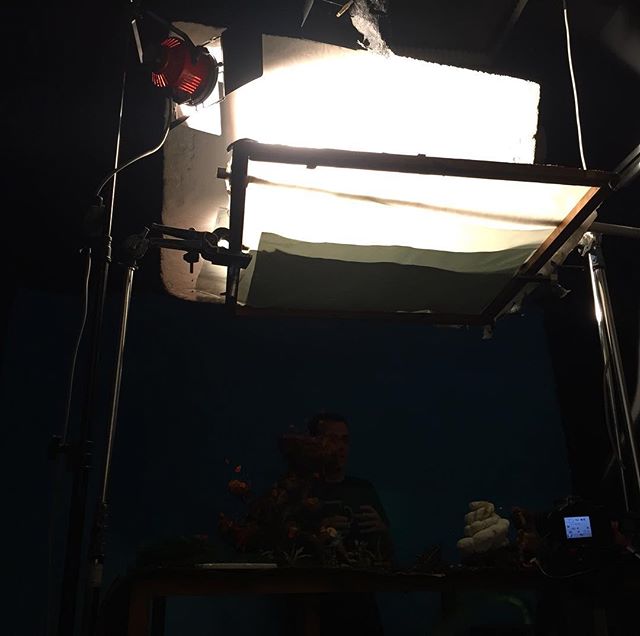
We've been working hard on our upcoming, end-of-year, short film for our Master's degree. Seeing as it's a work in progress things still need to be hush-hush. So I compiled some making-of footage to give you a sneak peek! Enjoy!
A lot of work goes behind the scenes of a Stop Motion film. Here's a time lapse of an hour, setting up before starting to animate a shot of our upcoming short film!
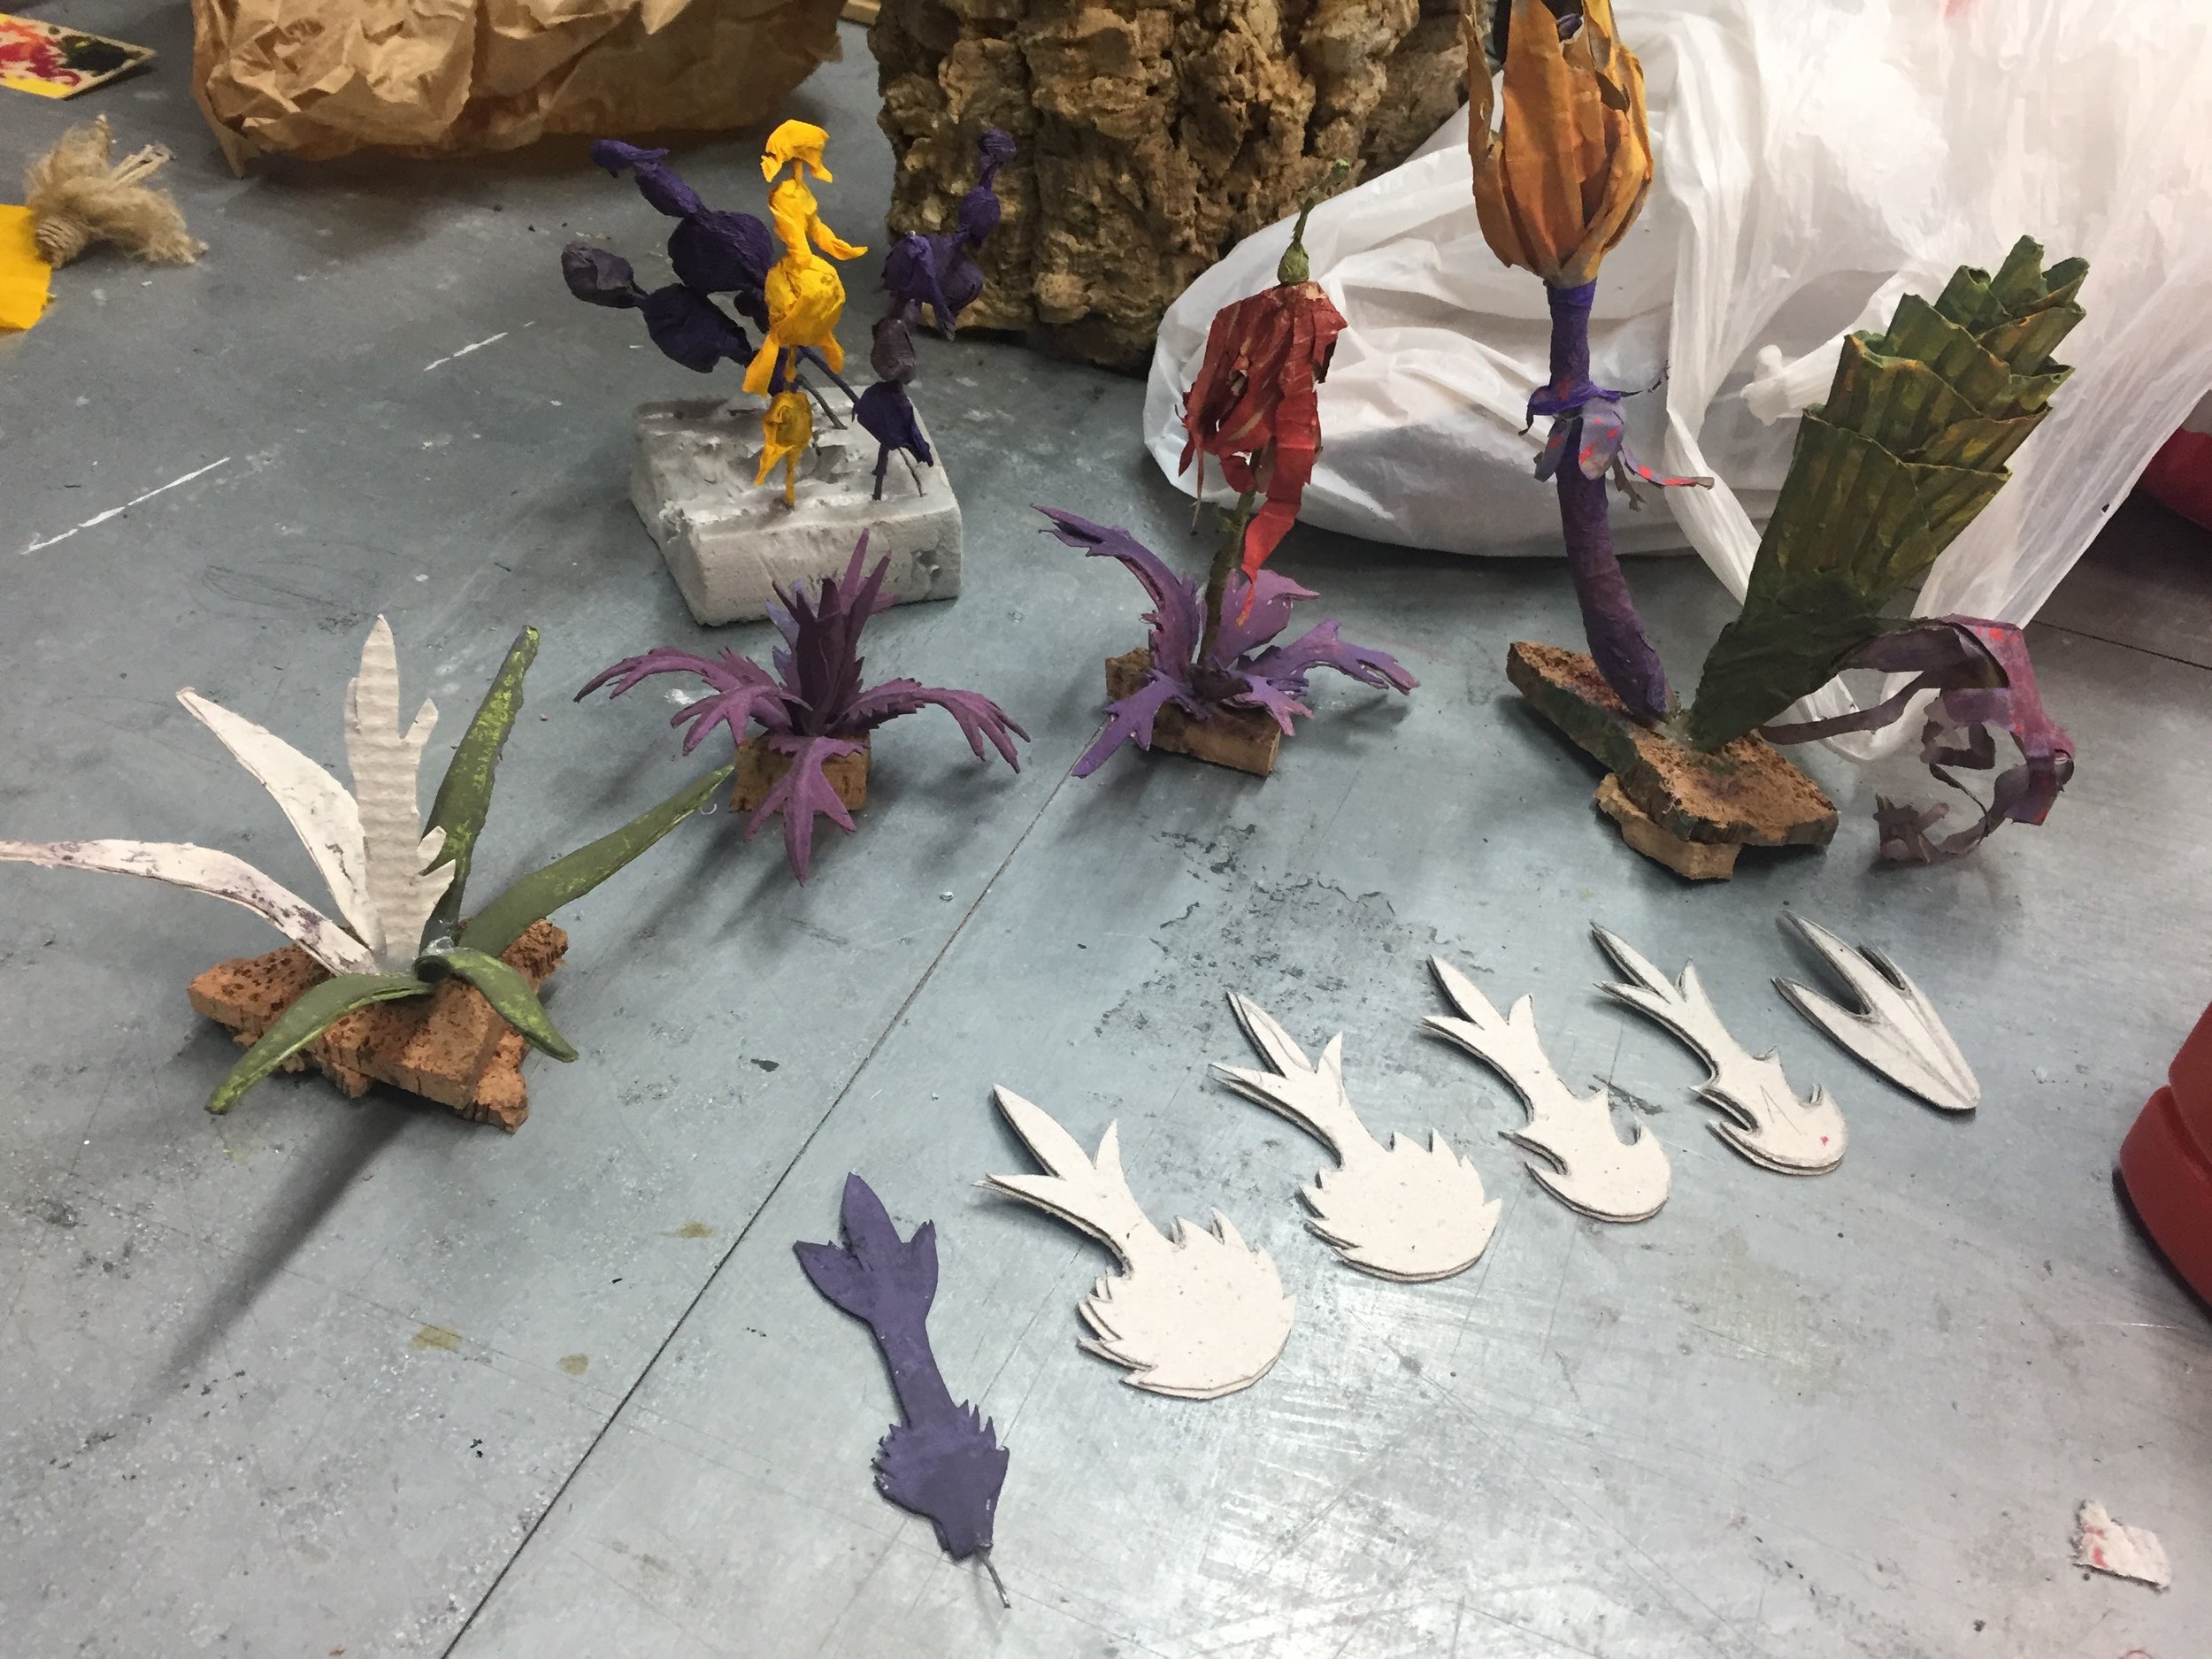
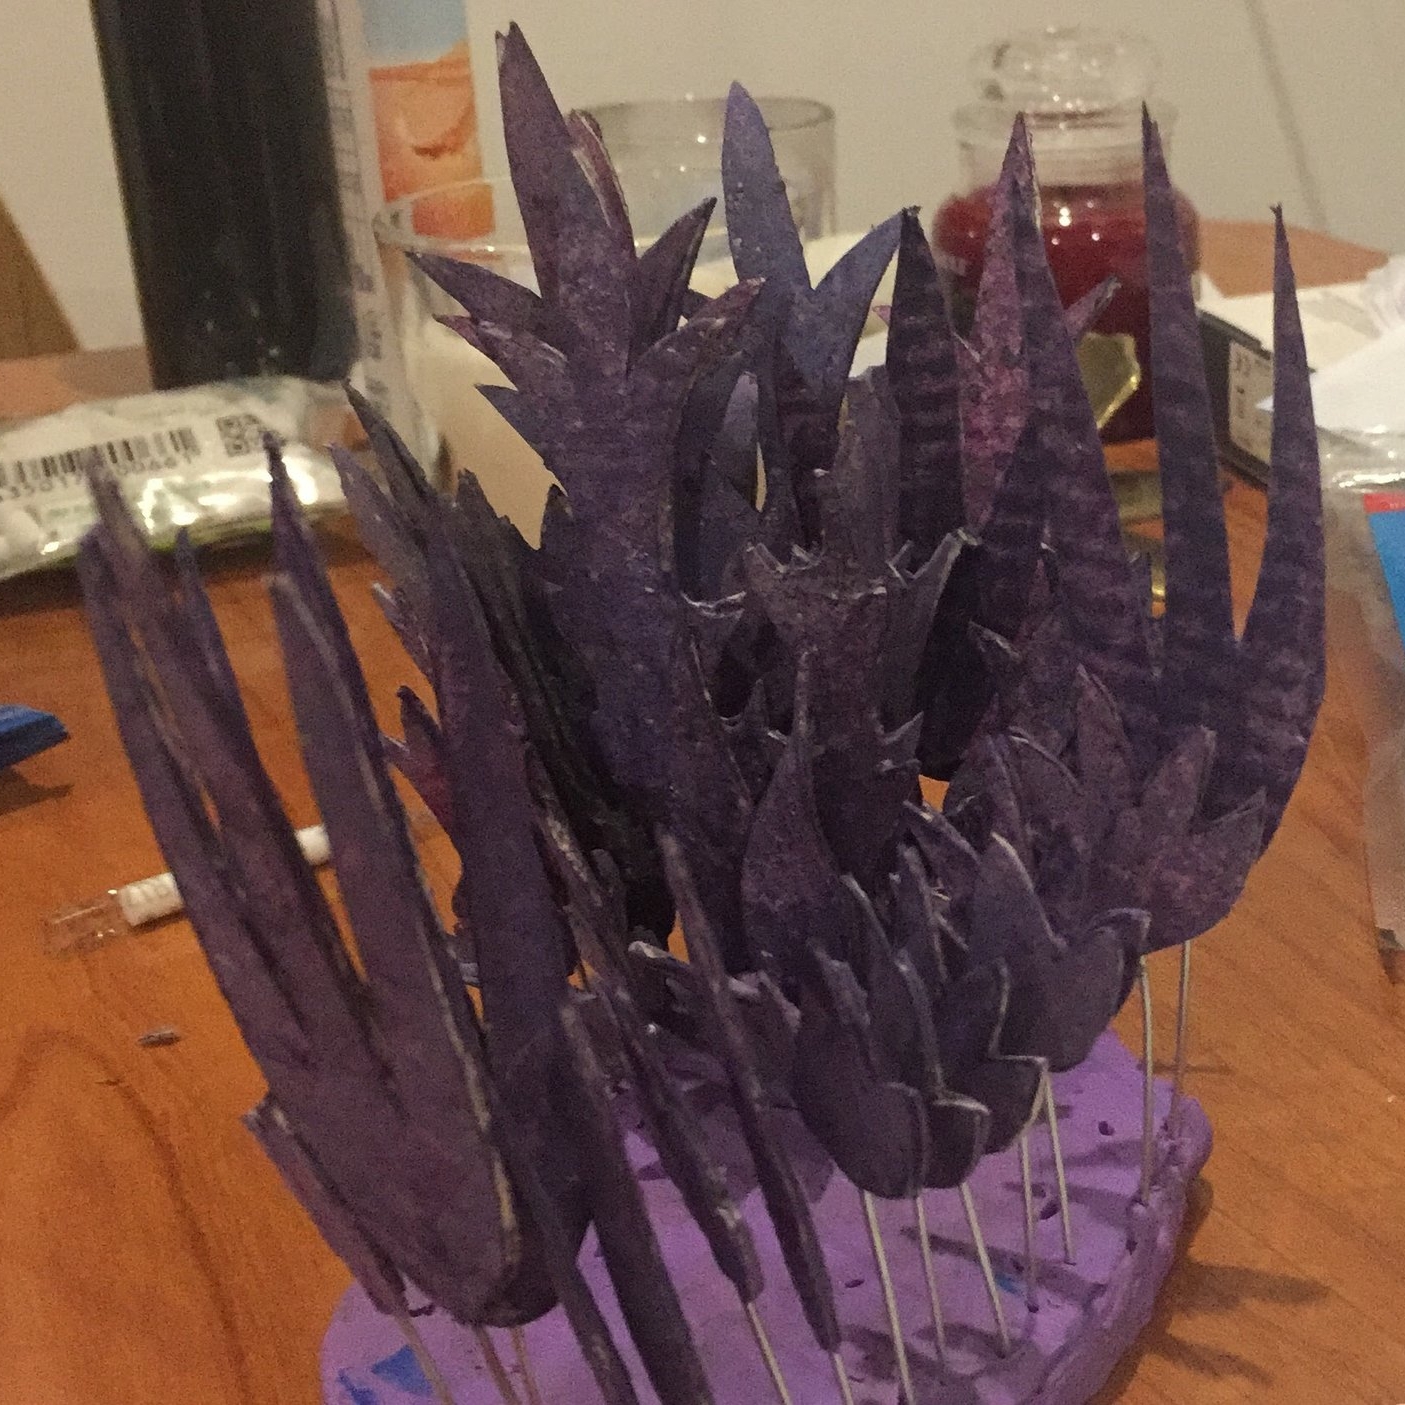


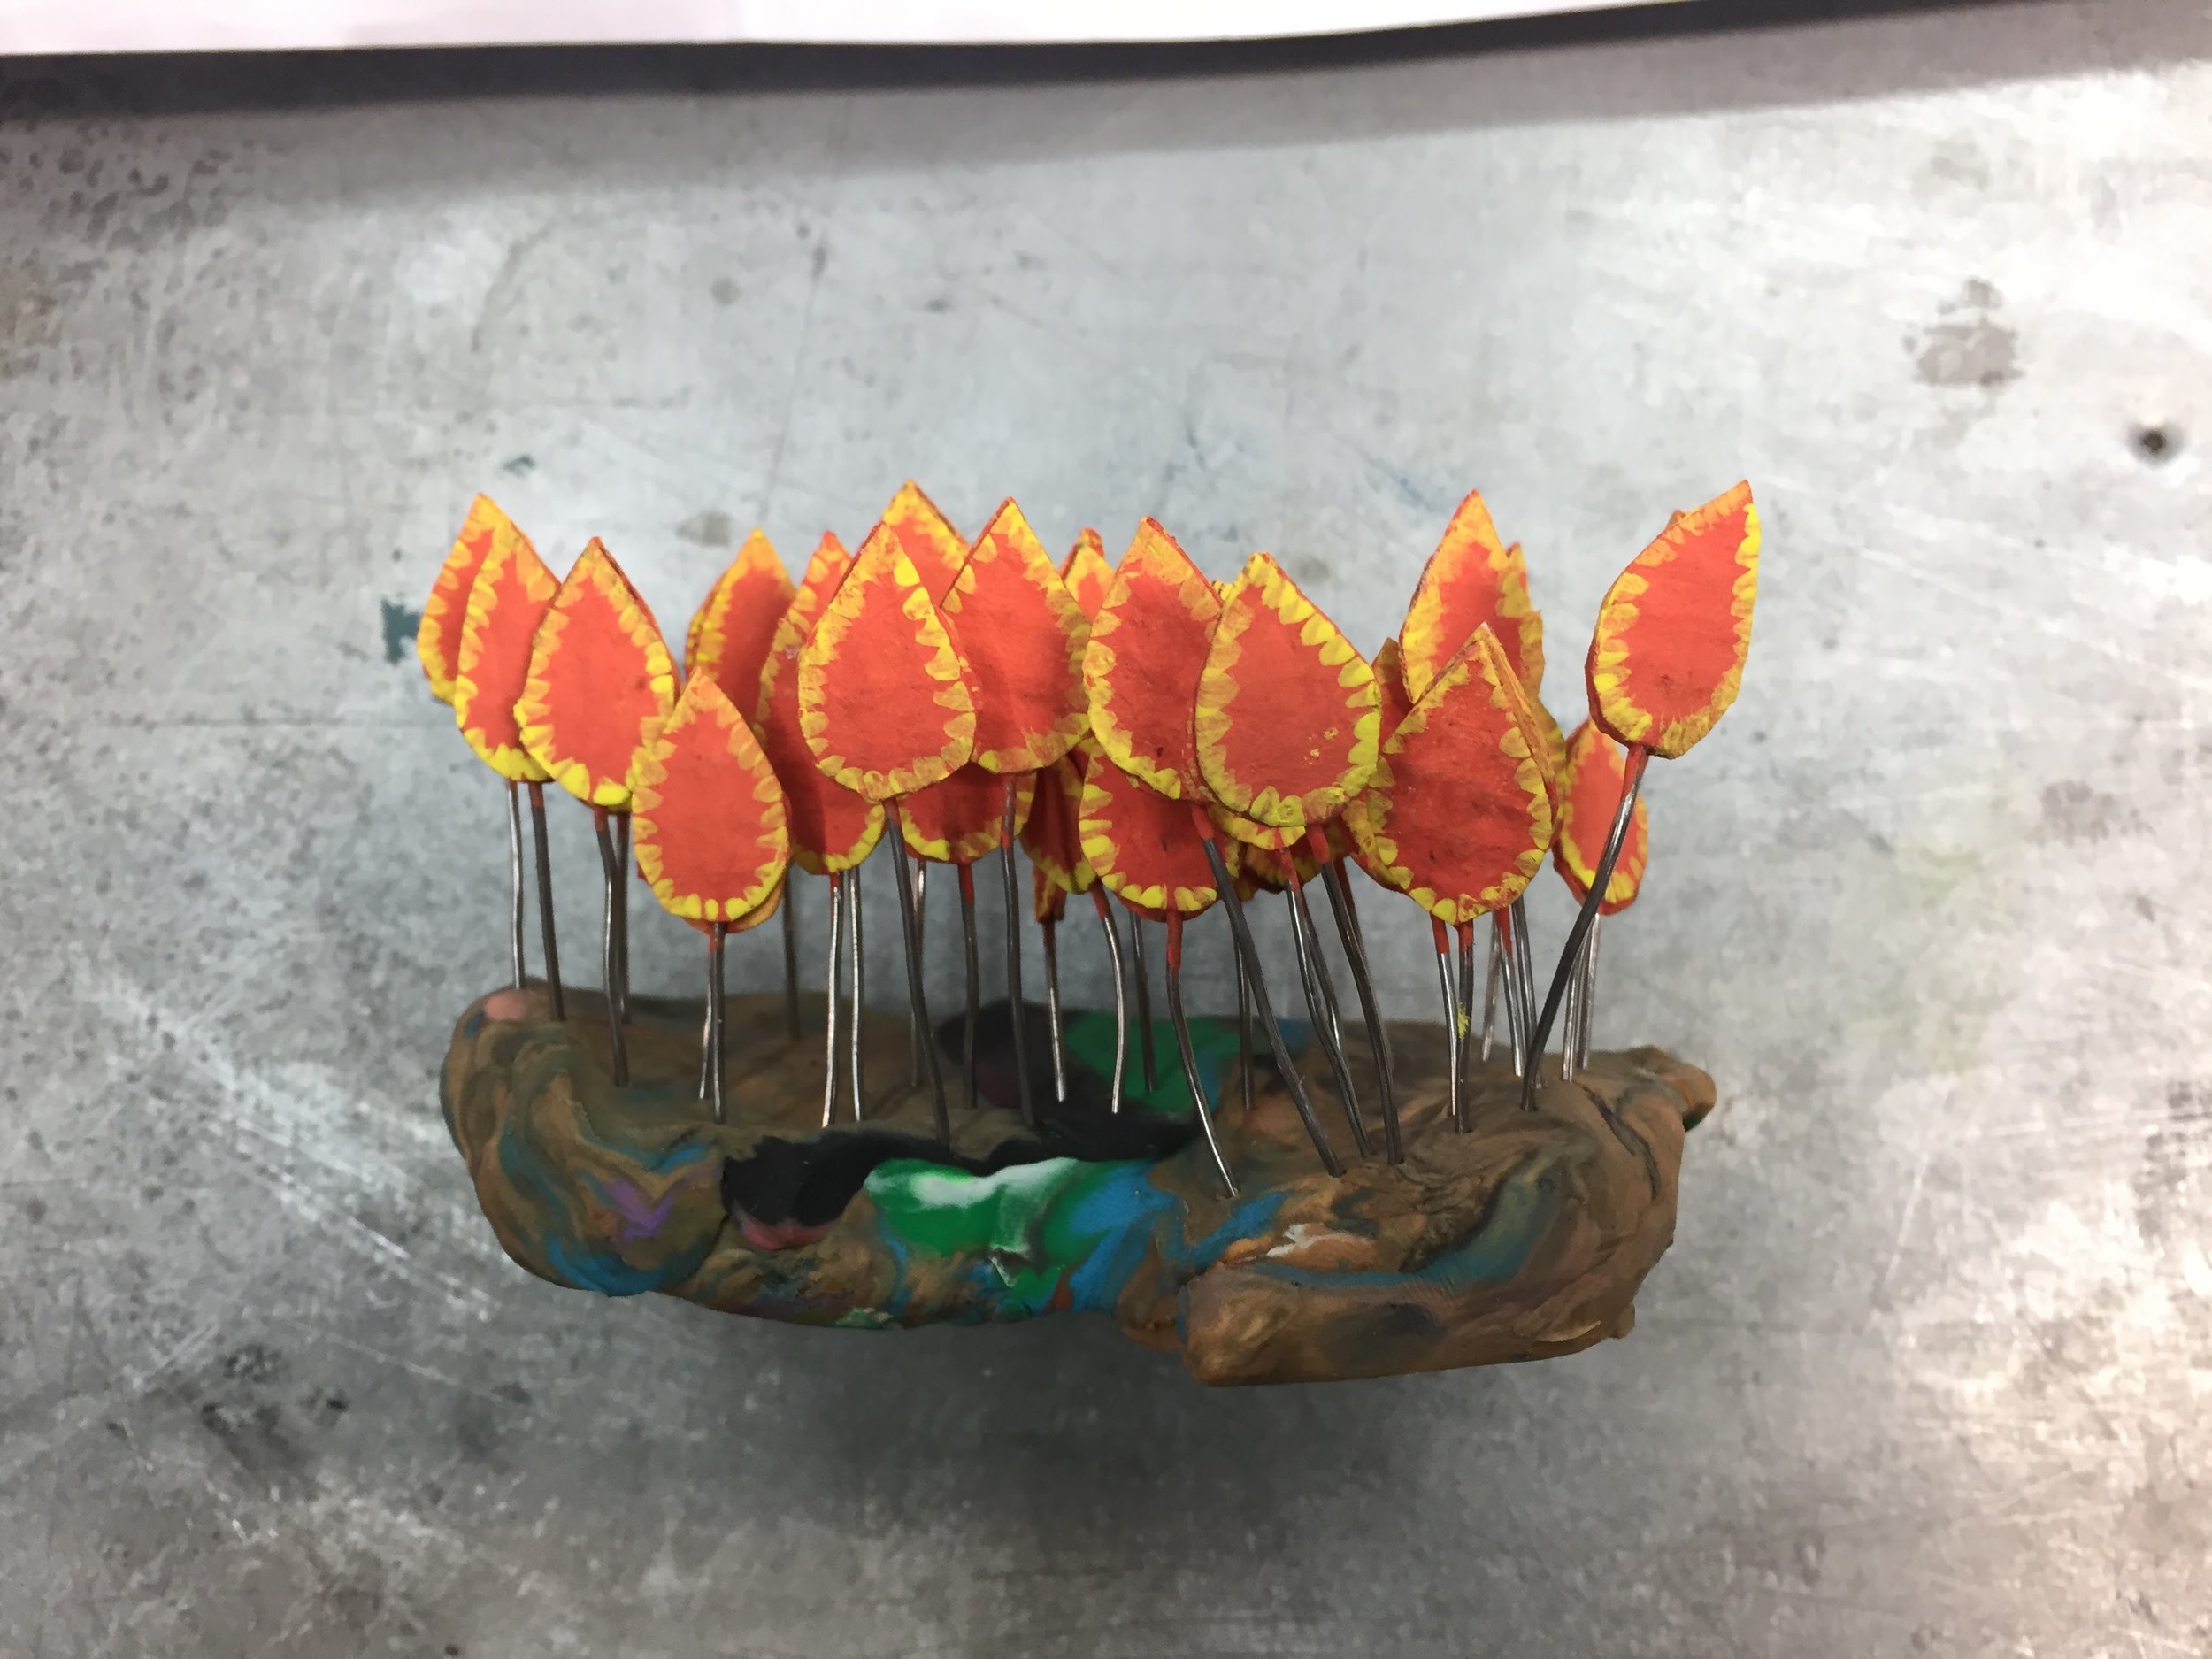
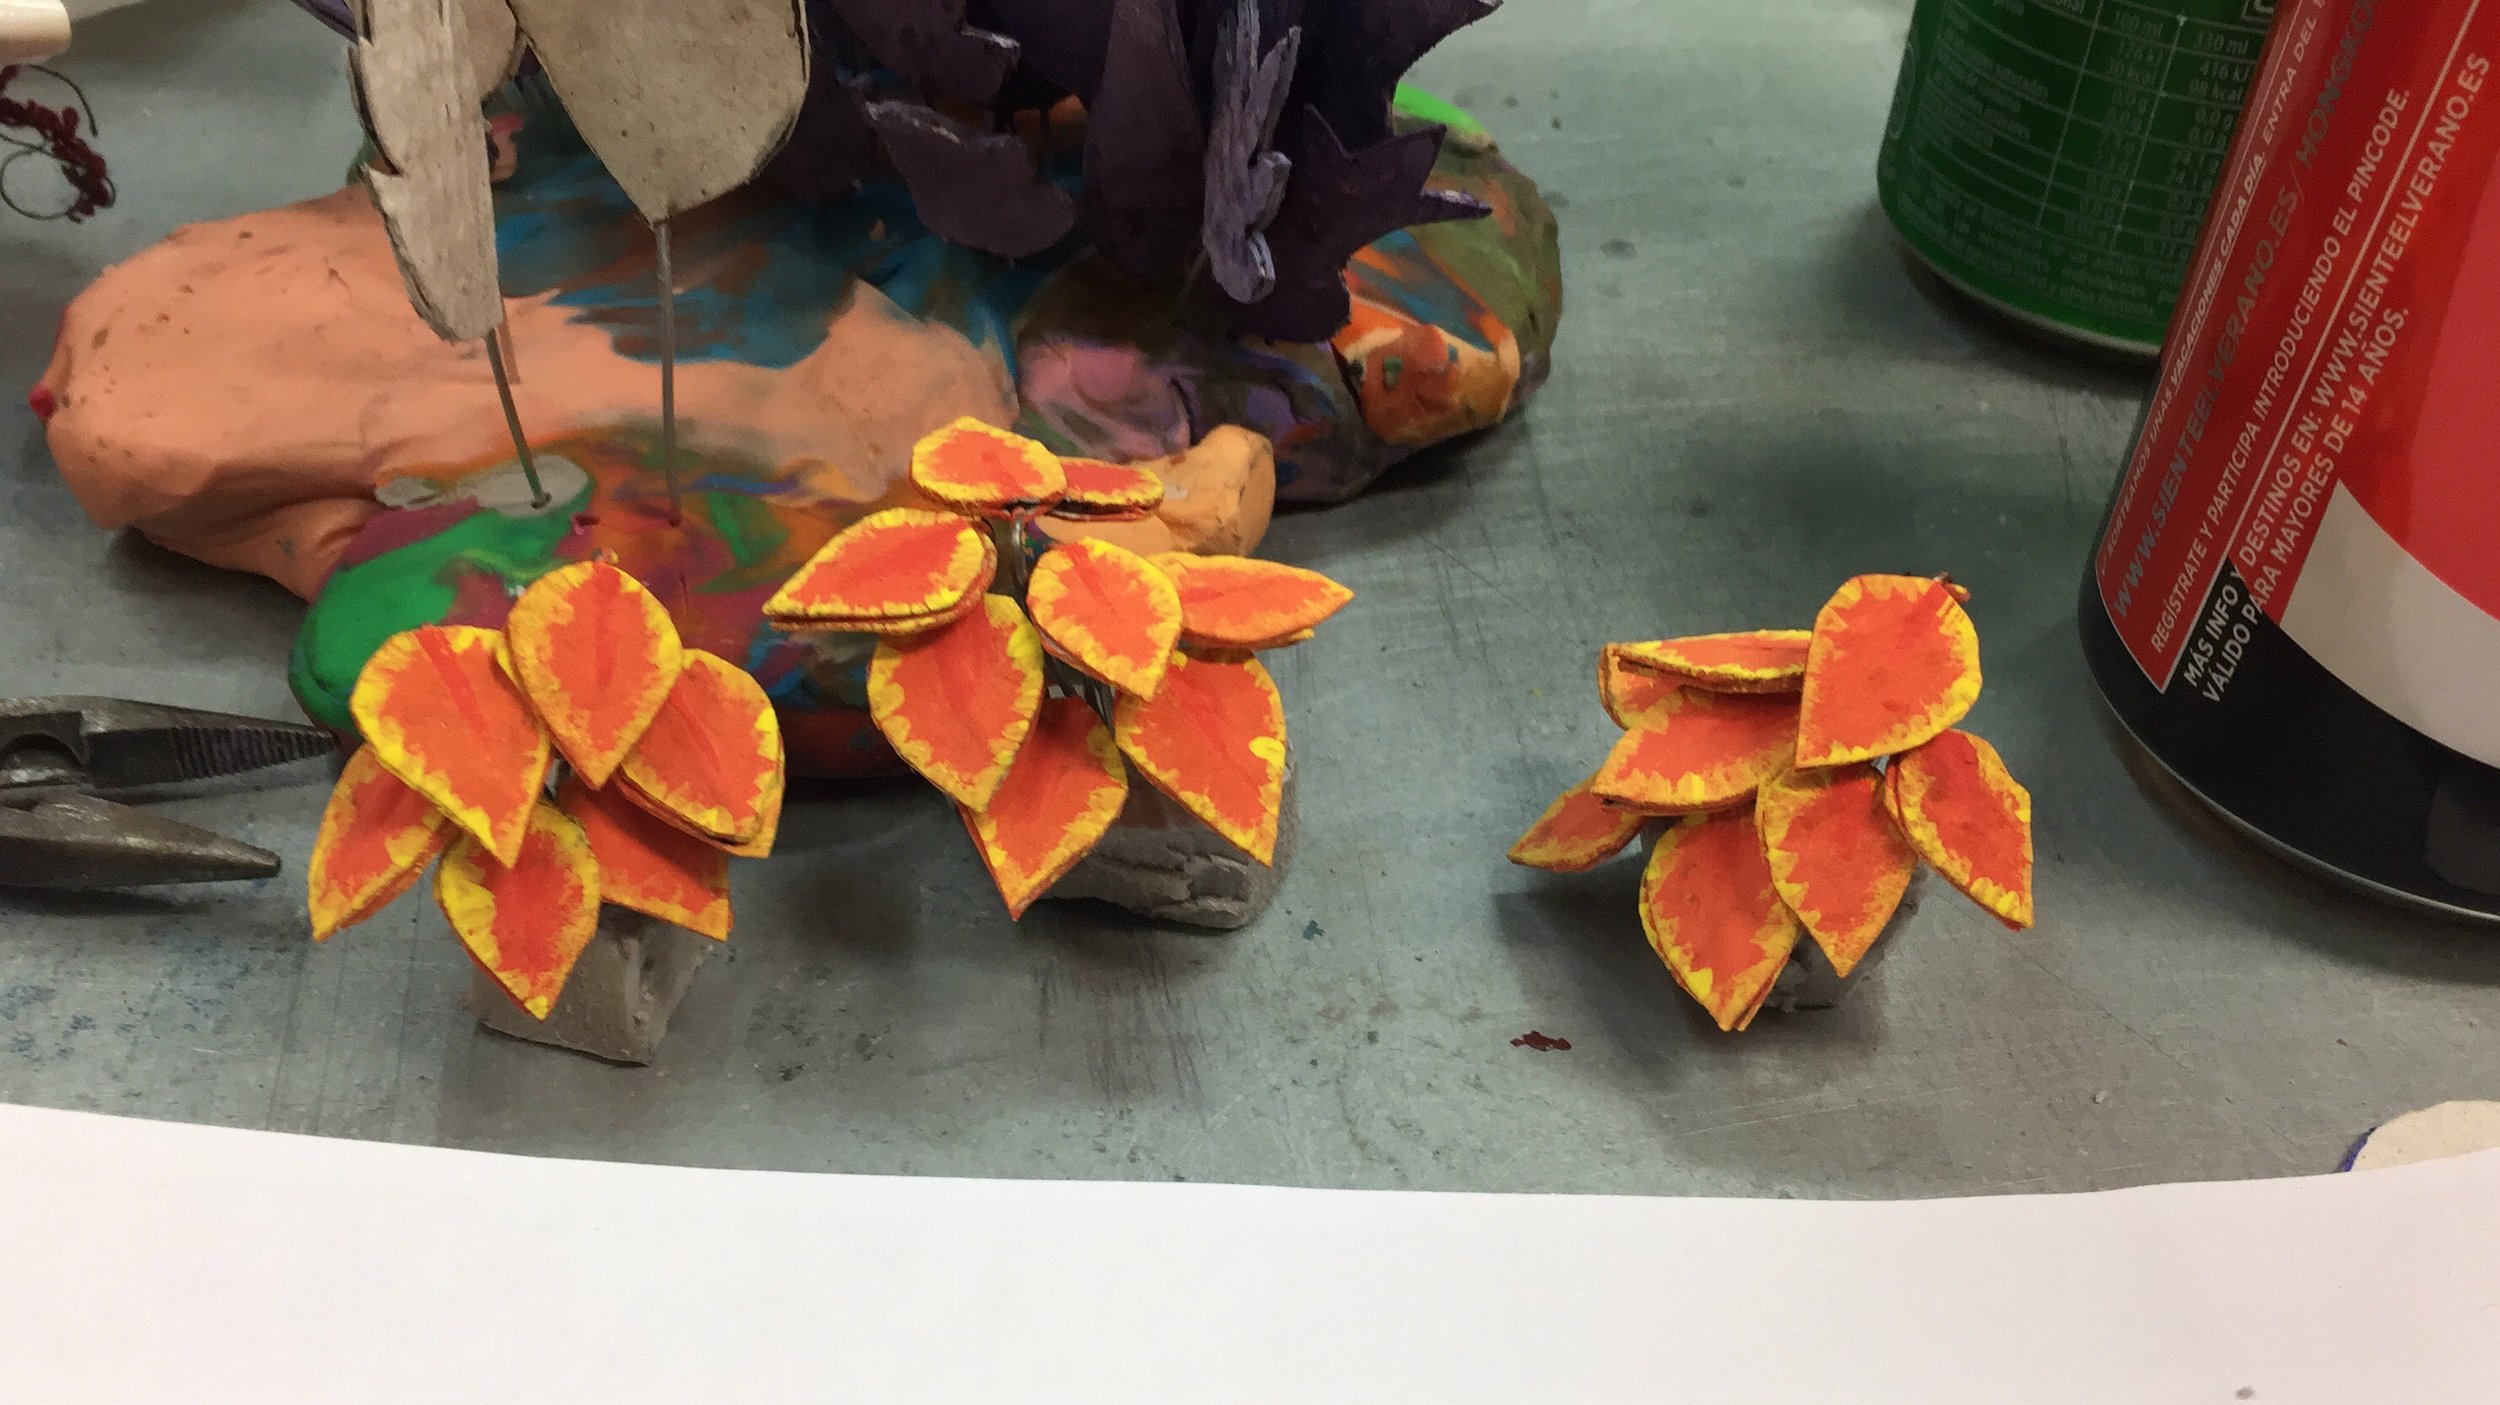
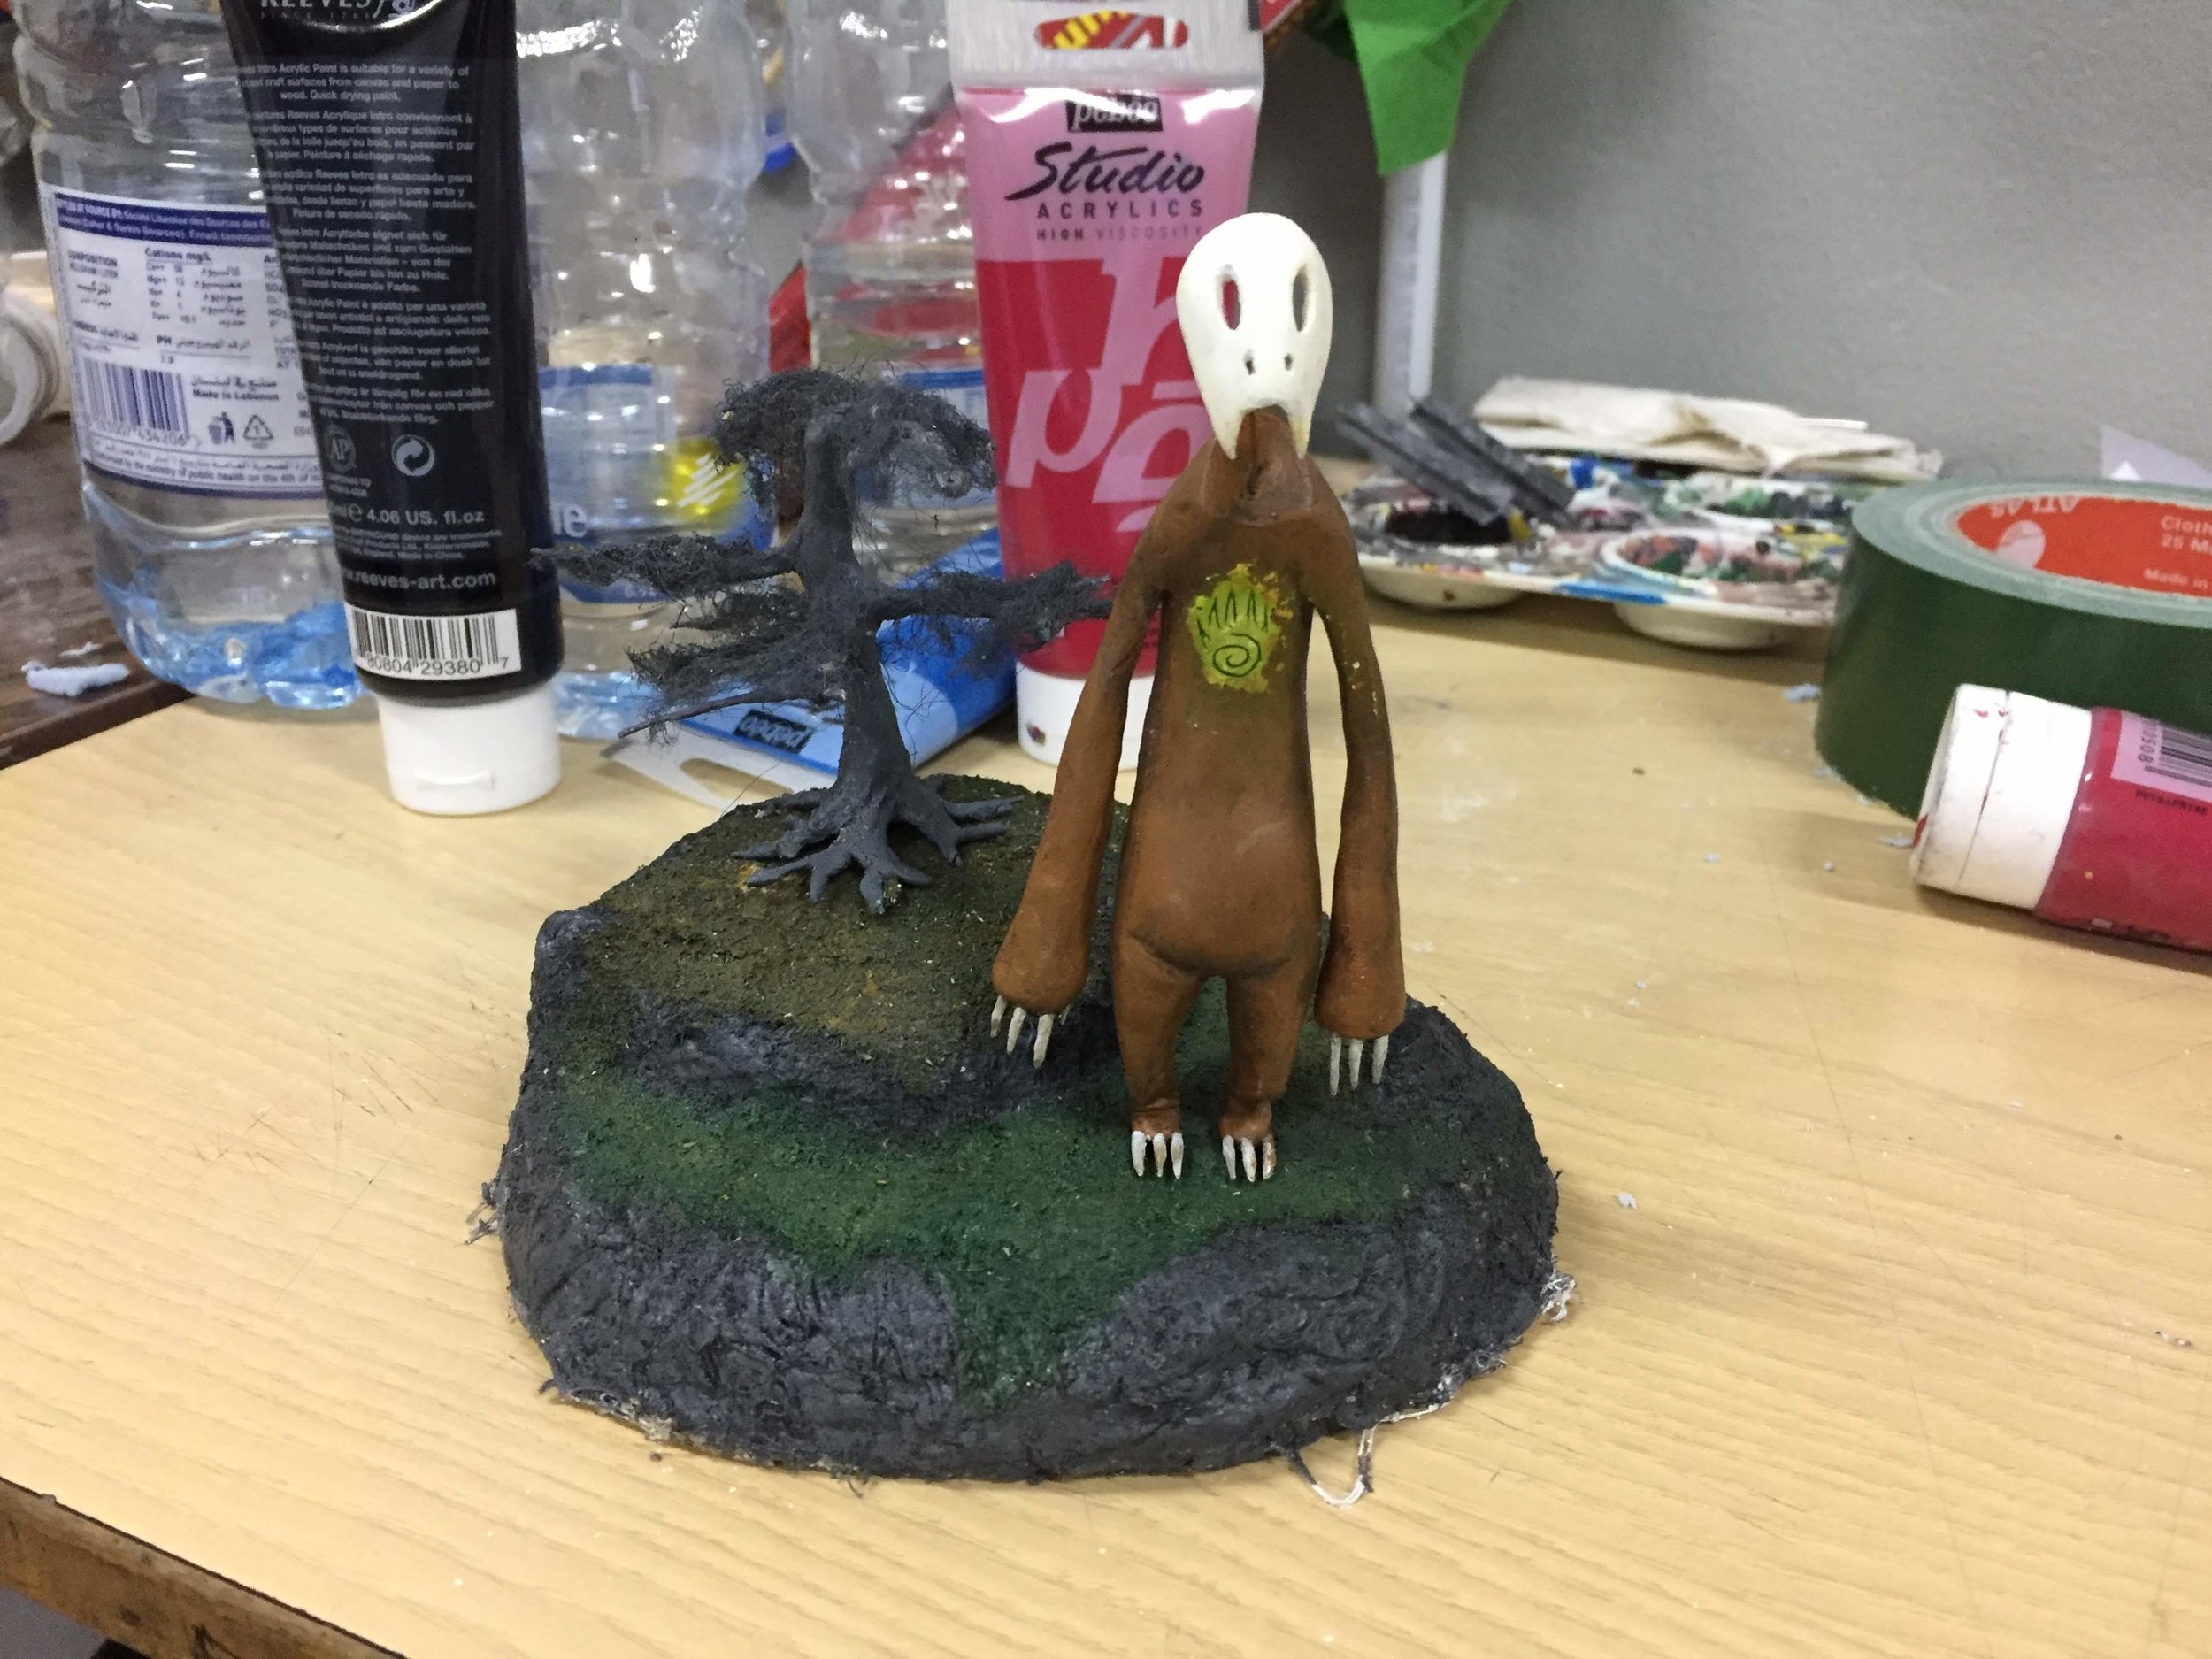
Above are some of the set elements in different stages of creation.
More details to come as soon as I can release them!
Frank featured in TV3 Spot
TV3, a Spanish TV channel, came to ECIB to shoot a small spot explaining how Stop Motion animation is done through a small workshop we did, creating and animating a paper puppet.
Thus the birth of Frank with his banjo!
Uns alumnes de l'Escola de Cinema de Barcelona es disposen a fer les seves pel·lis amb stop-motion. Amb ells descobrim els secrets d'aquesta tècnica d'animació. Este contenido no me apartenece. © Corporació Catalana de Mitjans Audiovisuals, SA
Ps: This is not the first or the last time they misspell my name...
Marvin the Emo Chicken
Meet Marvin the Emo Chicken.


The idea came to me while I was on the phone, doodling. I hung up, looked at my concoction and just laughed.


I jumped to the modelling phase and really enjoyed the attitude I got from this guy. I decided I wanted to experiment with different types of materials on the same puppet.


With pieces of foam, I created the basic squeleton of the puppet and covered it with a thin layer of clay and modeled the basic body shape.


I added the details to the body and clothing. Marvin is, at this point, armless because I chose to do the clothing in Latex and the body in felt to really create a contrast of textures for the different materials.


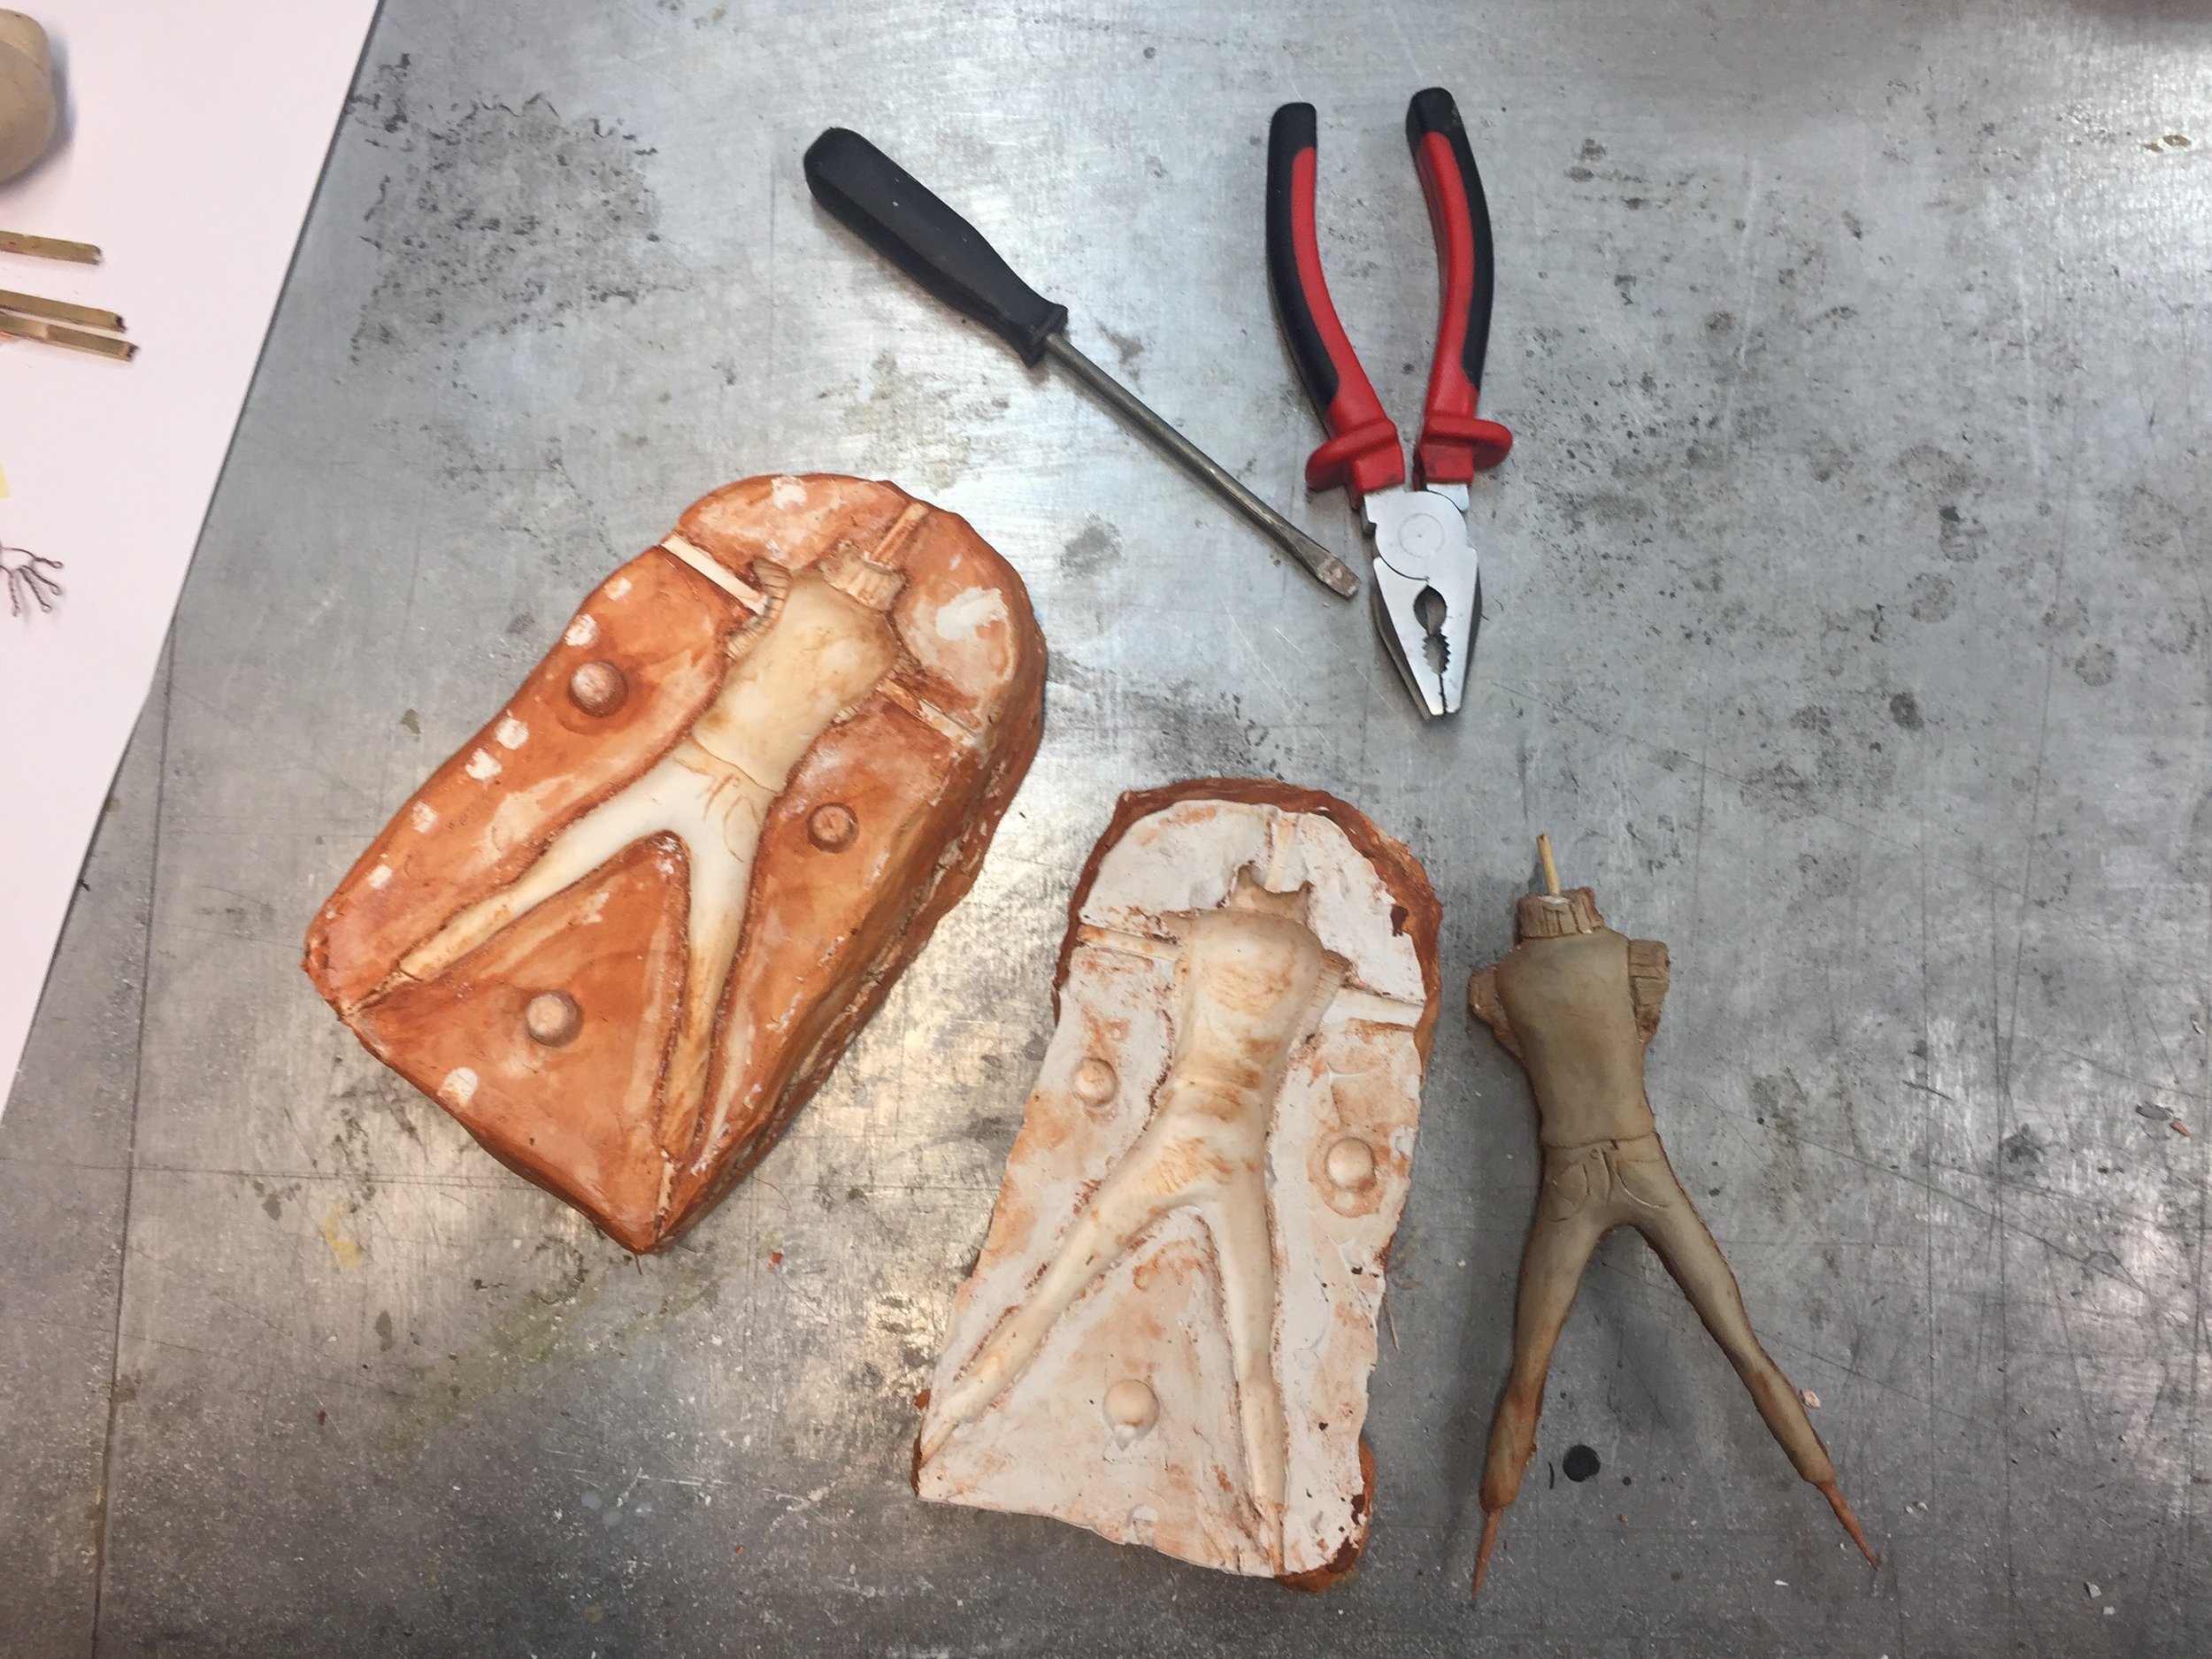
Let the moulding start! From left to right is the progression of casting the first side of the mould: Create walls around the puppet and cover until half of the body is hidden. With the butt of a screwdriver (or anything else that's a bit wide) create grooves that will serve as guides to where the two parts should meet. With a brush, add a thin coat of liquid soap so the puppet can be easily removed from the mould later on. Pour the quick dry plaster halfway through, add some fibres to strengthen the mould and pour the rest of the mixture in until it reaches the top. Let dry completely! Remove the walls and the rest of the clay from the puppet, clean well and re-build new walls around the mould. And repeat!
It's so satisfying when opening the mould for the first time. Marvin 0.1 survived the opening process. Which is great seeing as I would, later on, need him to recast a mould. More on that later.
Here's the final mould. All cleaned and pretty. It broke in a few small places, nothing that can't be fixed with a little epoxy glue. It's always better to put the two pieces in an oven to make sure they dry all the way through. To check if it's completely dry, take it out the oven and put it on a surface for a few seconds and lift it. If there's fog on the surface, that means it's still humid.


Carving out the body parts in Balza wood was so nice. I would lose myself to the rhythm of each stroke. I made the hands out of thin copper wire.


Flipping the mould was so stressful and exciting. You can see my reaction right after the flip. You can see me think "did i do it? is it in?" I loved it.

The opening process was quite simple, in theory. Seeing as the latex needed 5 hours to cure, we couldn't wait that long seeing as the studio needed to close for the day. I opened it the next day, at that point, the latex had almost glued the mould completely shut. After a lot of pulling and carving, the mould finally opened but one side did not survive. (That's when I thank god the original model was still intact, all I needed was to recast the mould). Anyway, next step was to trim the excess. That's basically it in terms of latex and moulds. Next up, felting!


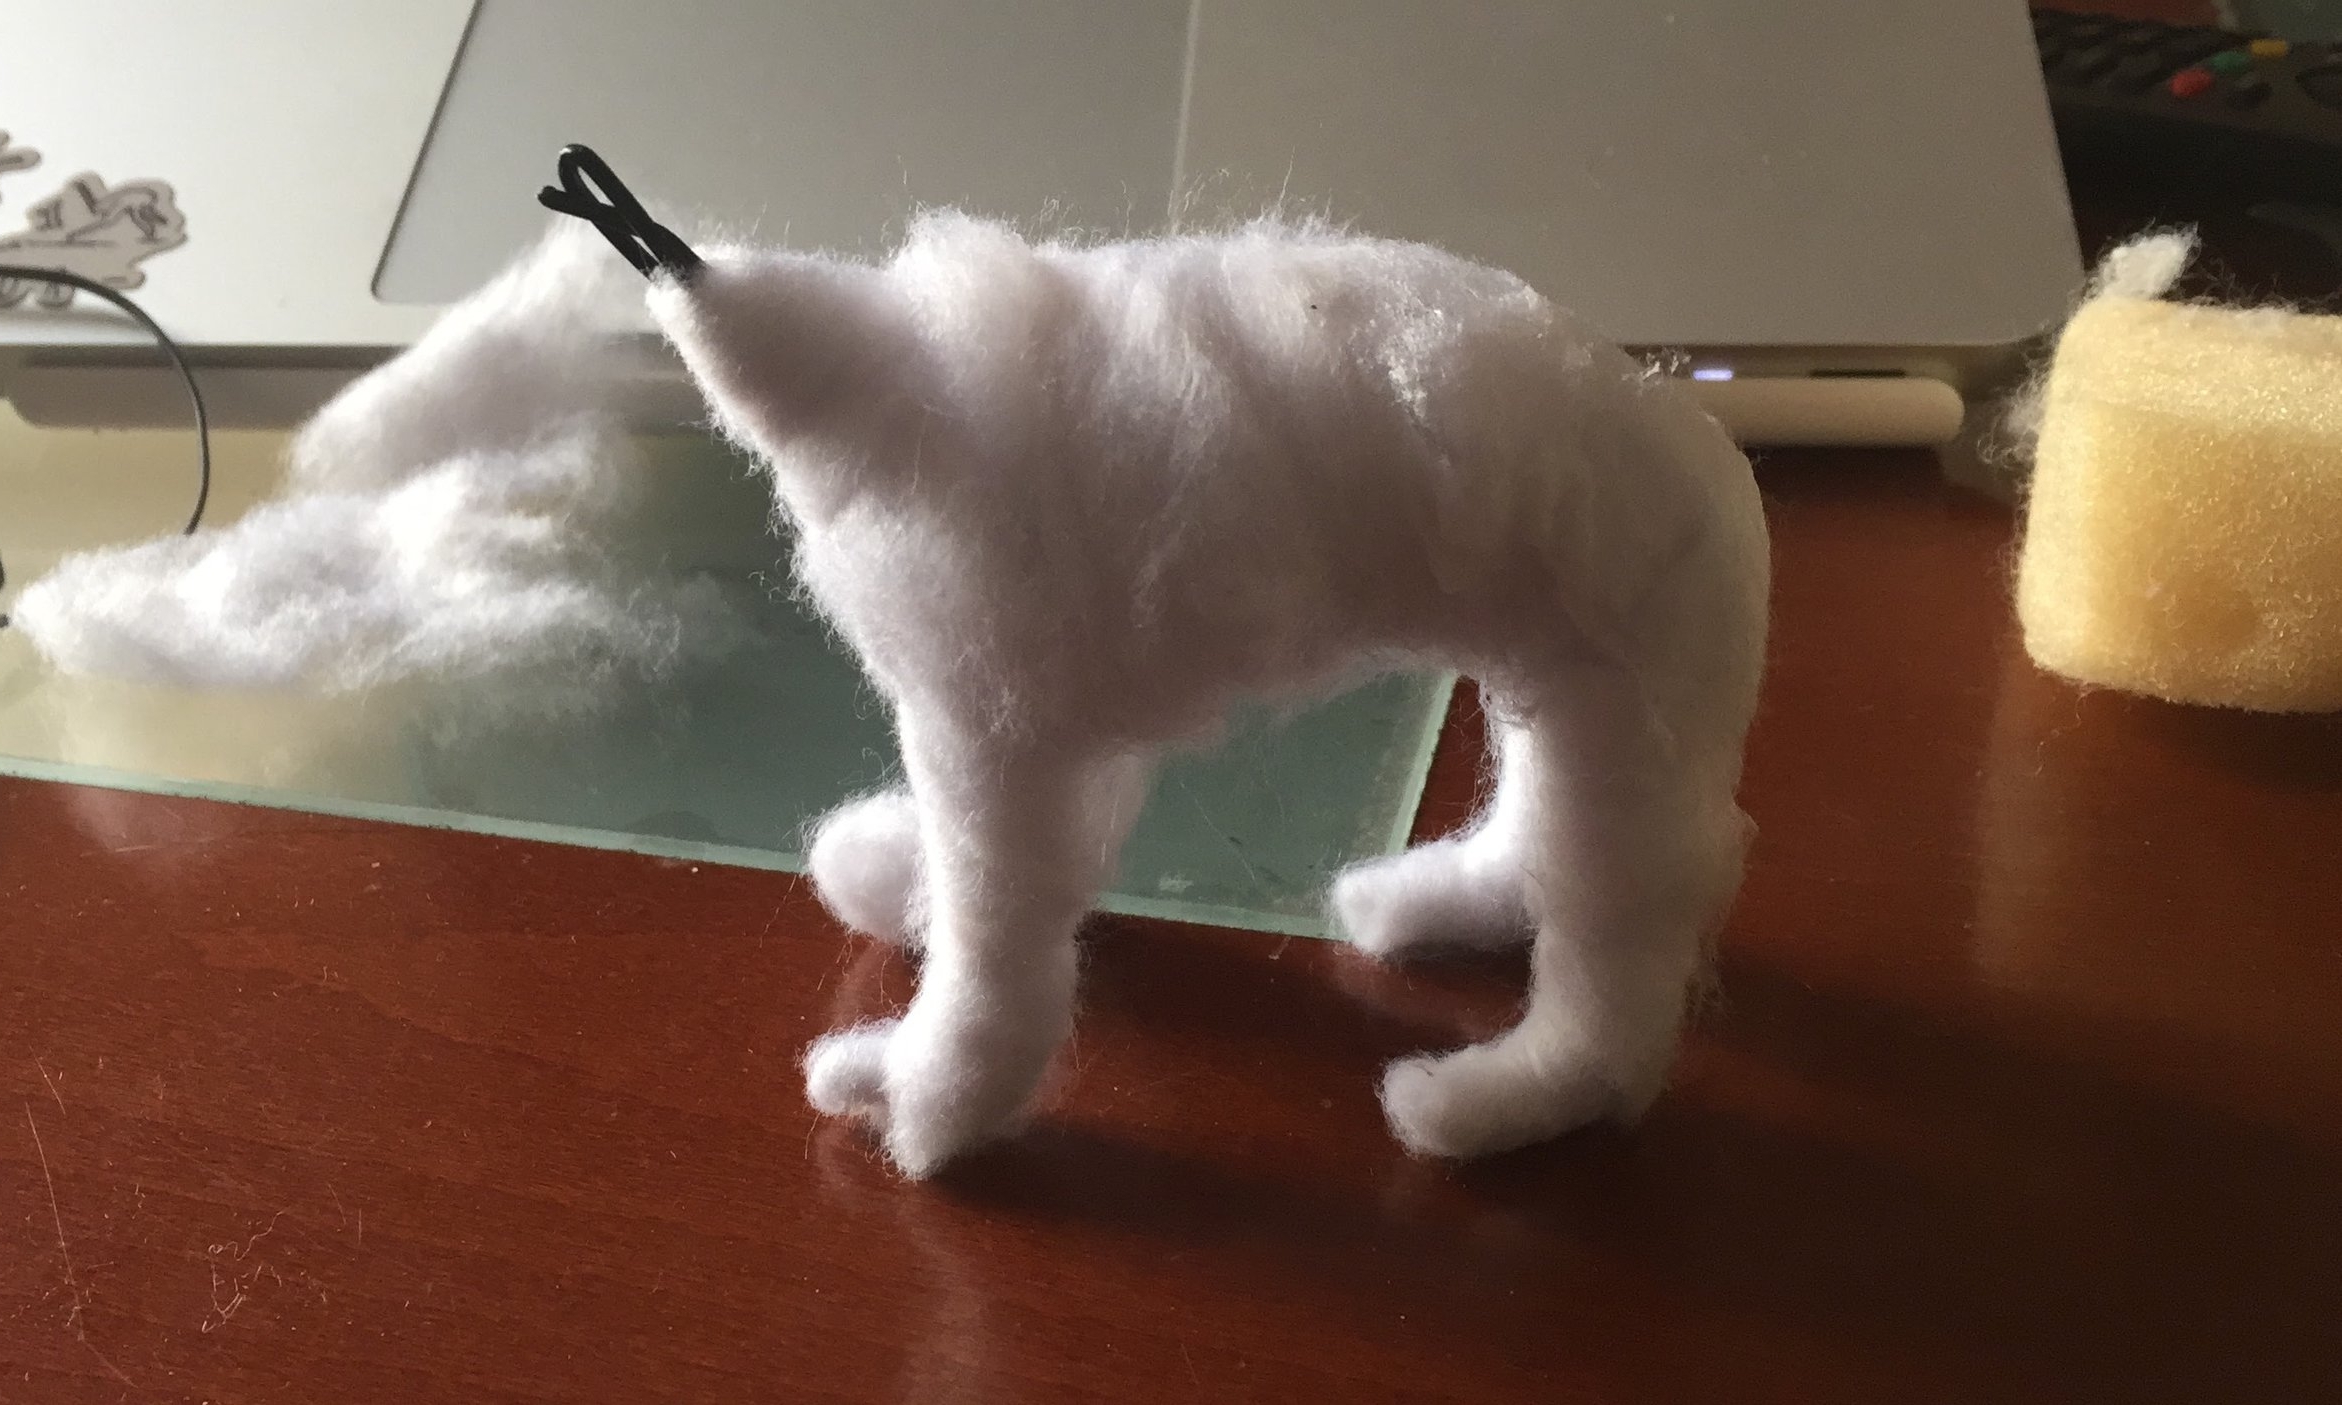
Finishing up the rest of the pieces and prepping them to start felting by adding some cotton padding and wrapping it with a thin layer of bandages.


So this was my first felt puppet. The head didn't come out as I had planned in my design but as I was working, another side came out of Marvin. Suddenly Marvin wasn't a teenager with too much angst. He was much older and just pissed off at everything. I loved it. He just grew with every layer of fabric that I added.

Here's the final image of Marvin the Emo Chicken!
Various Animations
Throughout my year at ECIB, we practised animating a lot with small exercises. We focused a lot on lip syncs, specific actions, cycles as well as creating scenes with bits of audios. Here are the ones I did that I liked most.
2.5D Stop Motion PAPER PUPPET
Meet Frank, my banjo player paper puppet. We created this puppet for a TV3 segment at ECIB. The main theme was creating an extremely lightweight puppet, capable to be held down using needles even on extreme poses. For my character, I wanted to create a simple body shape and stick to raw materials, in this case cardboard newspaper and crepe paper.


The rig, consisting of only aluminium wire, is basically glued to the body with a glue gun.
Instagram Feed
I thought I'd add my Instagram feed where I basically post works in progress, updates and small exercises.


WIP: Set Building
Here's a work in progress of a set I'm building. It's a corridor of a madhouse. I've used forced perspective and a progressive deterioration into madness as a general concept.


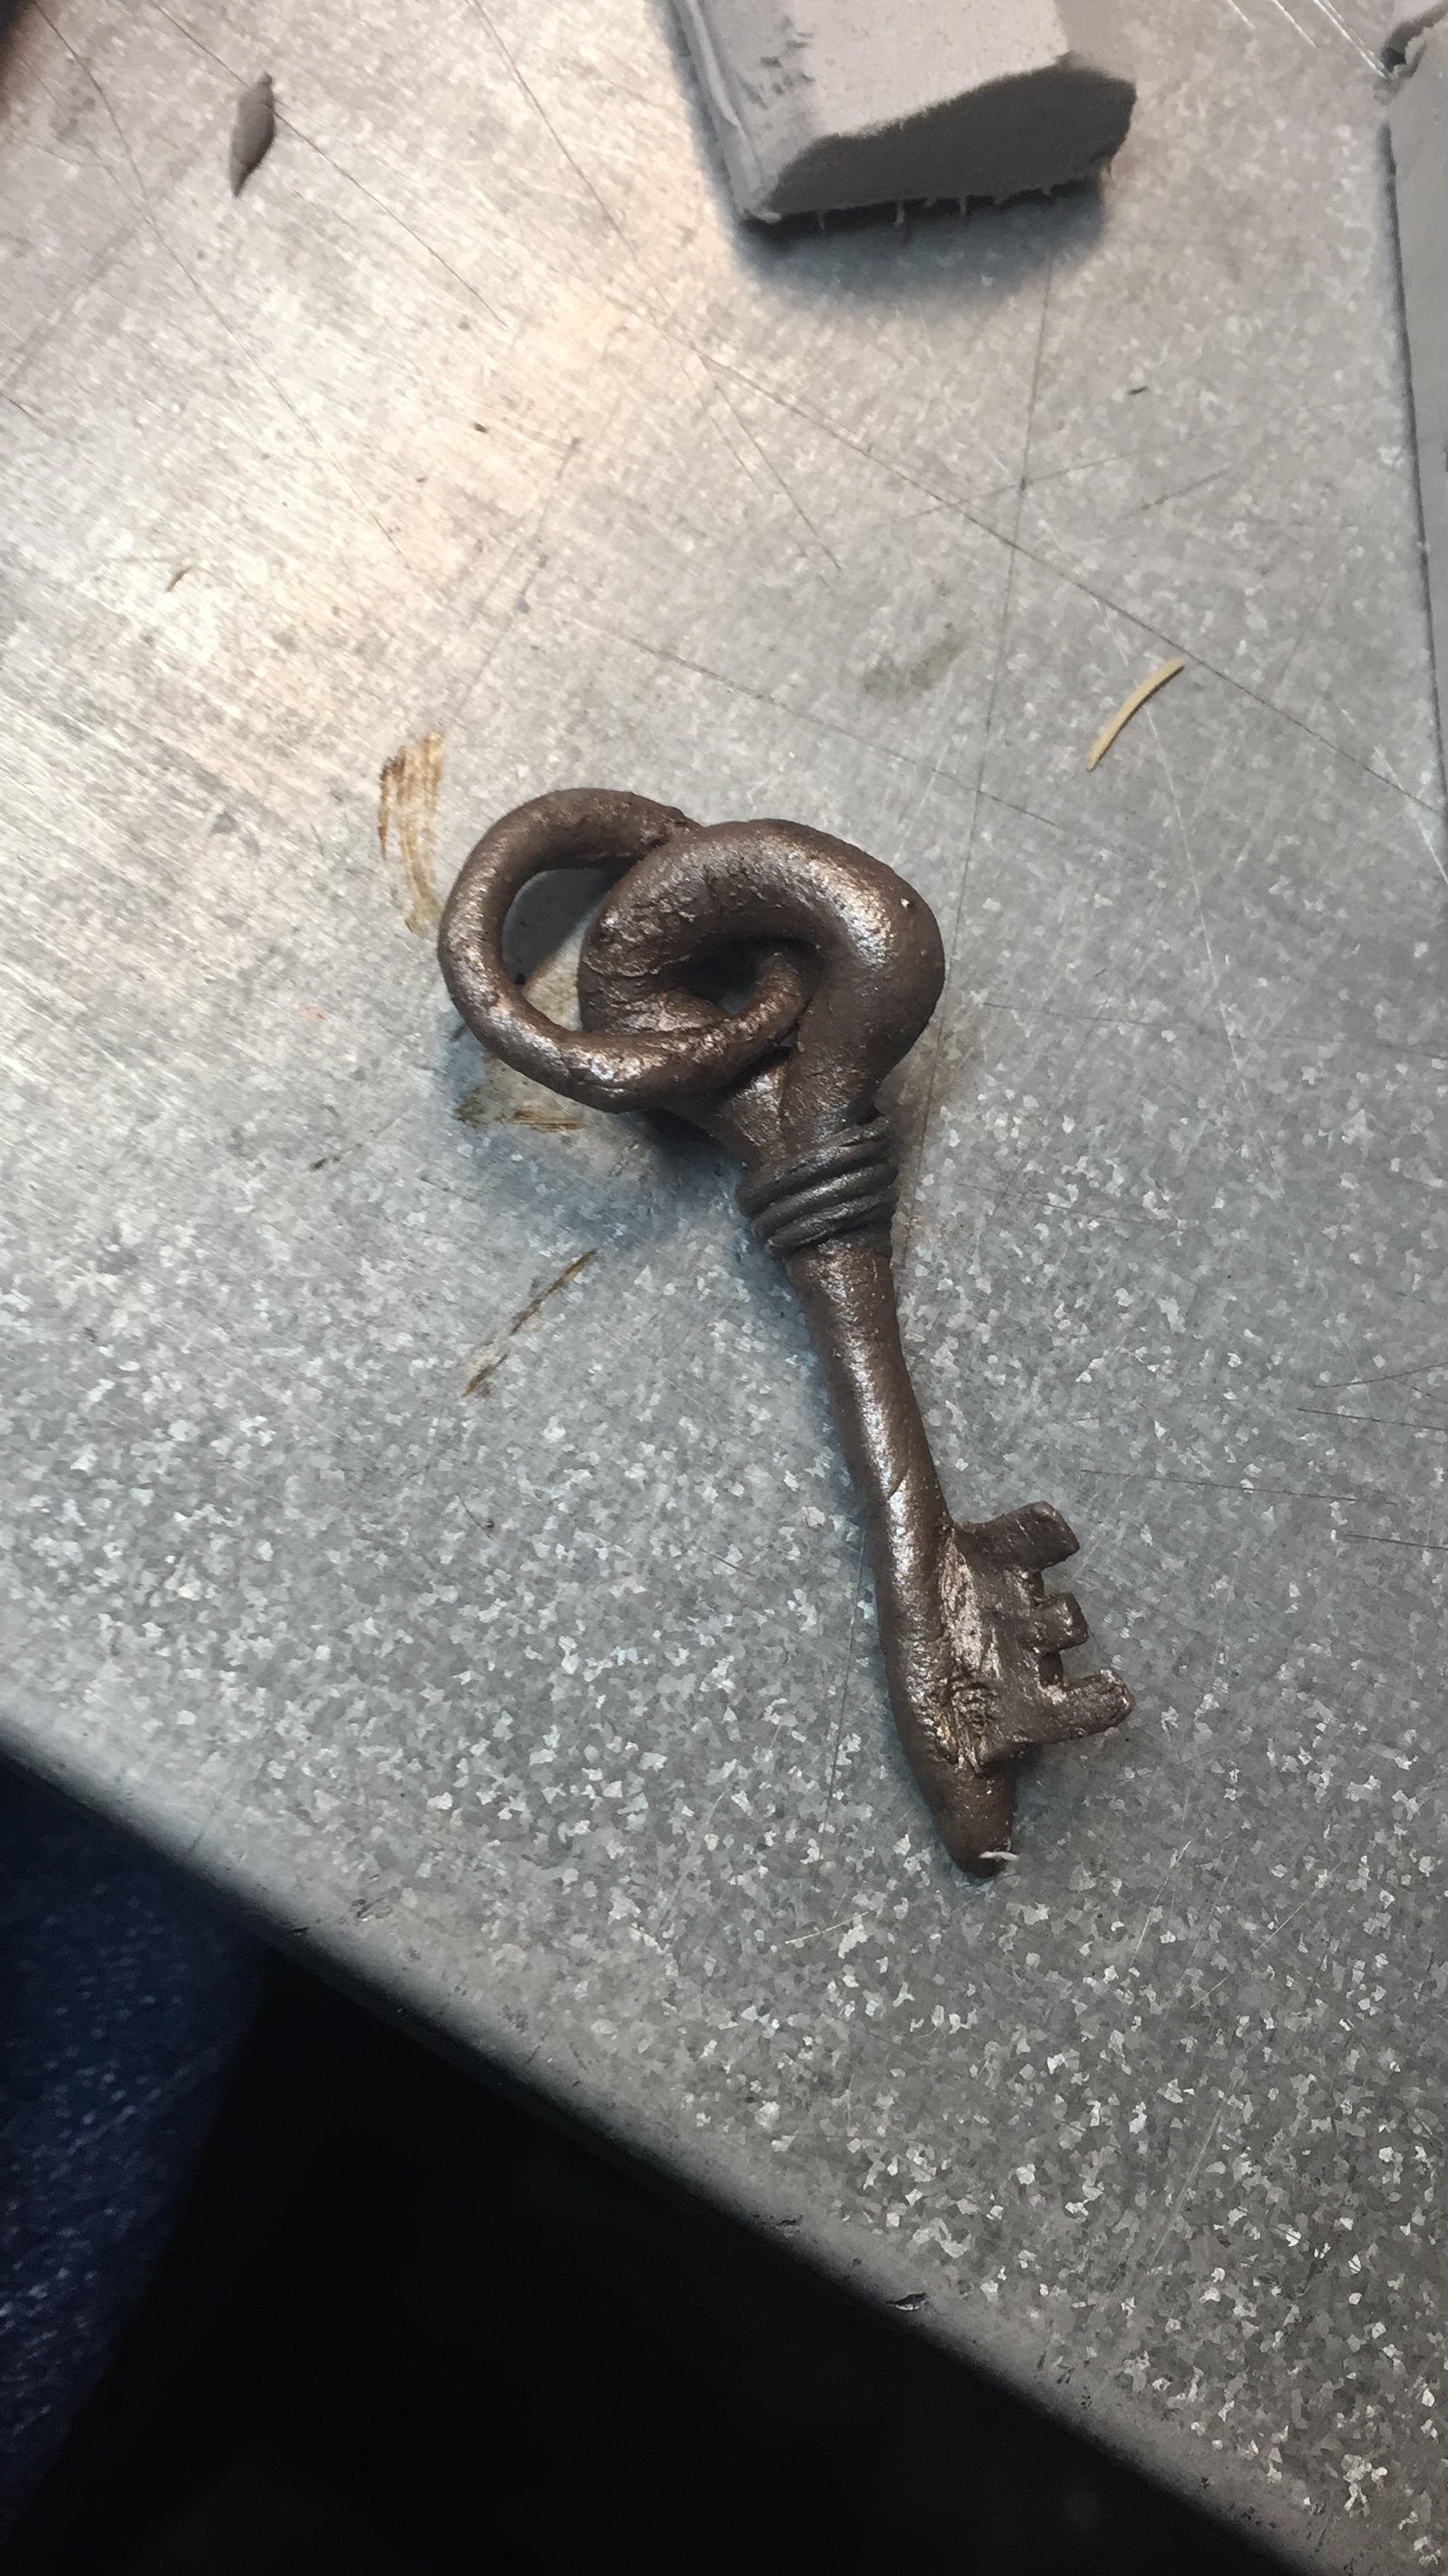
The door to madness is the main element of the set. Based off of steampunk architecture, I really wanted to create contrast with the "door to loony land".


Model of Kloe
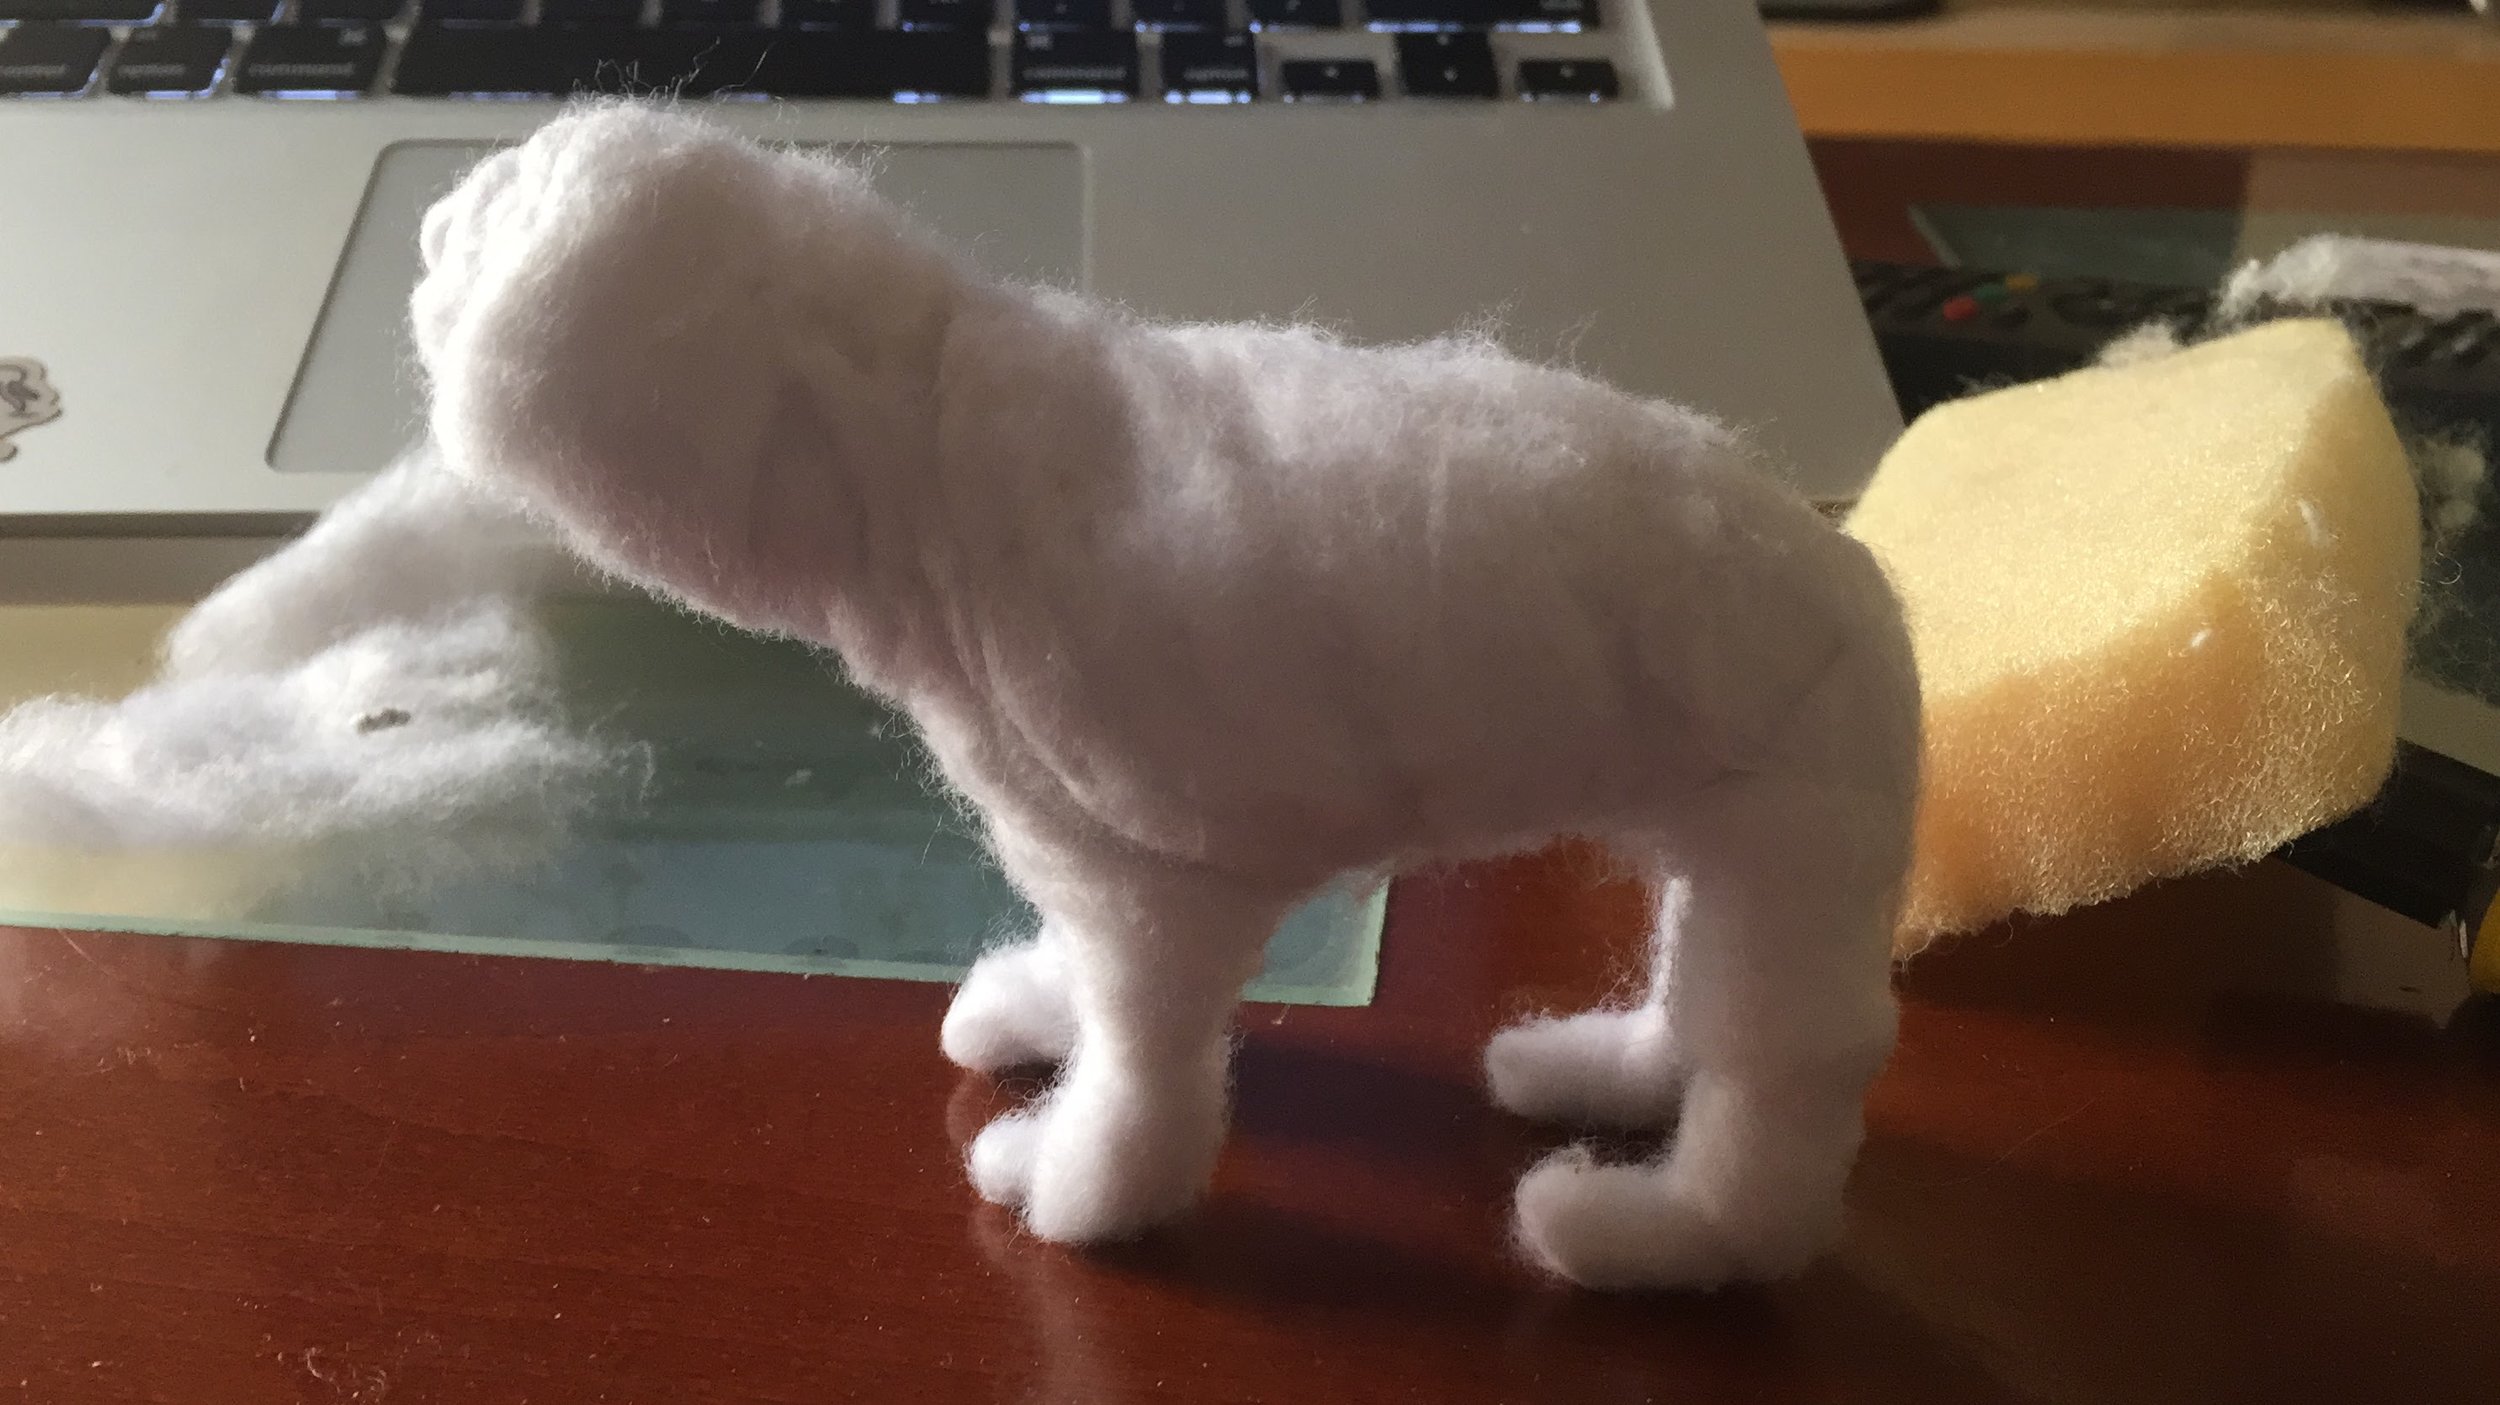
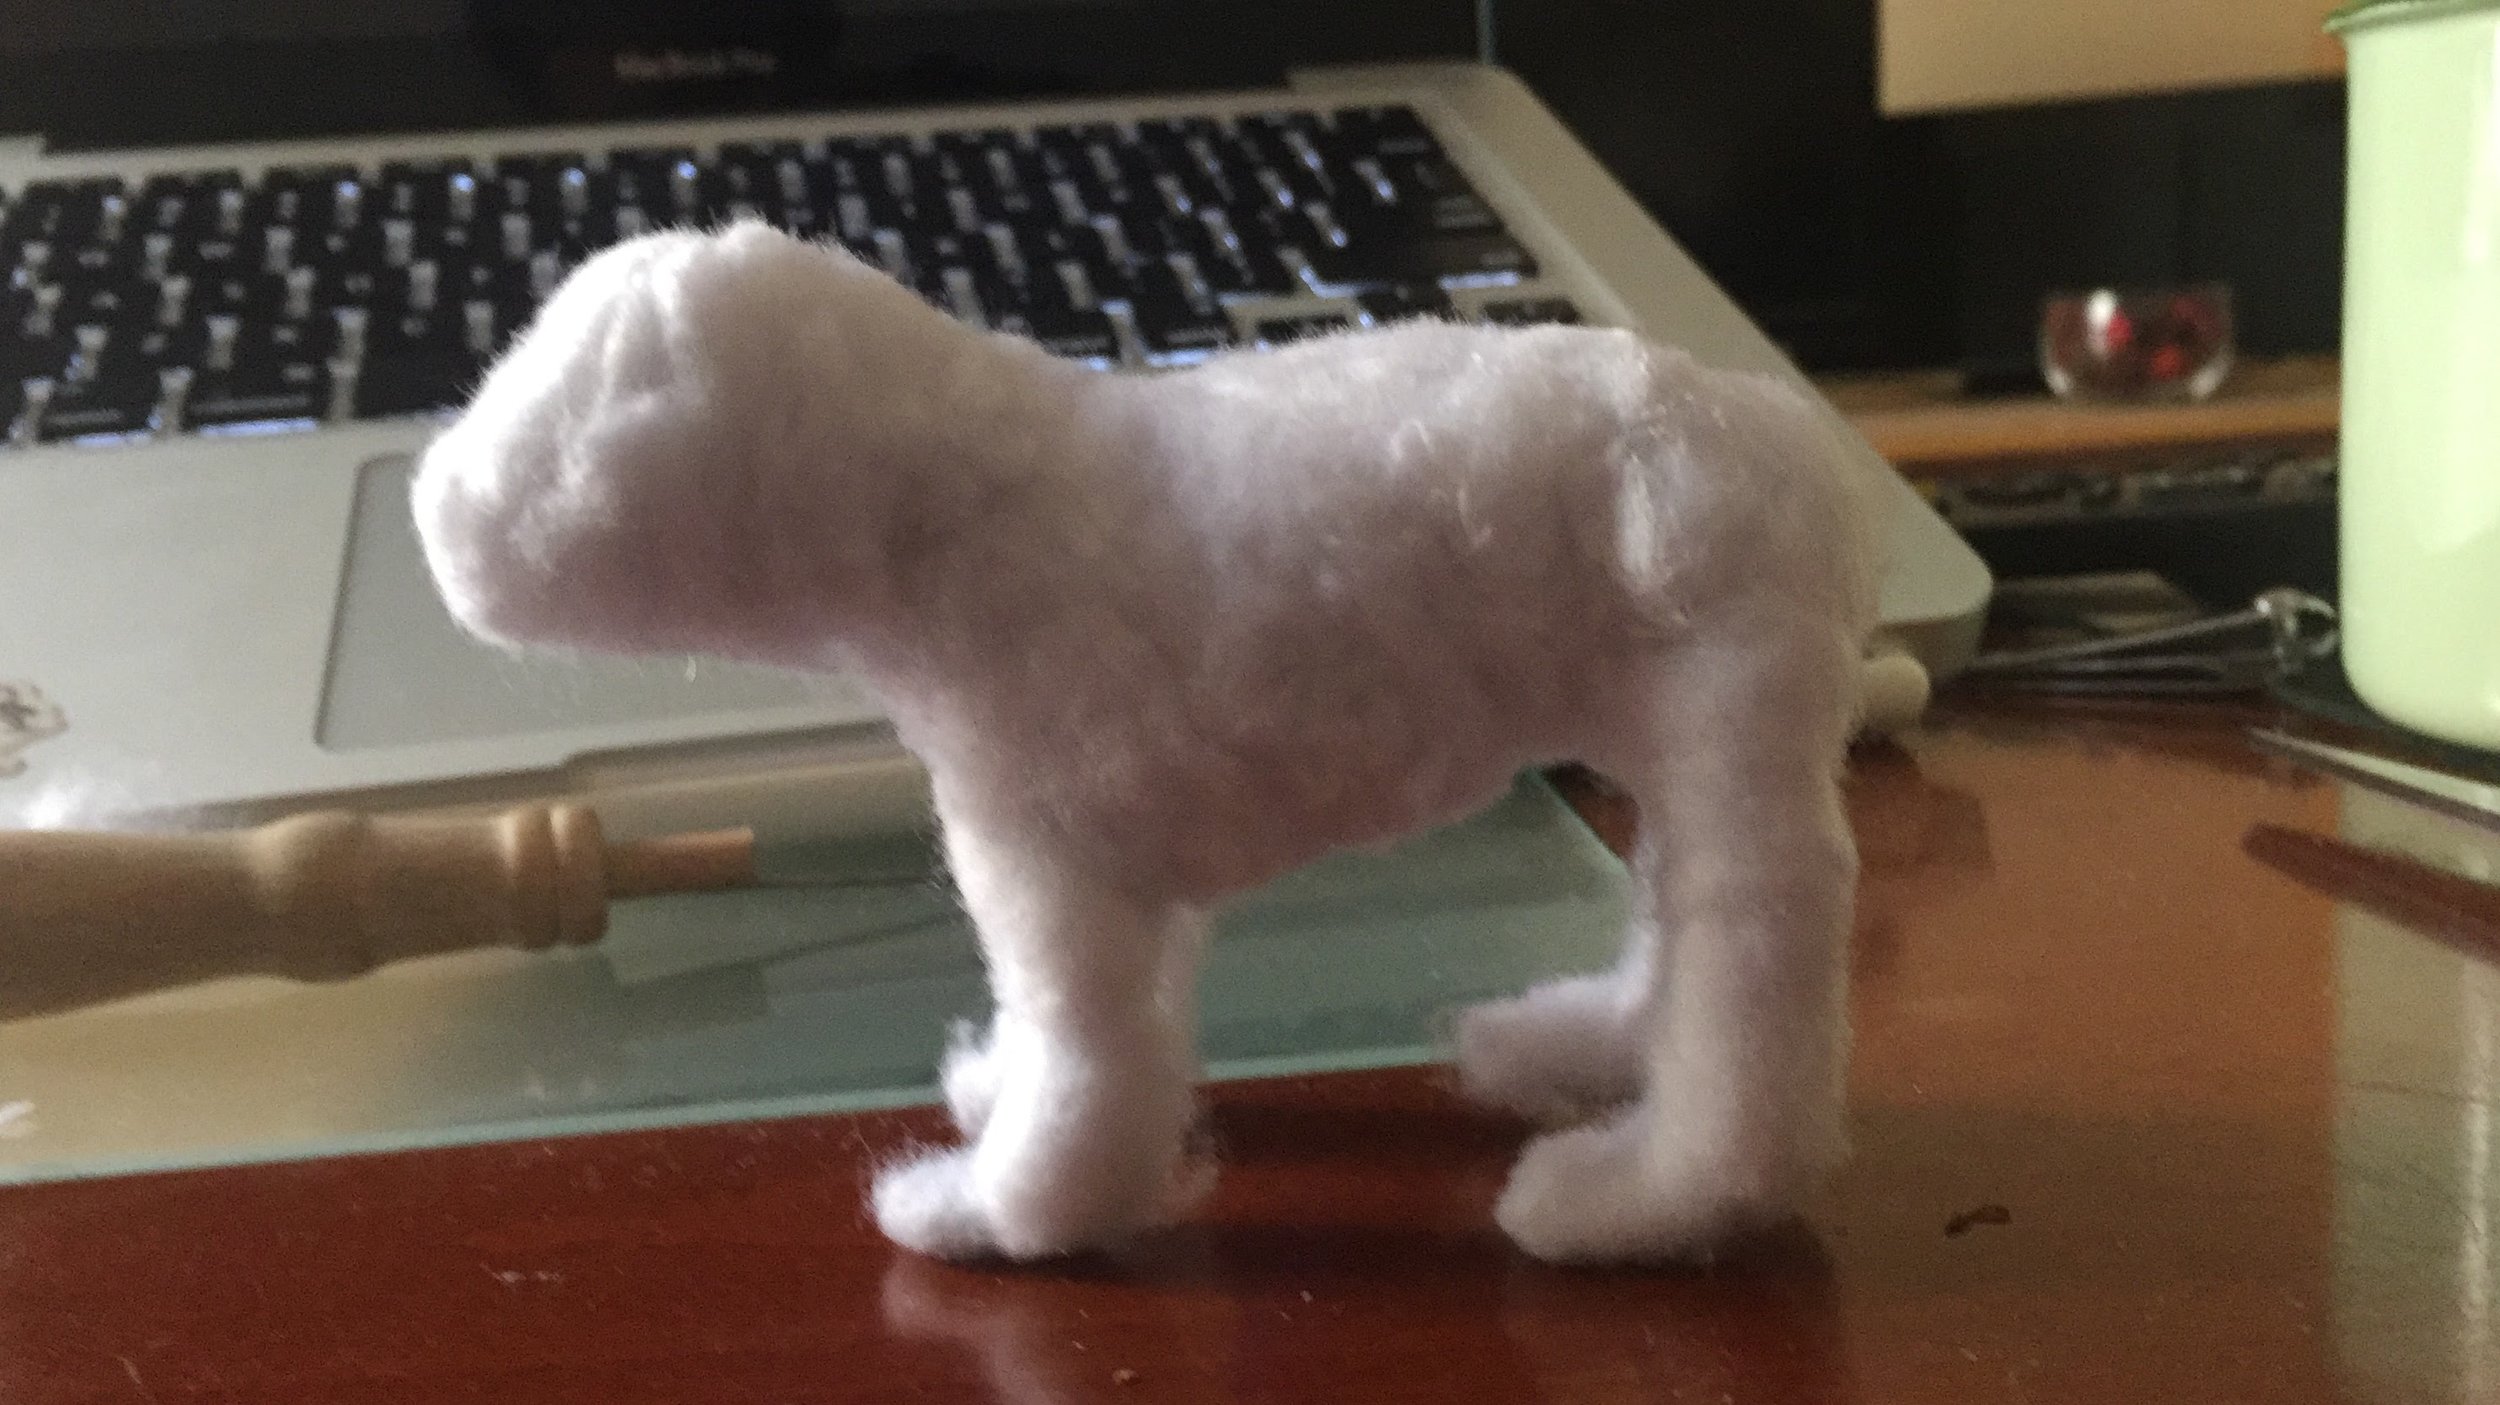
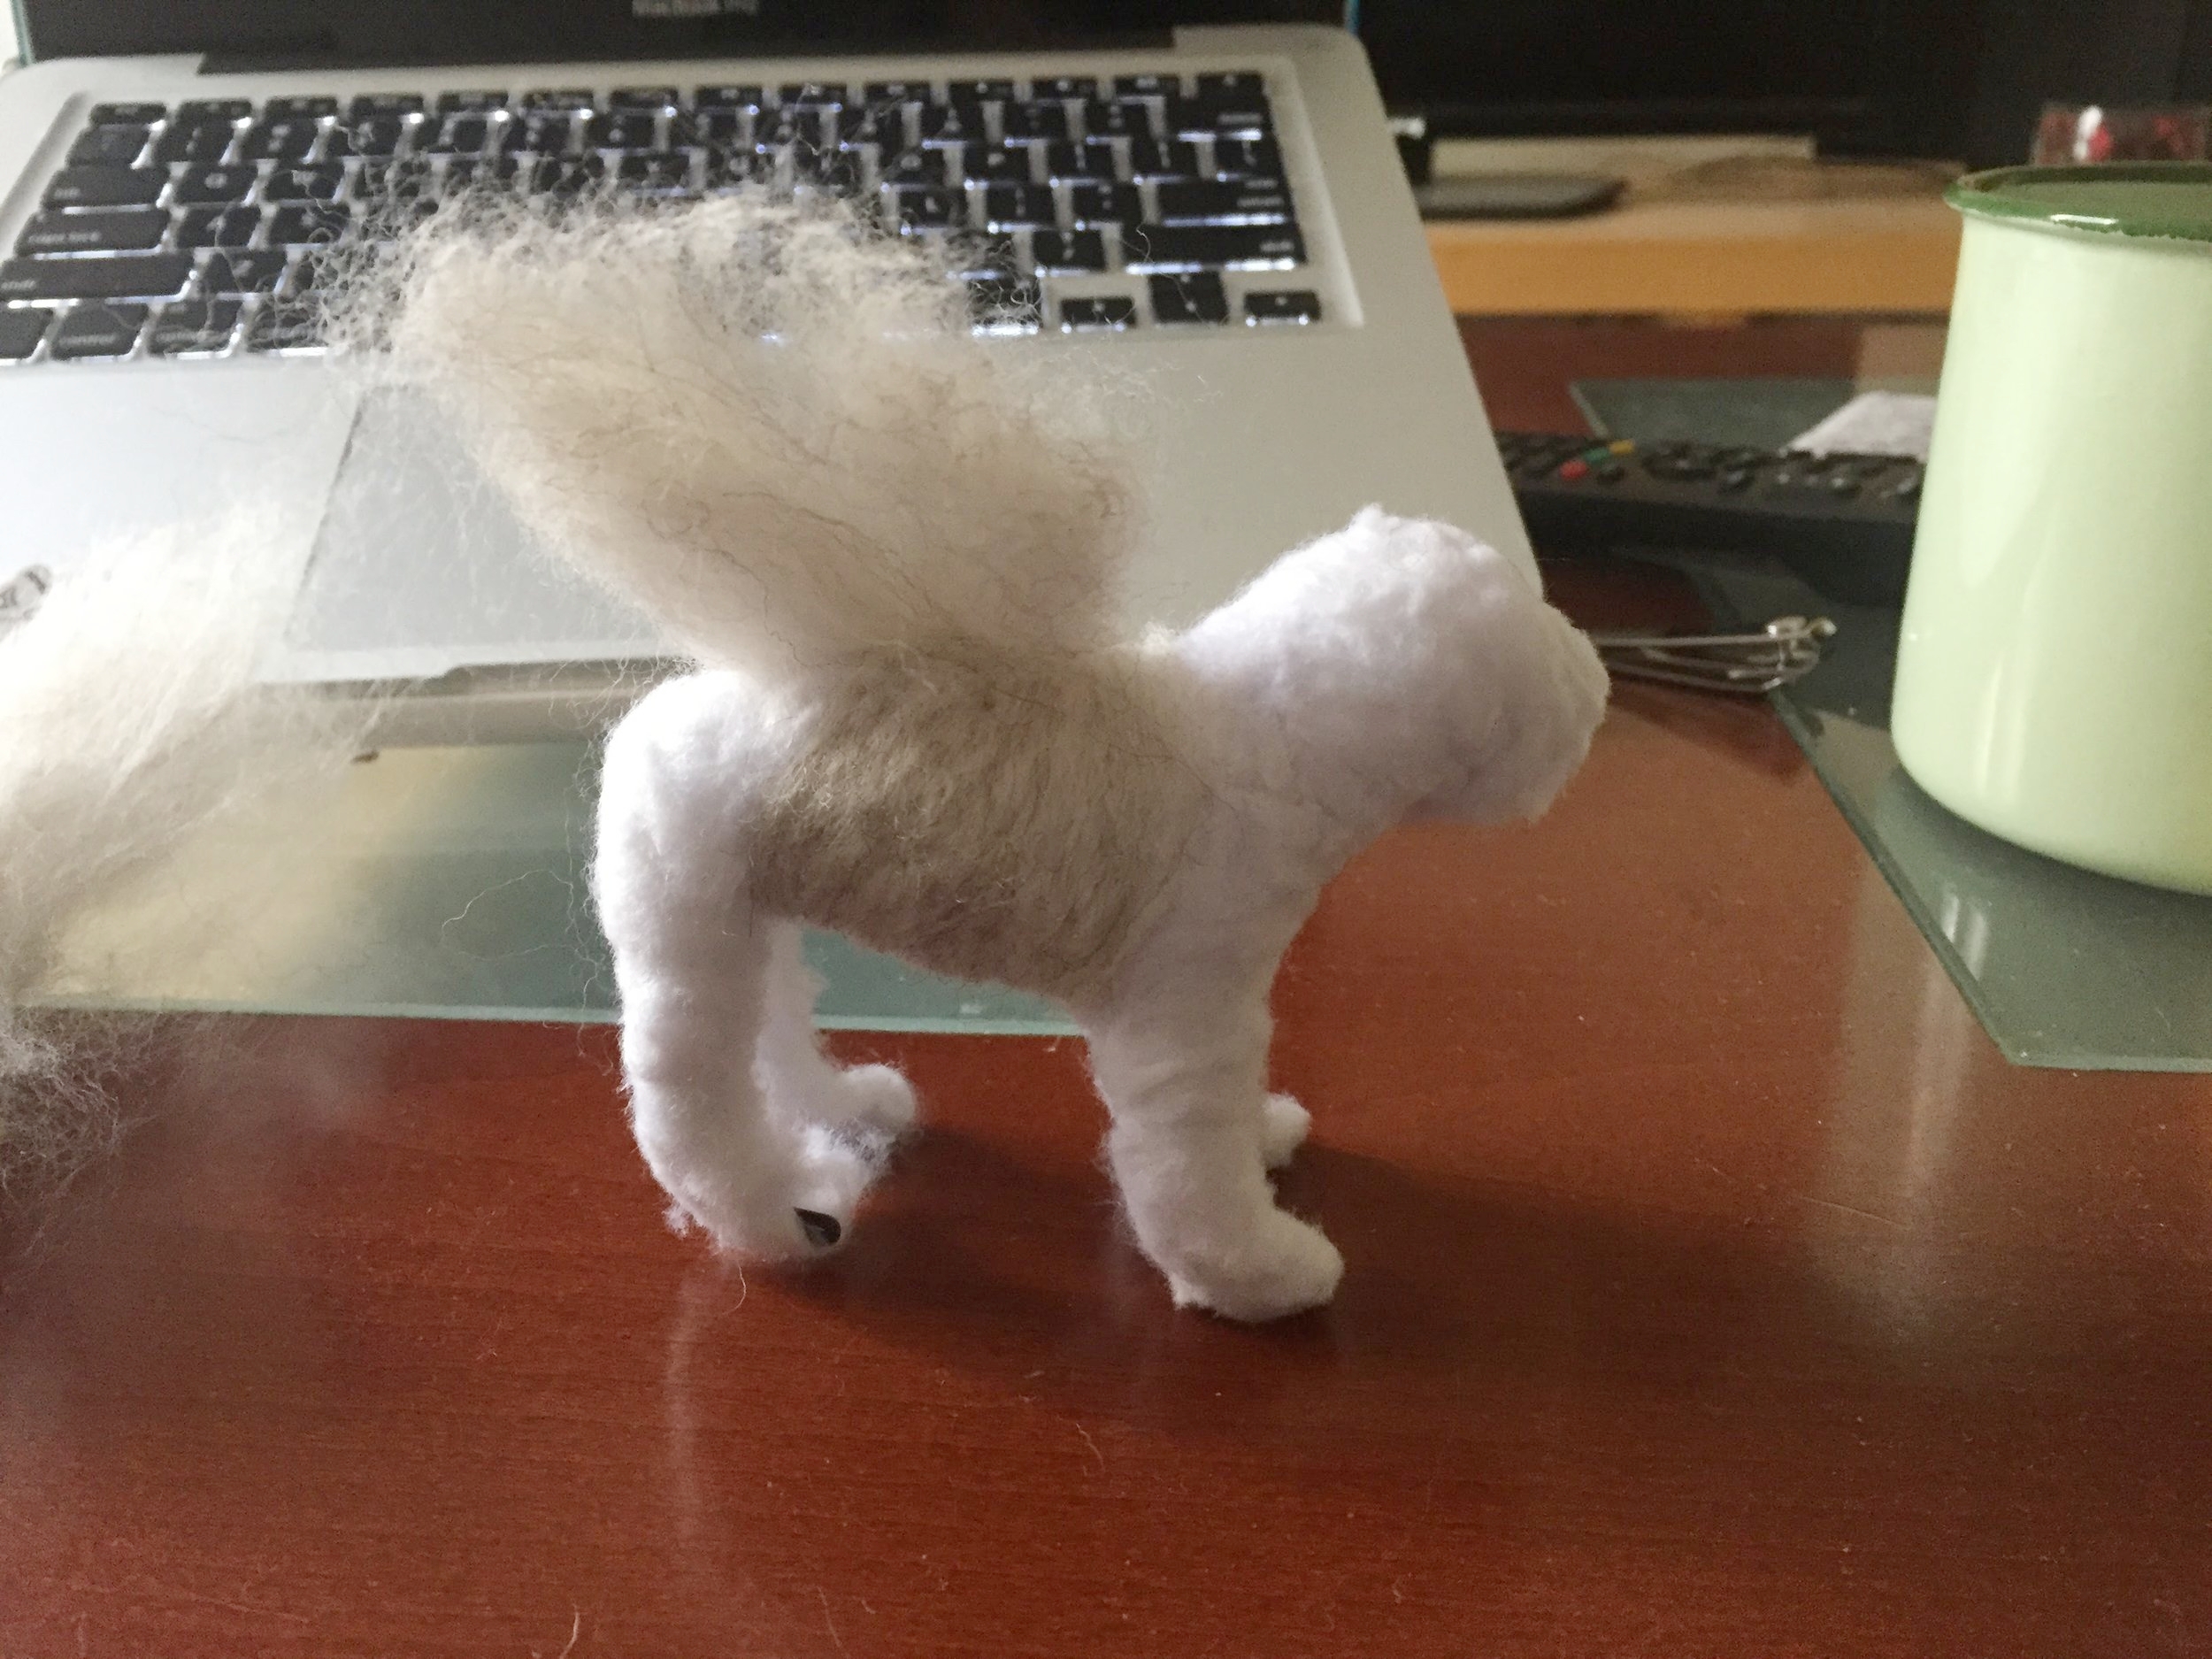
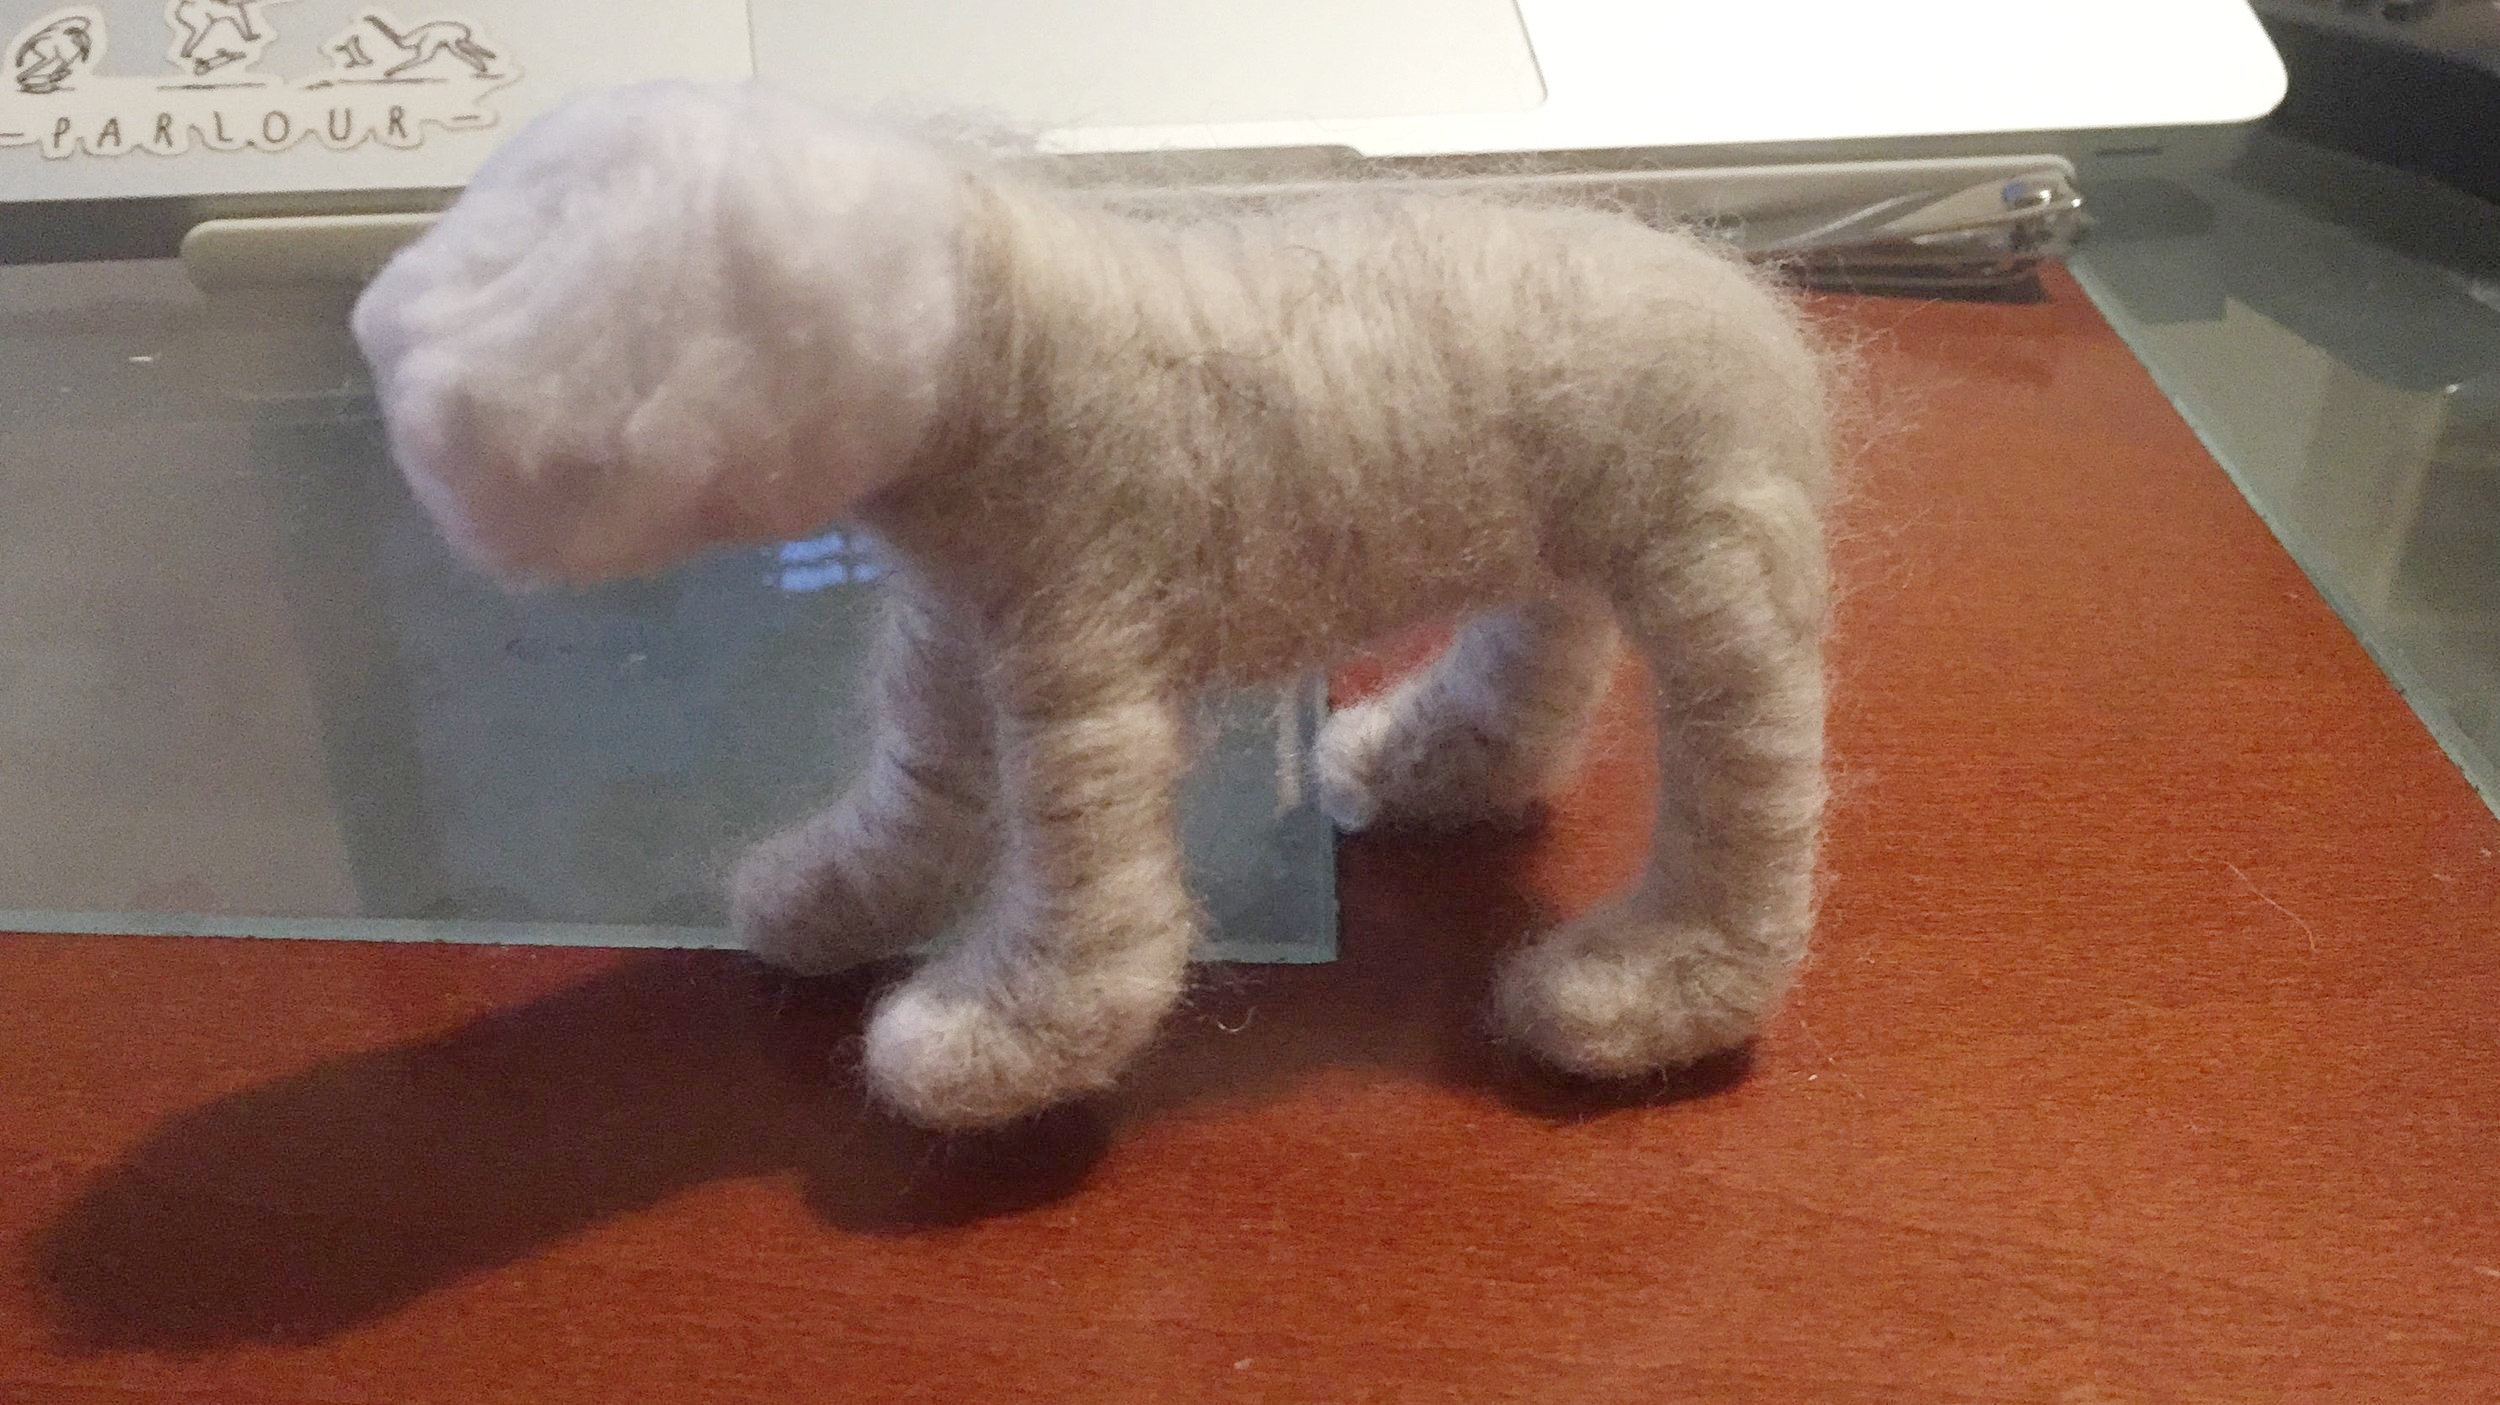
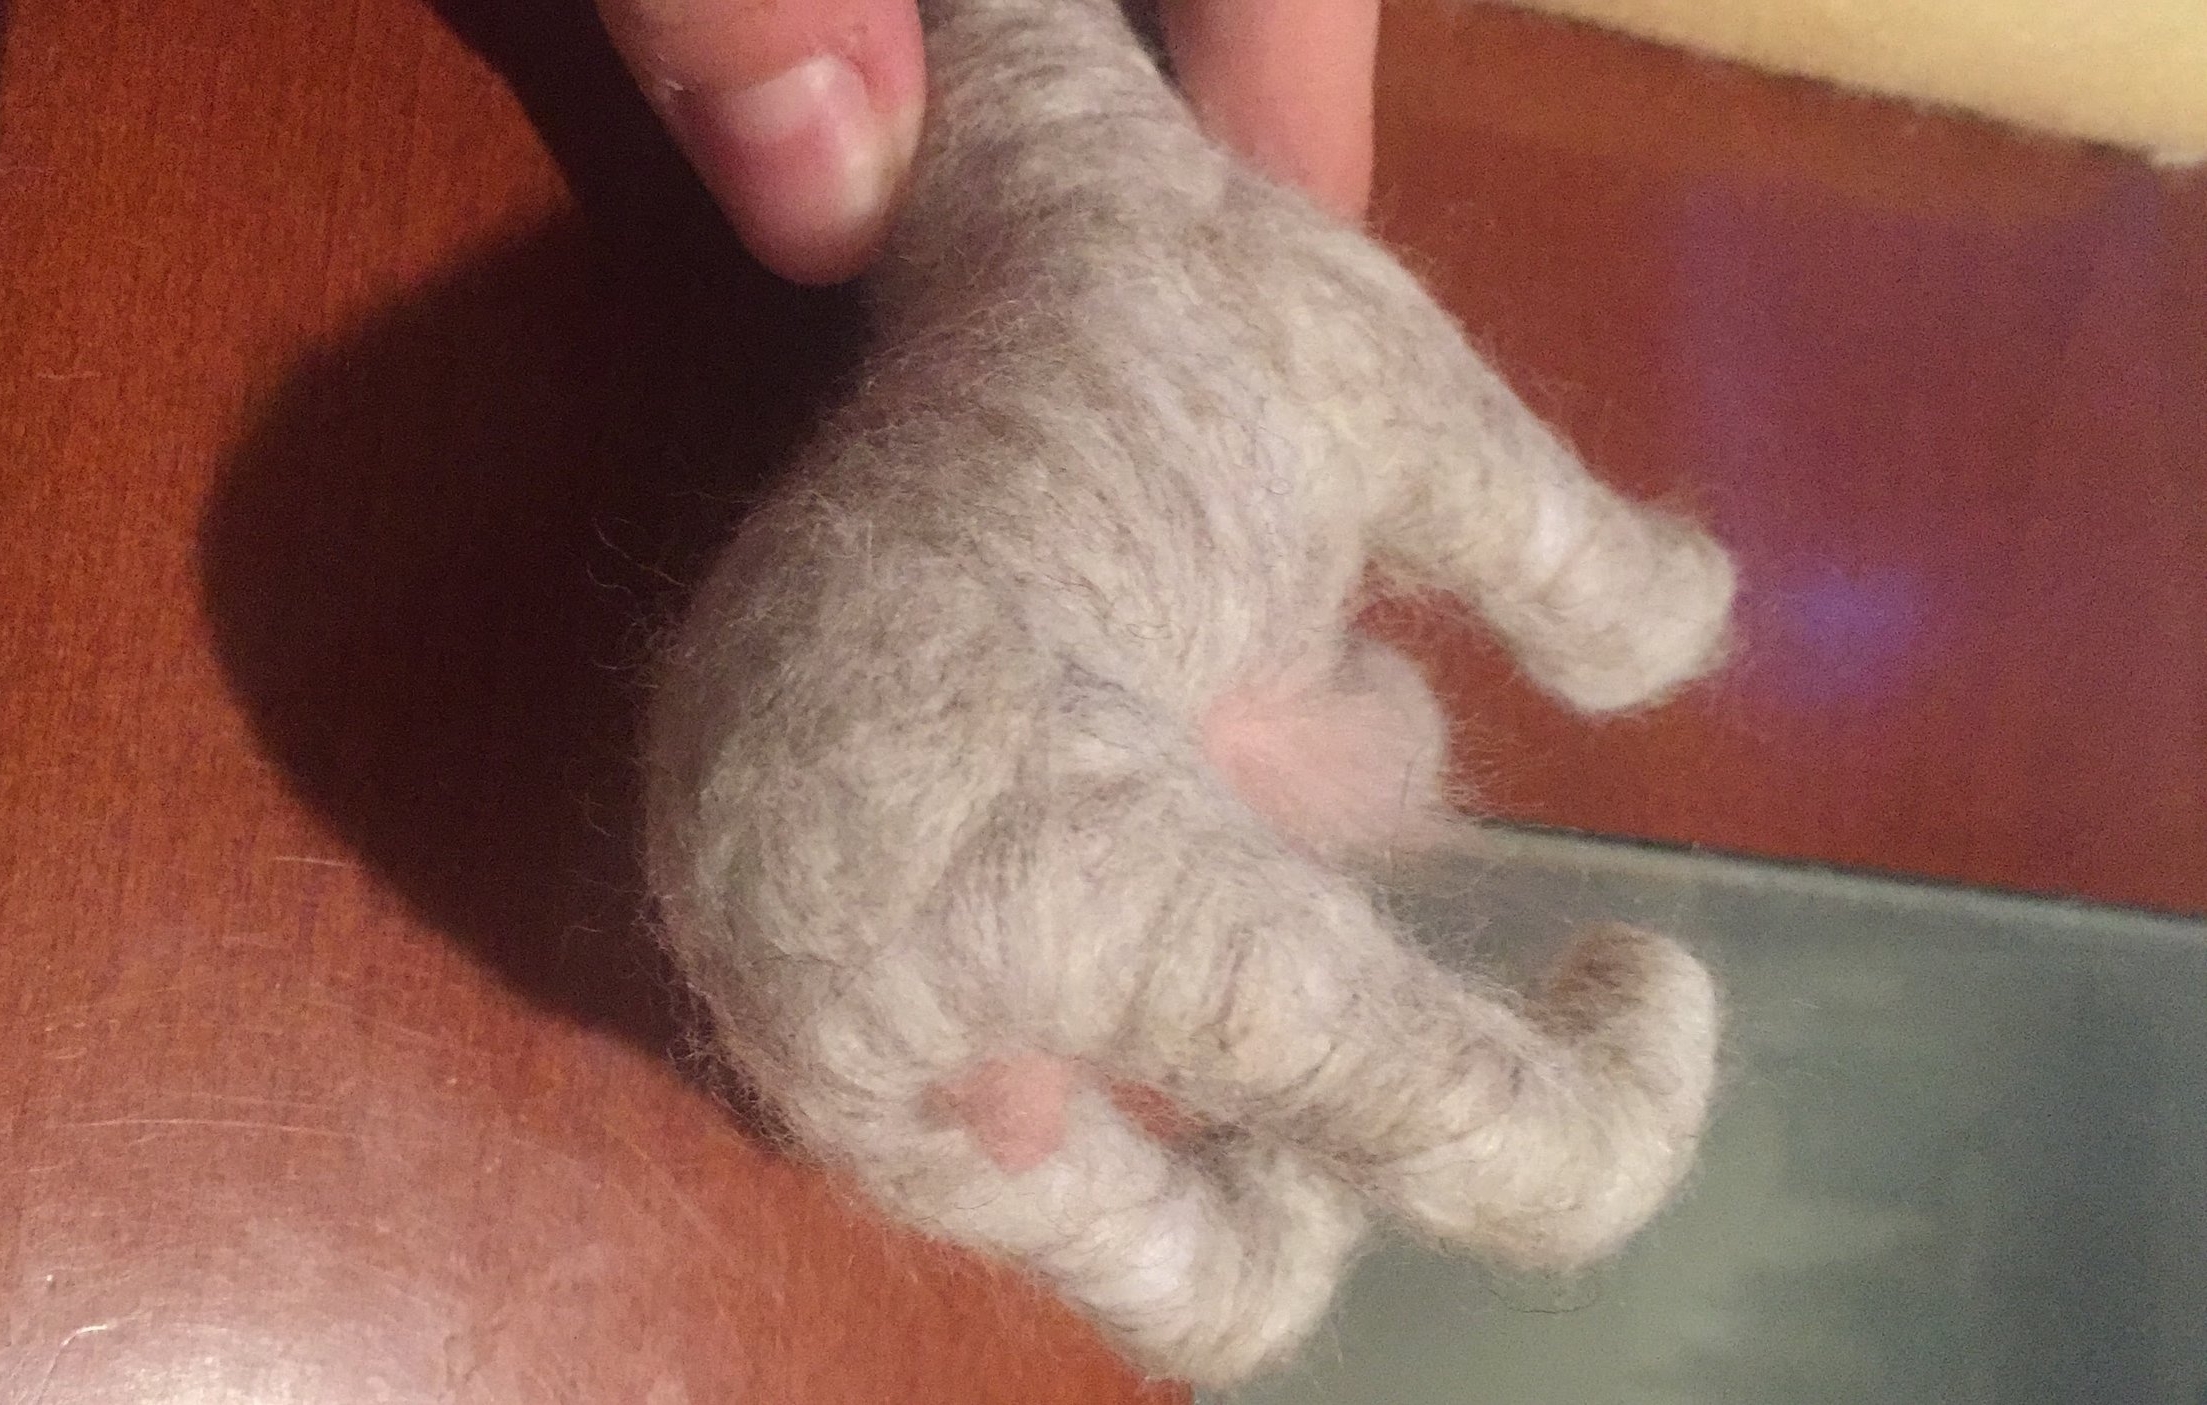
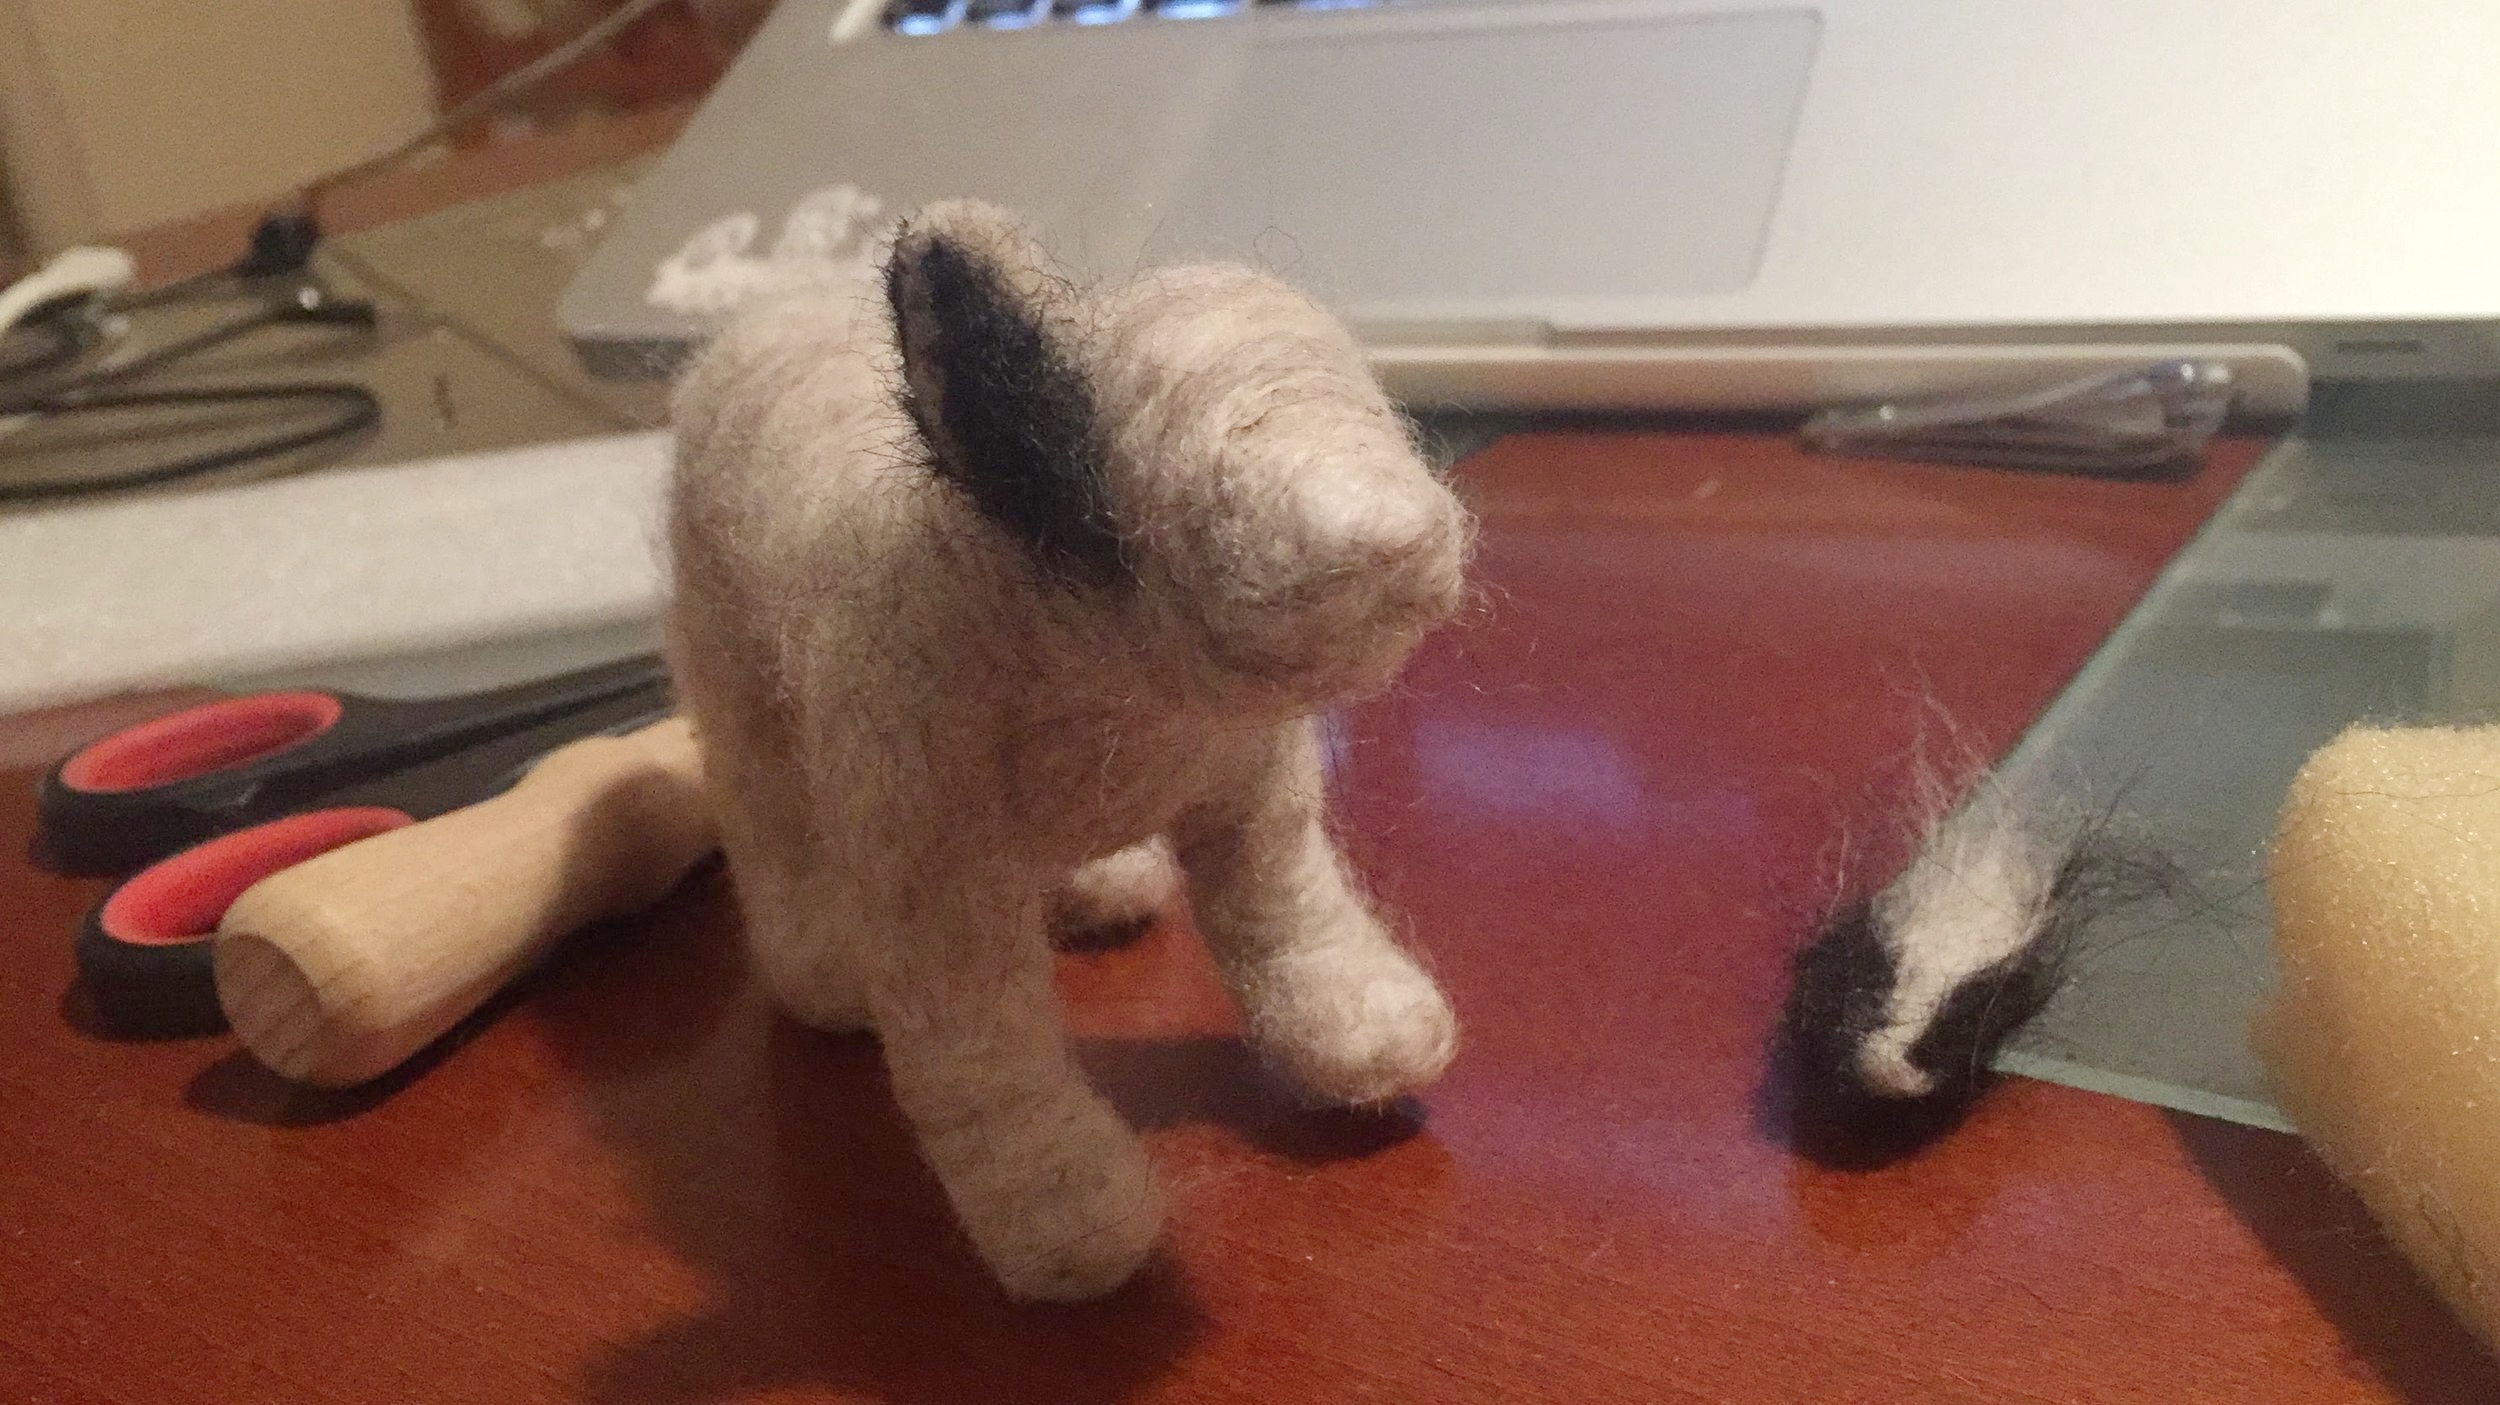
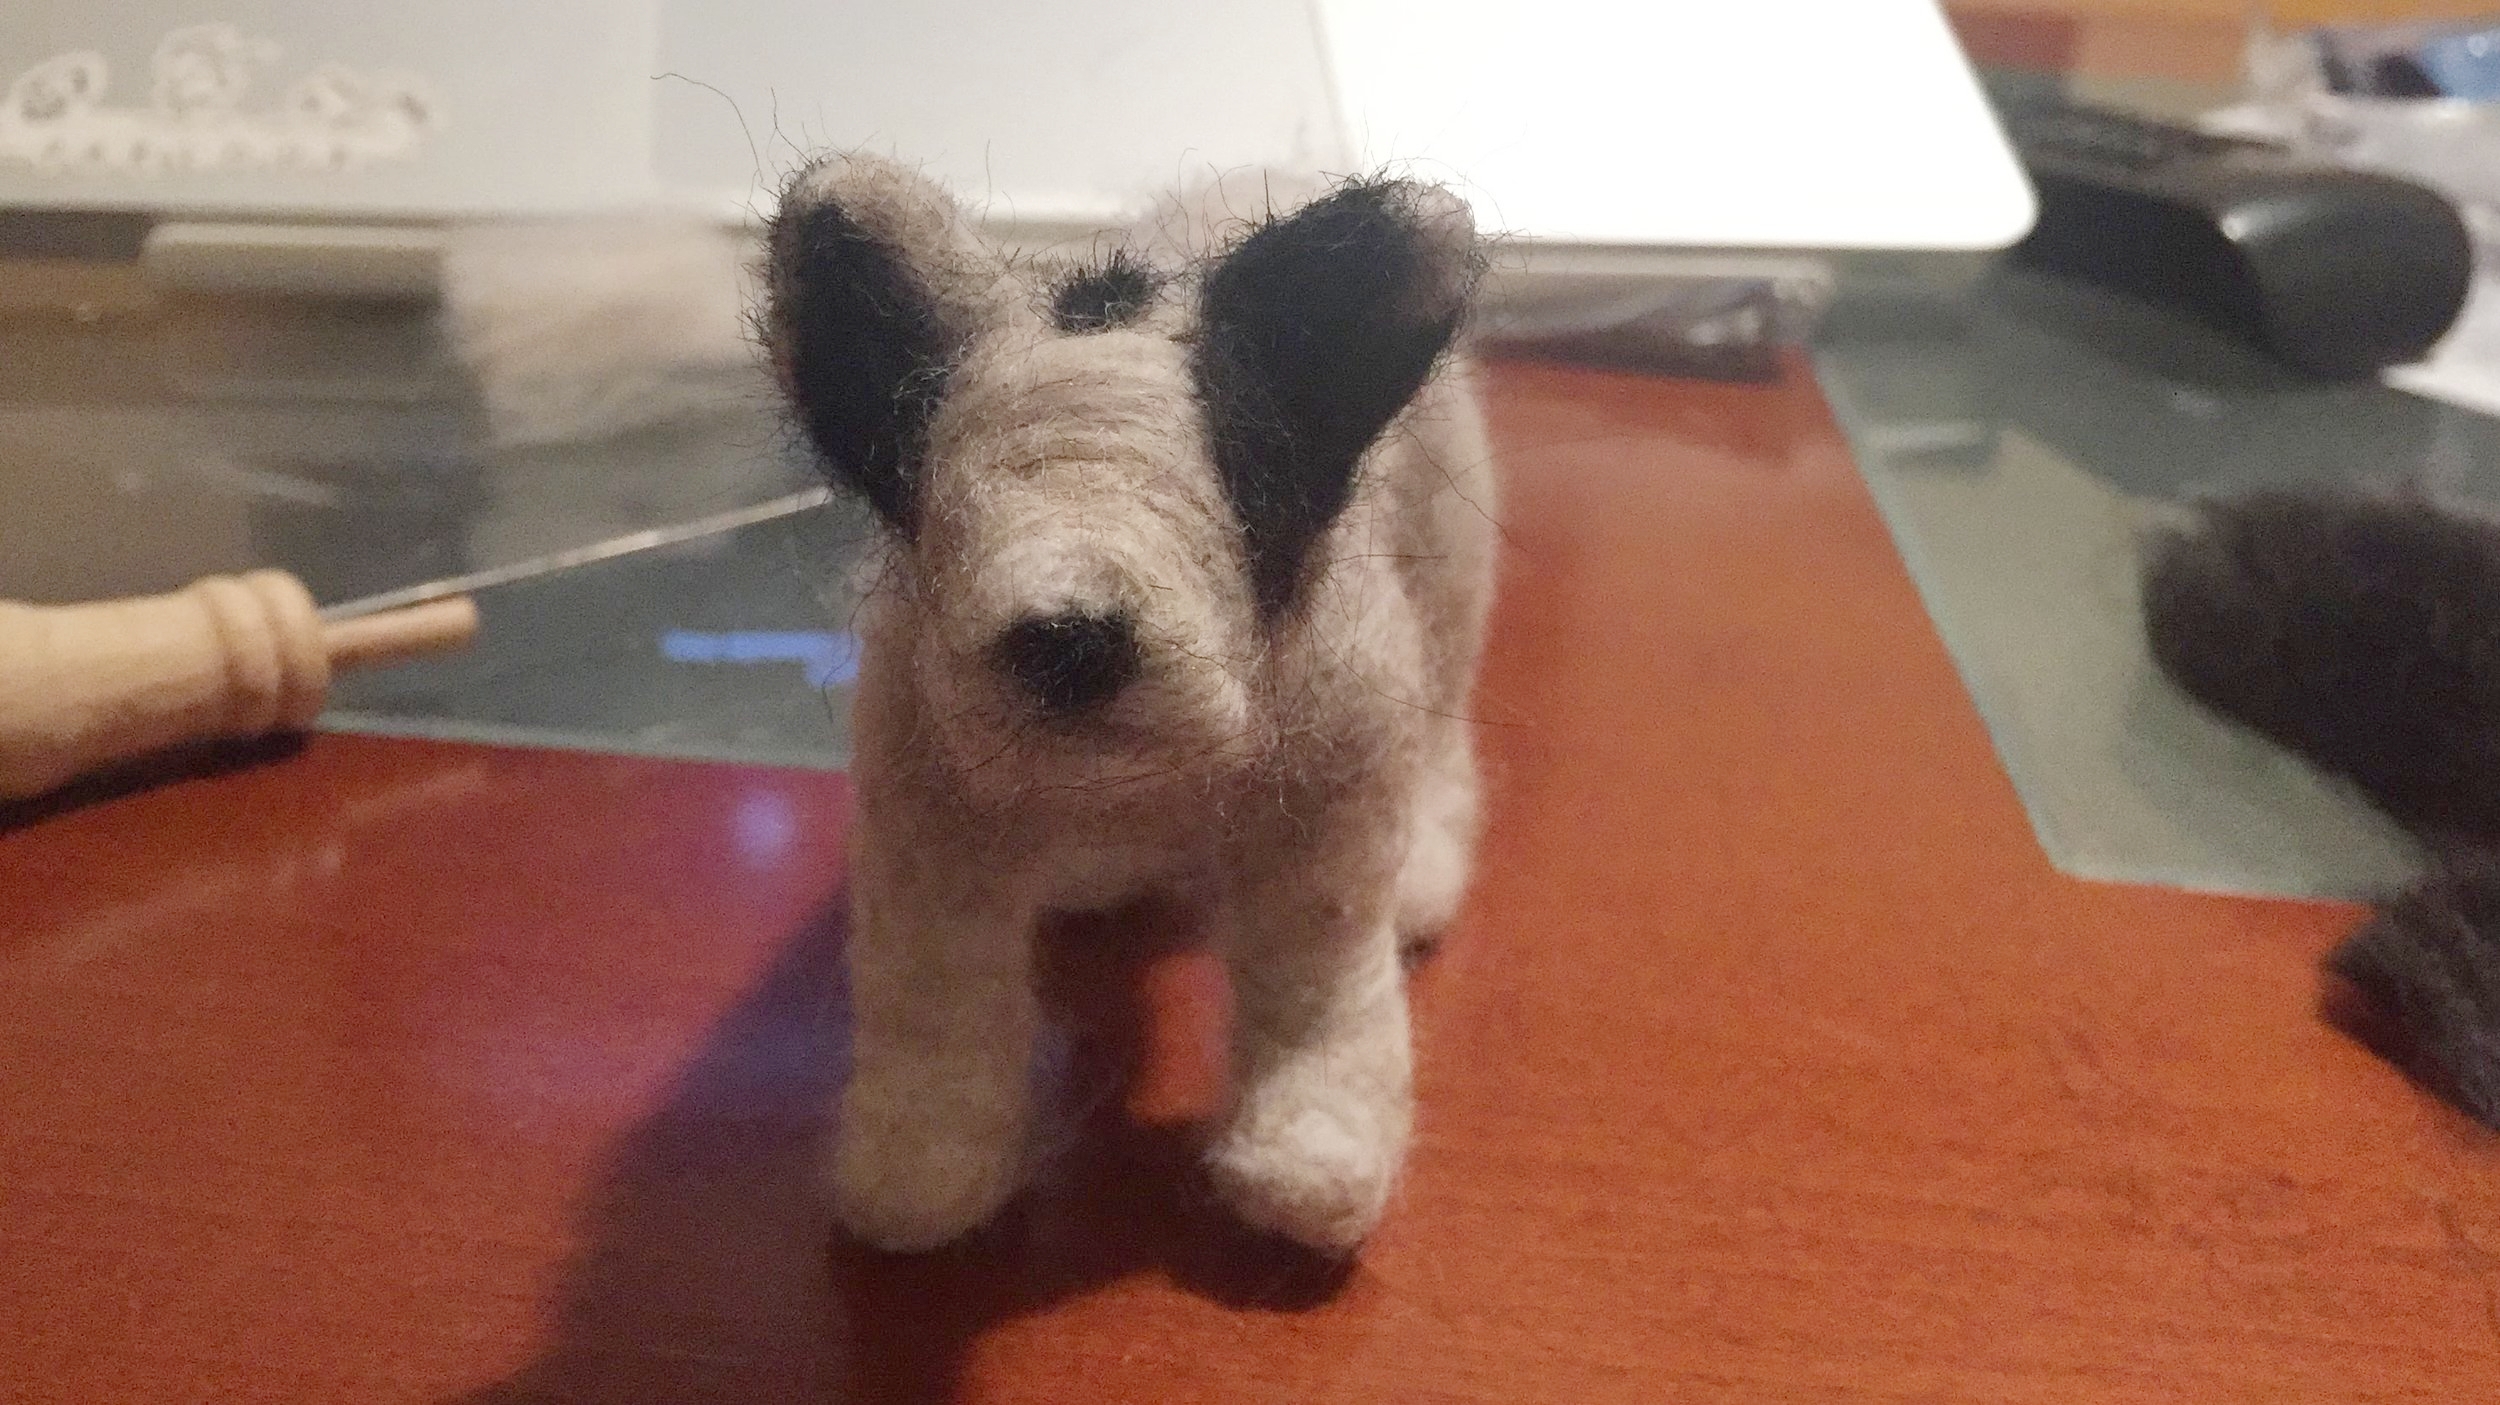
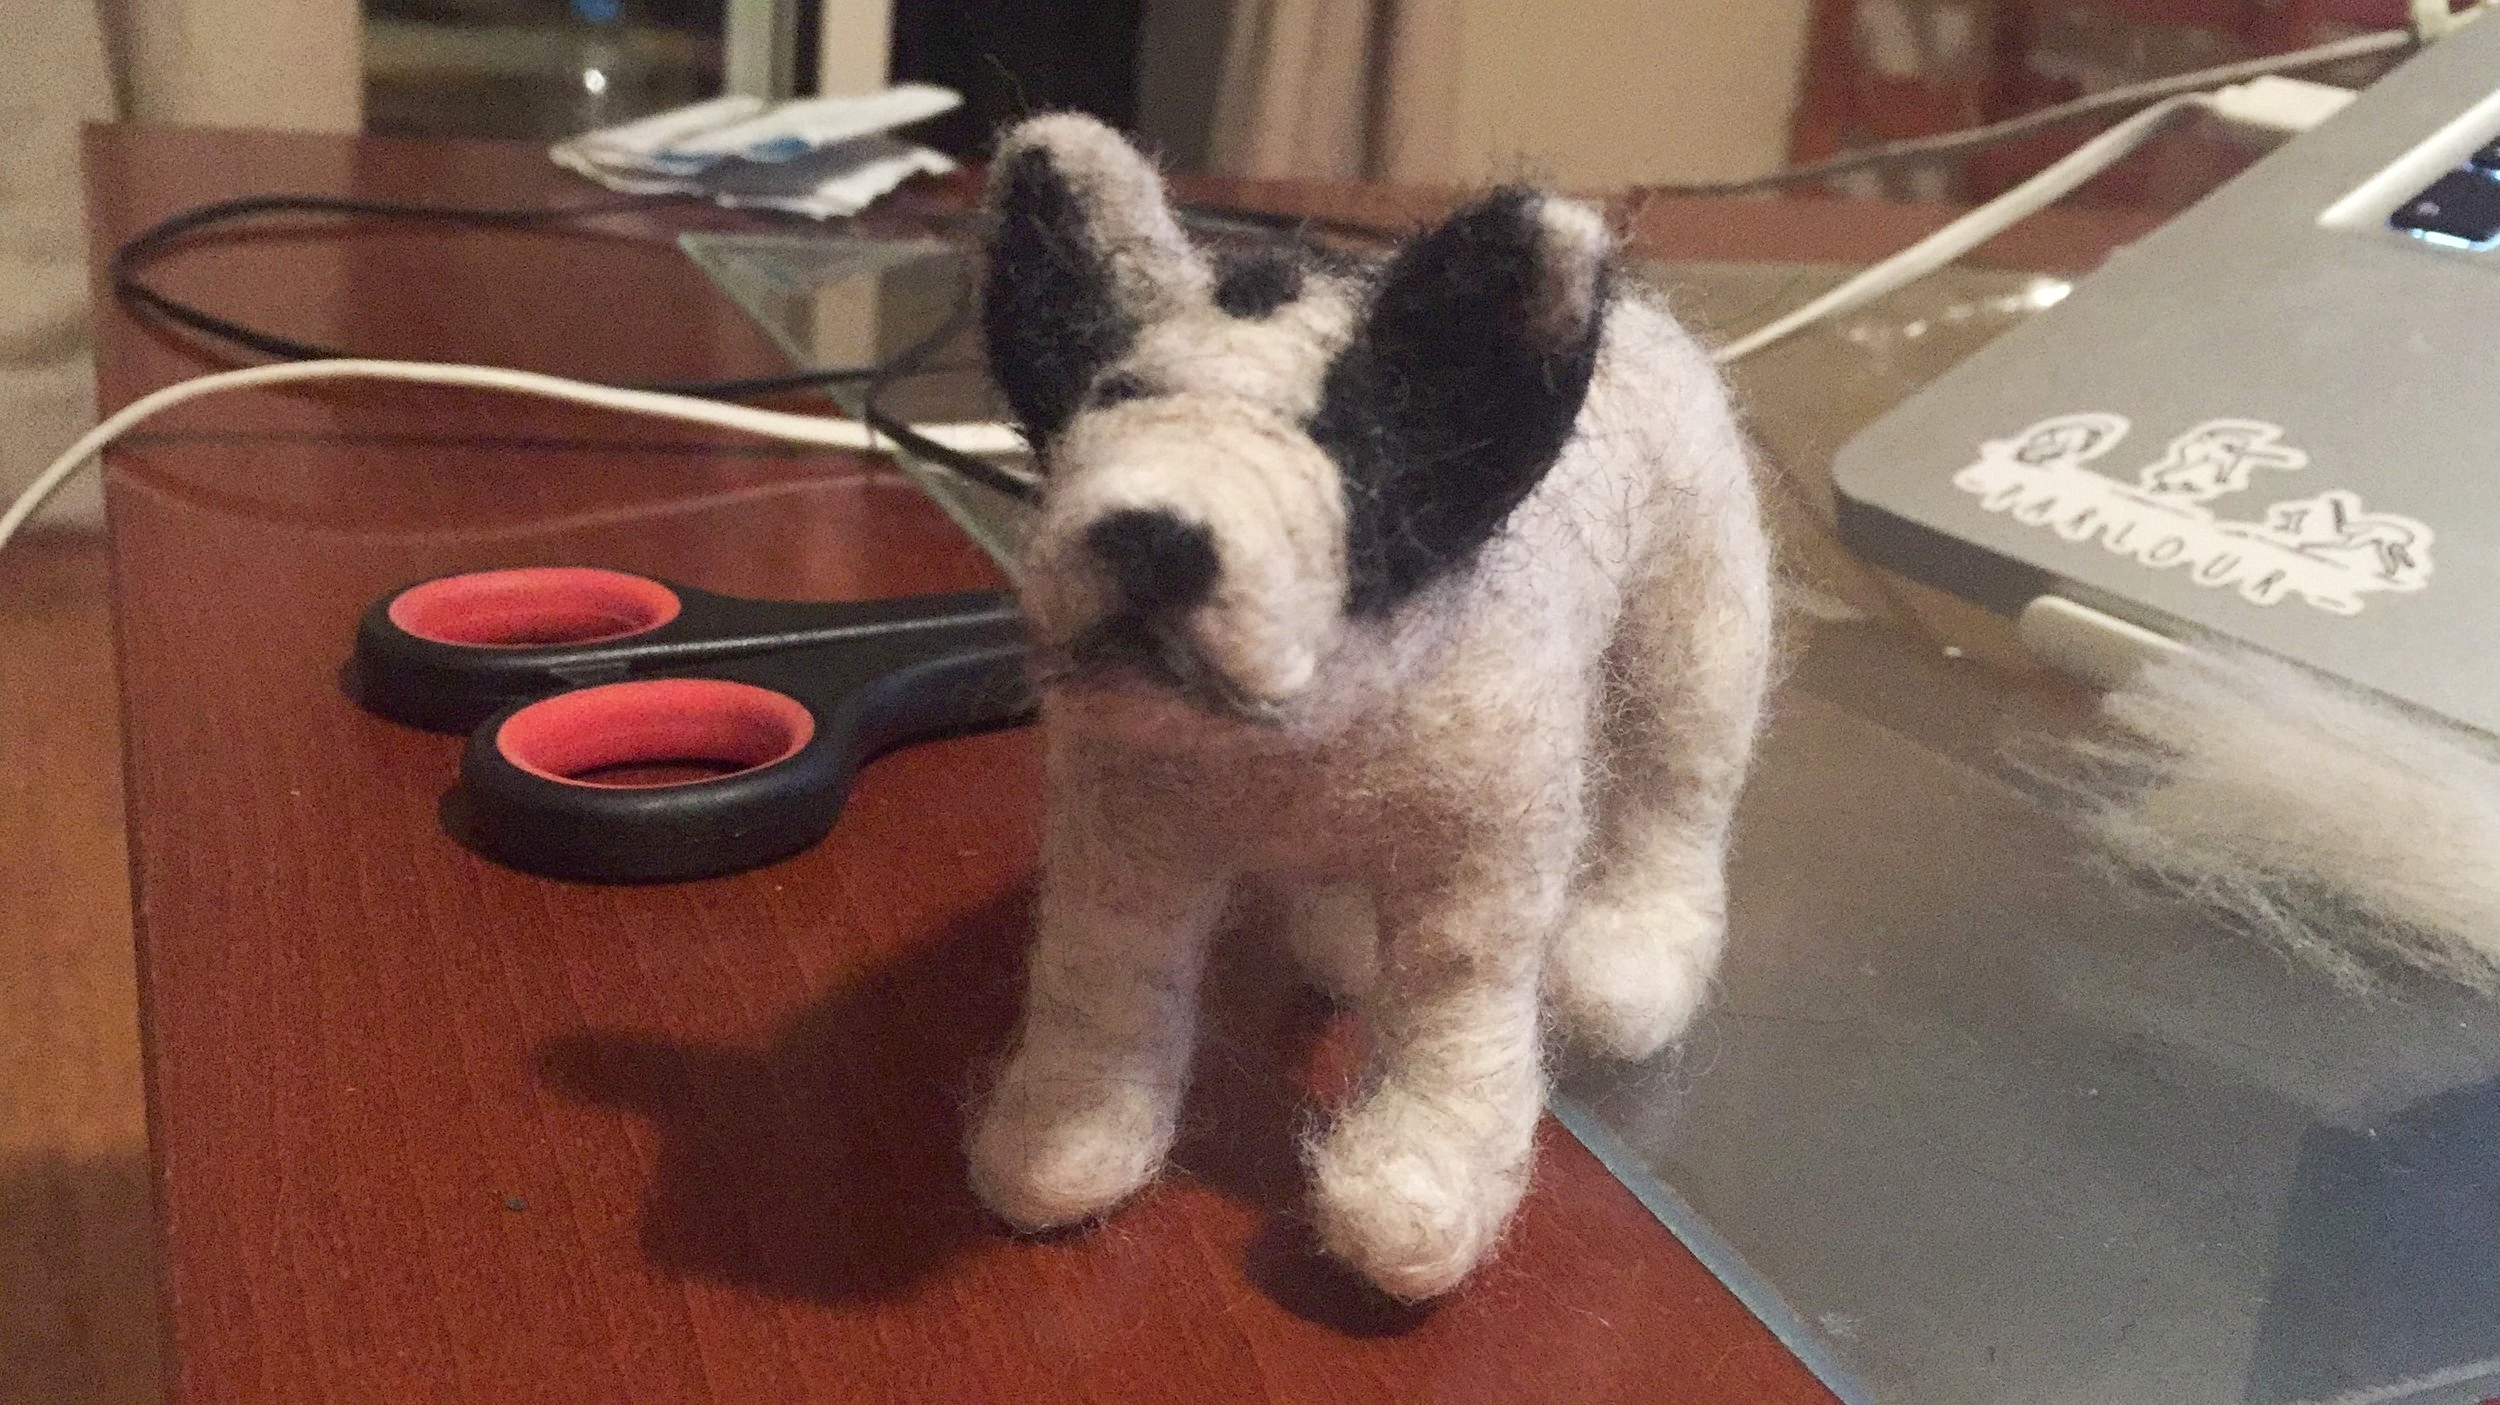
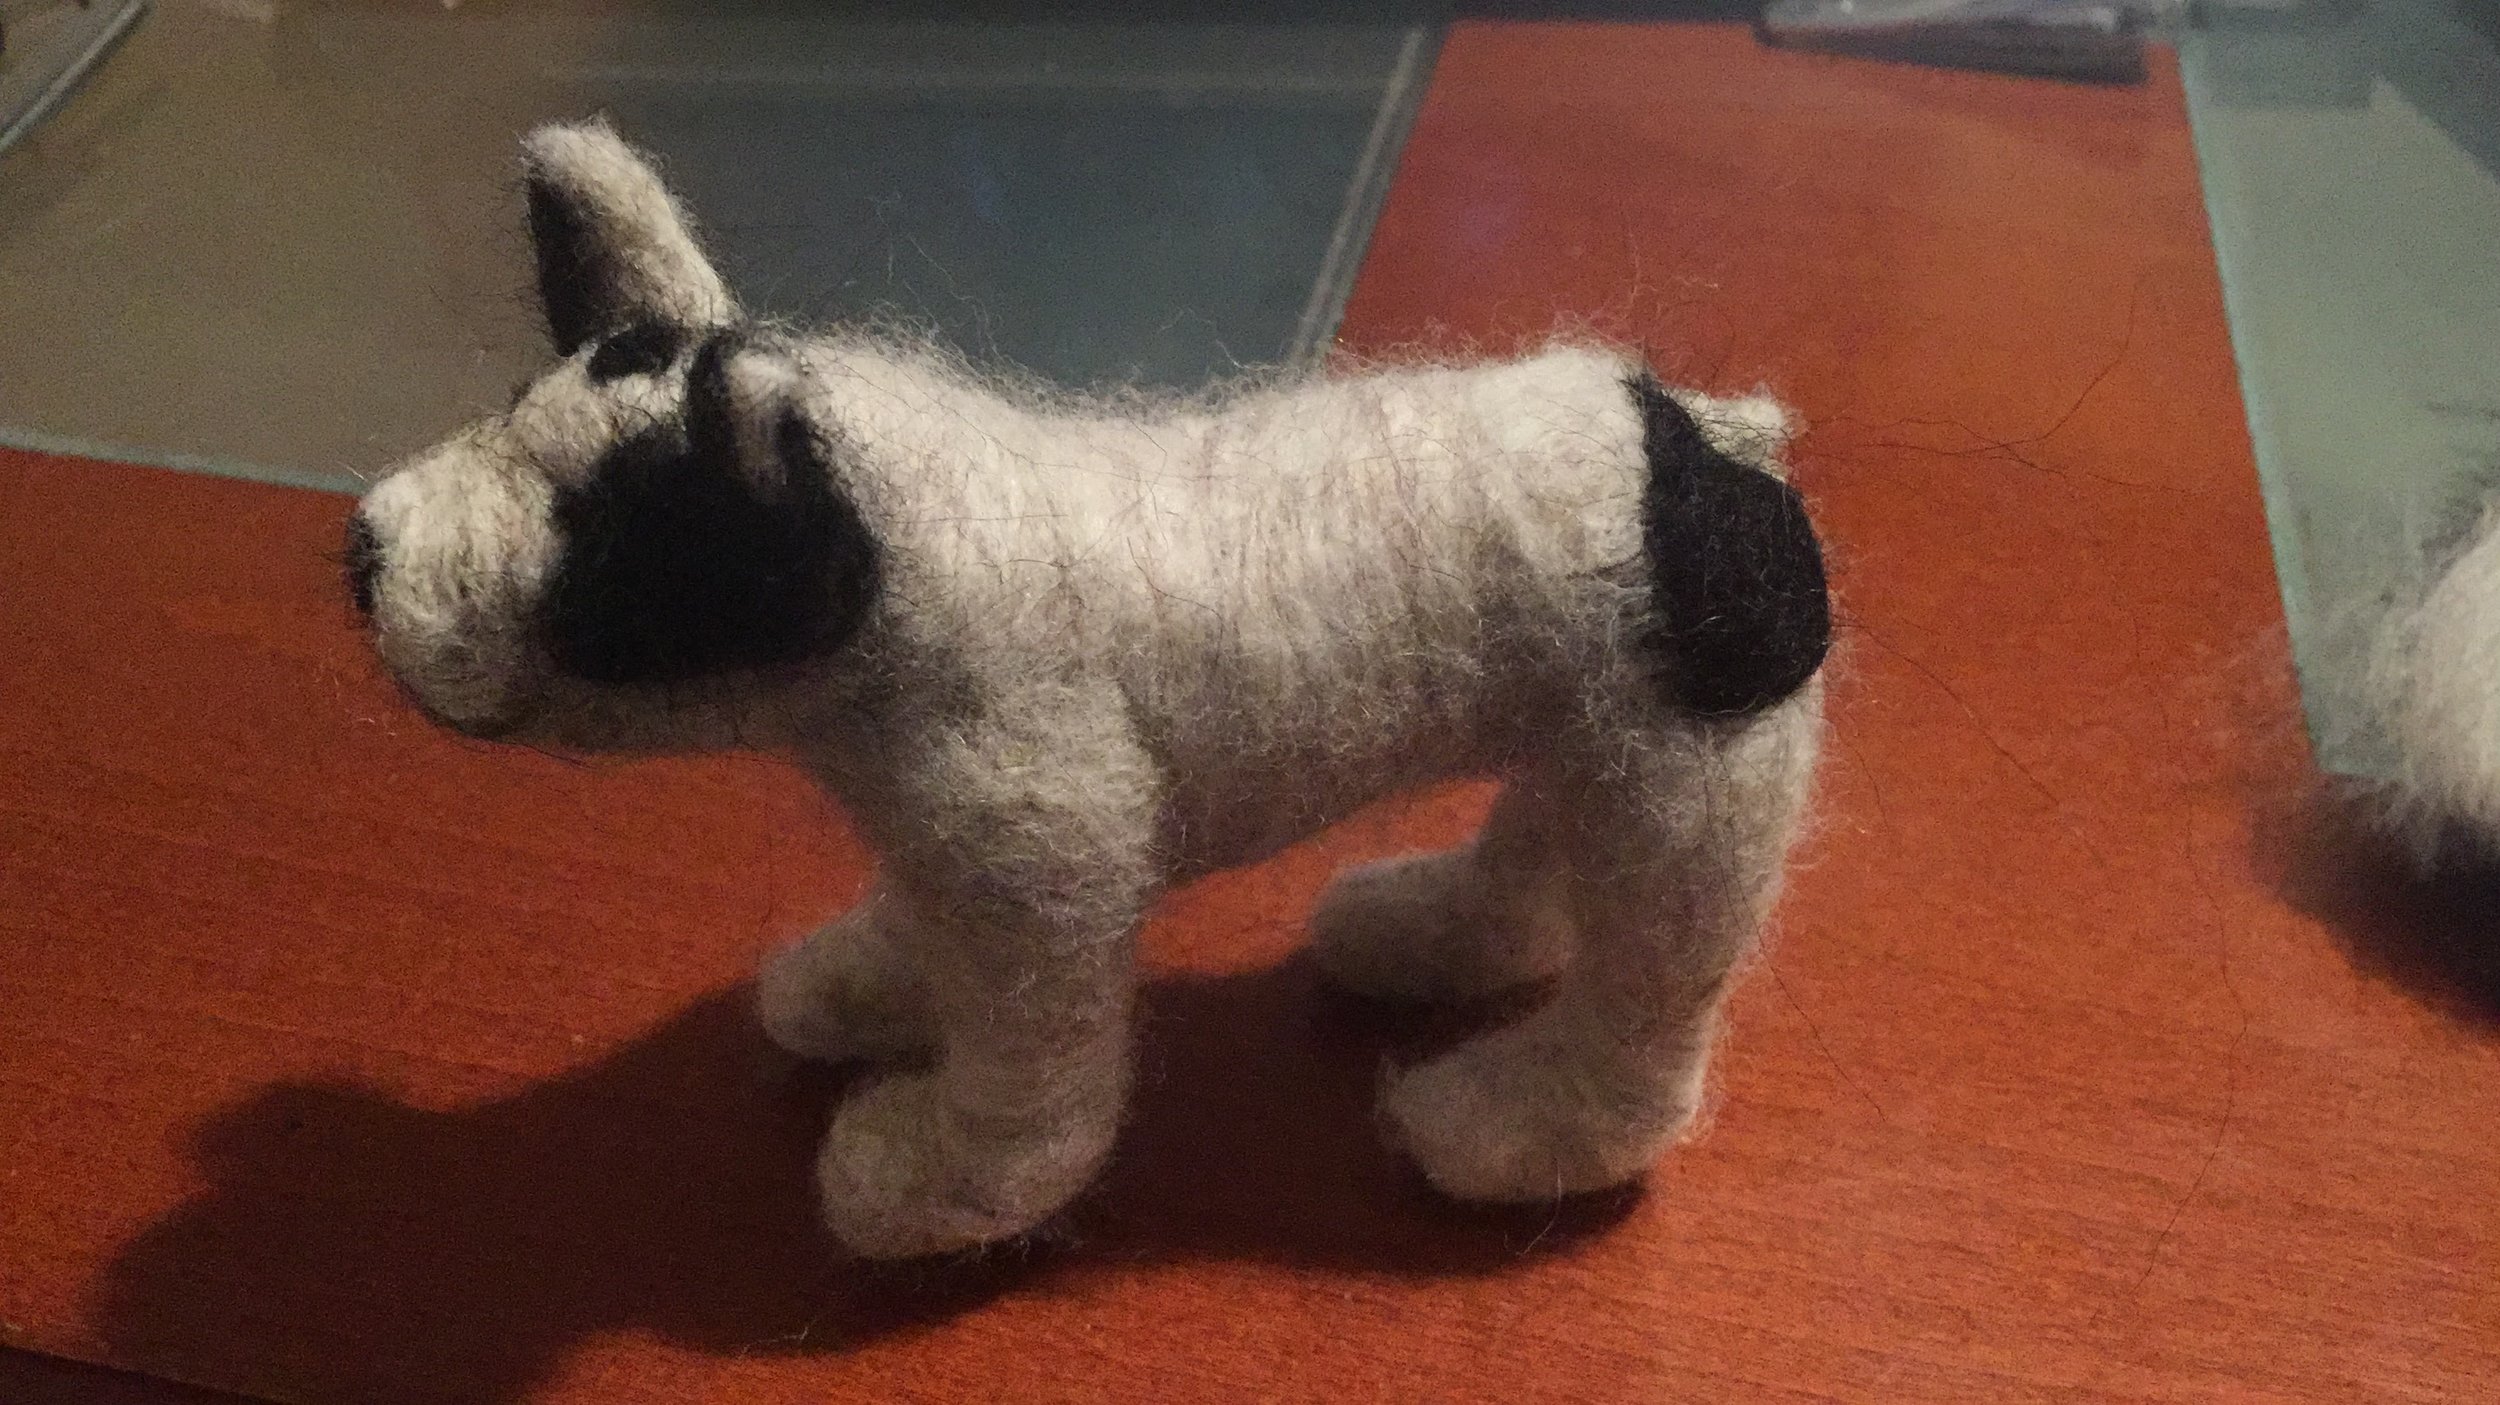
So recently I discovered a really interesting crafting technique called felting. And seeing that it was close to Christmas, I decided to try it out and make a little gift for my mom.
So basically I wanted to create a miniature replica of our awesome french bulldog Kloe.

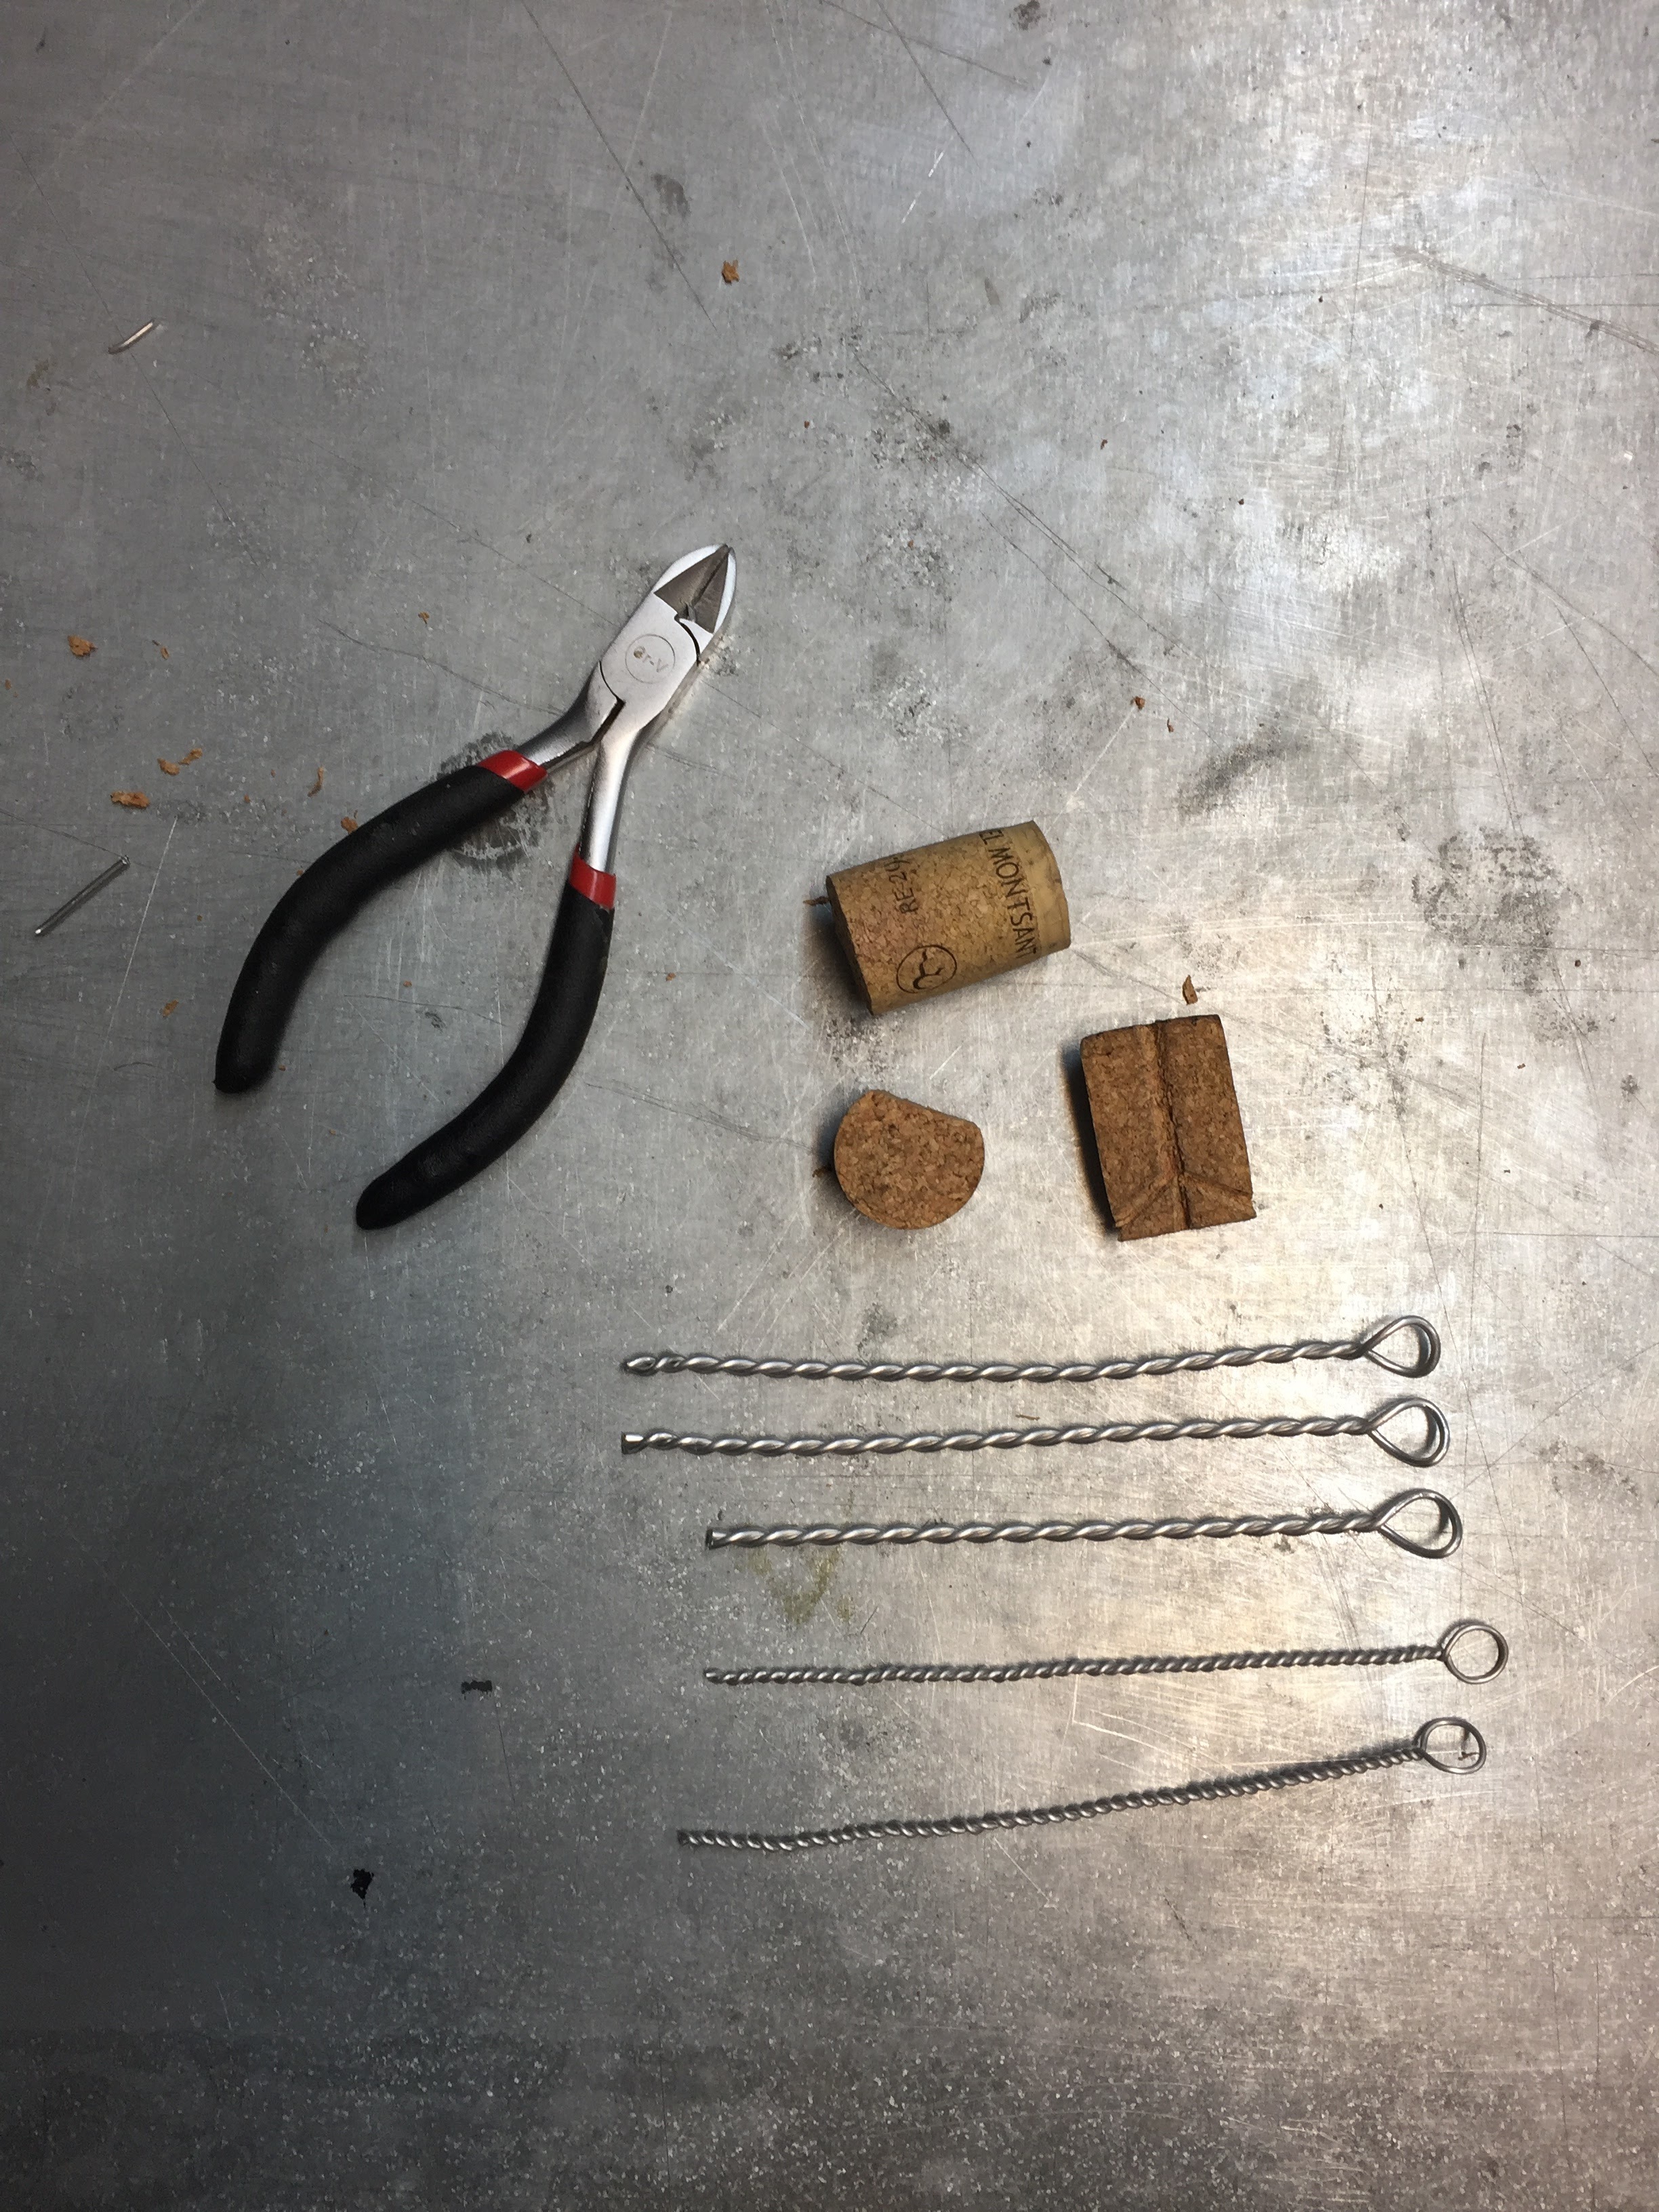
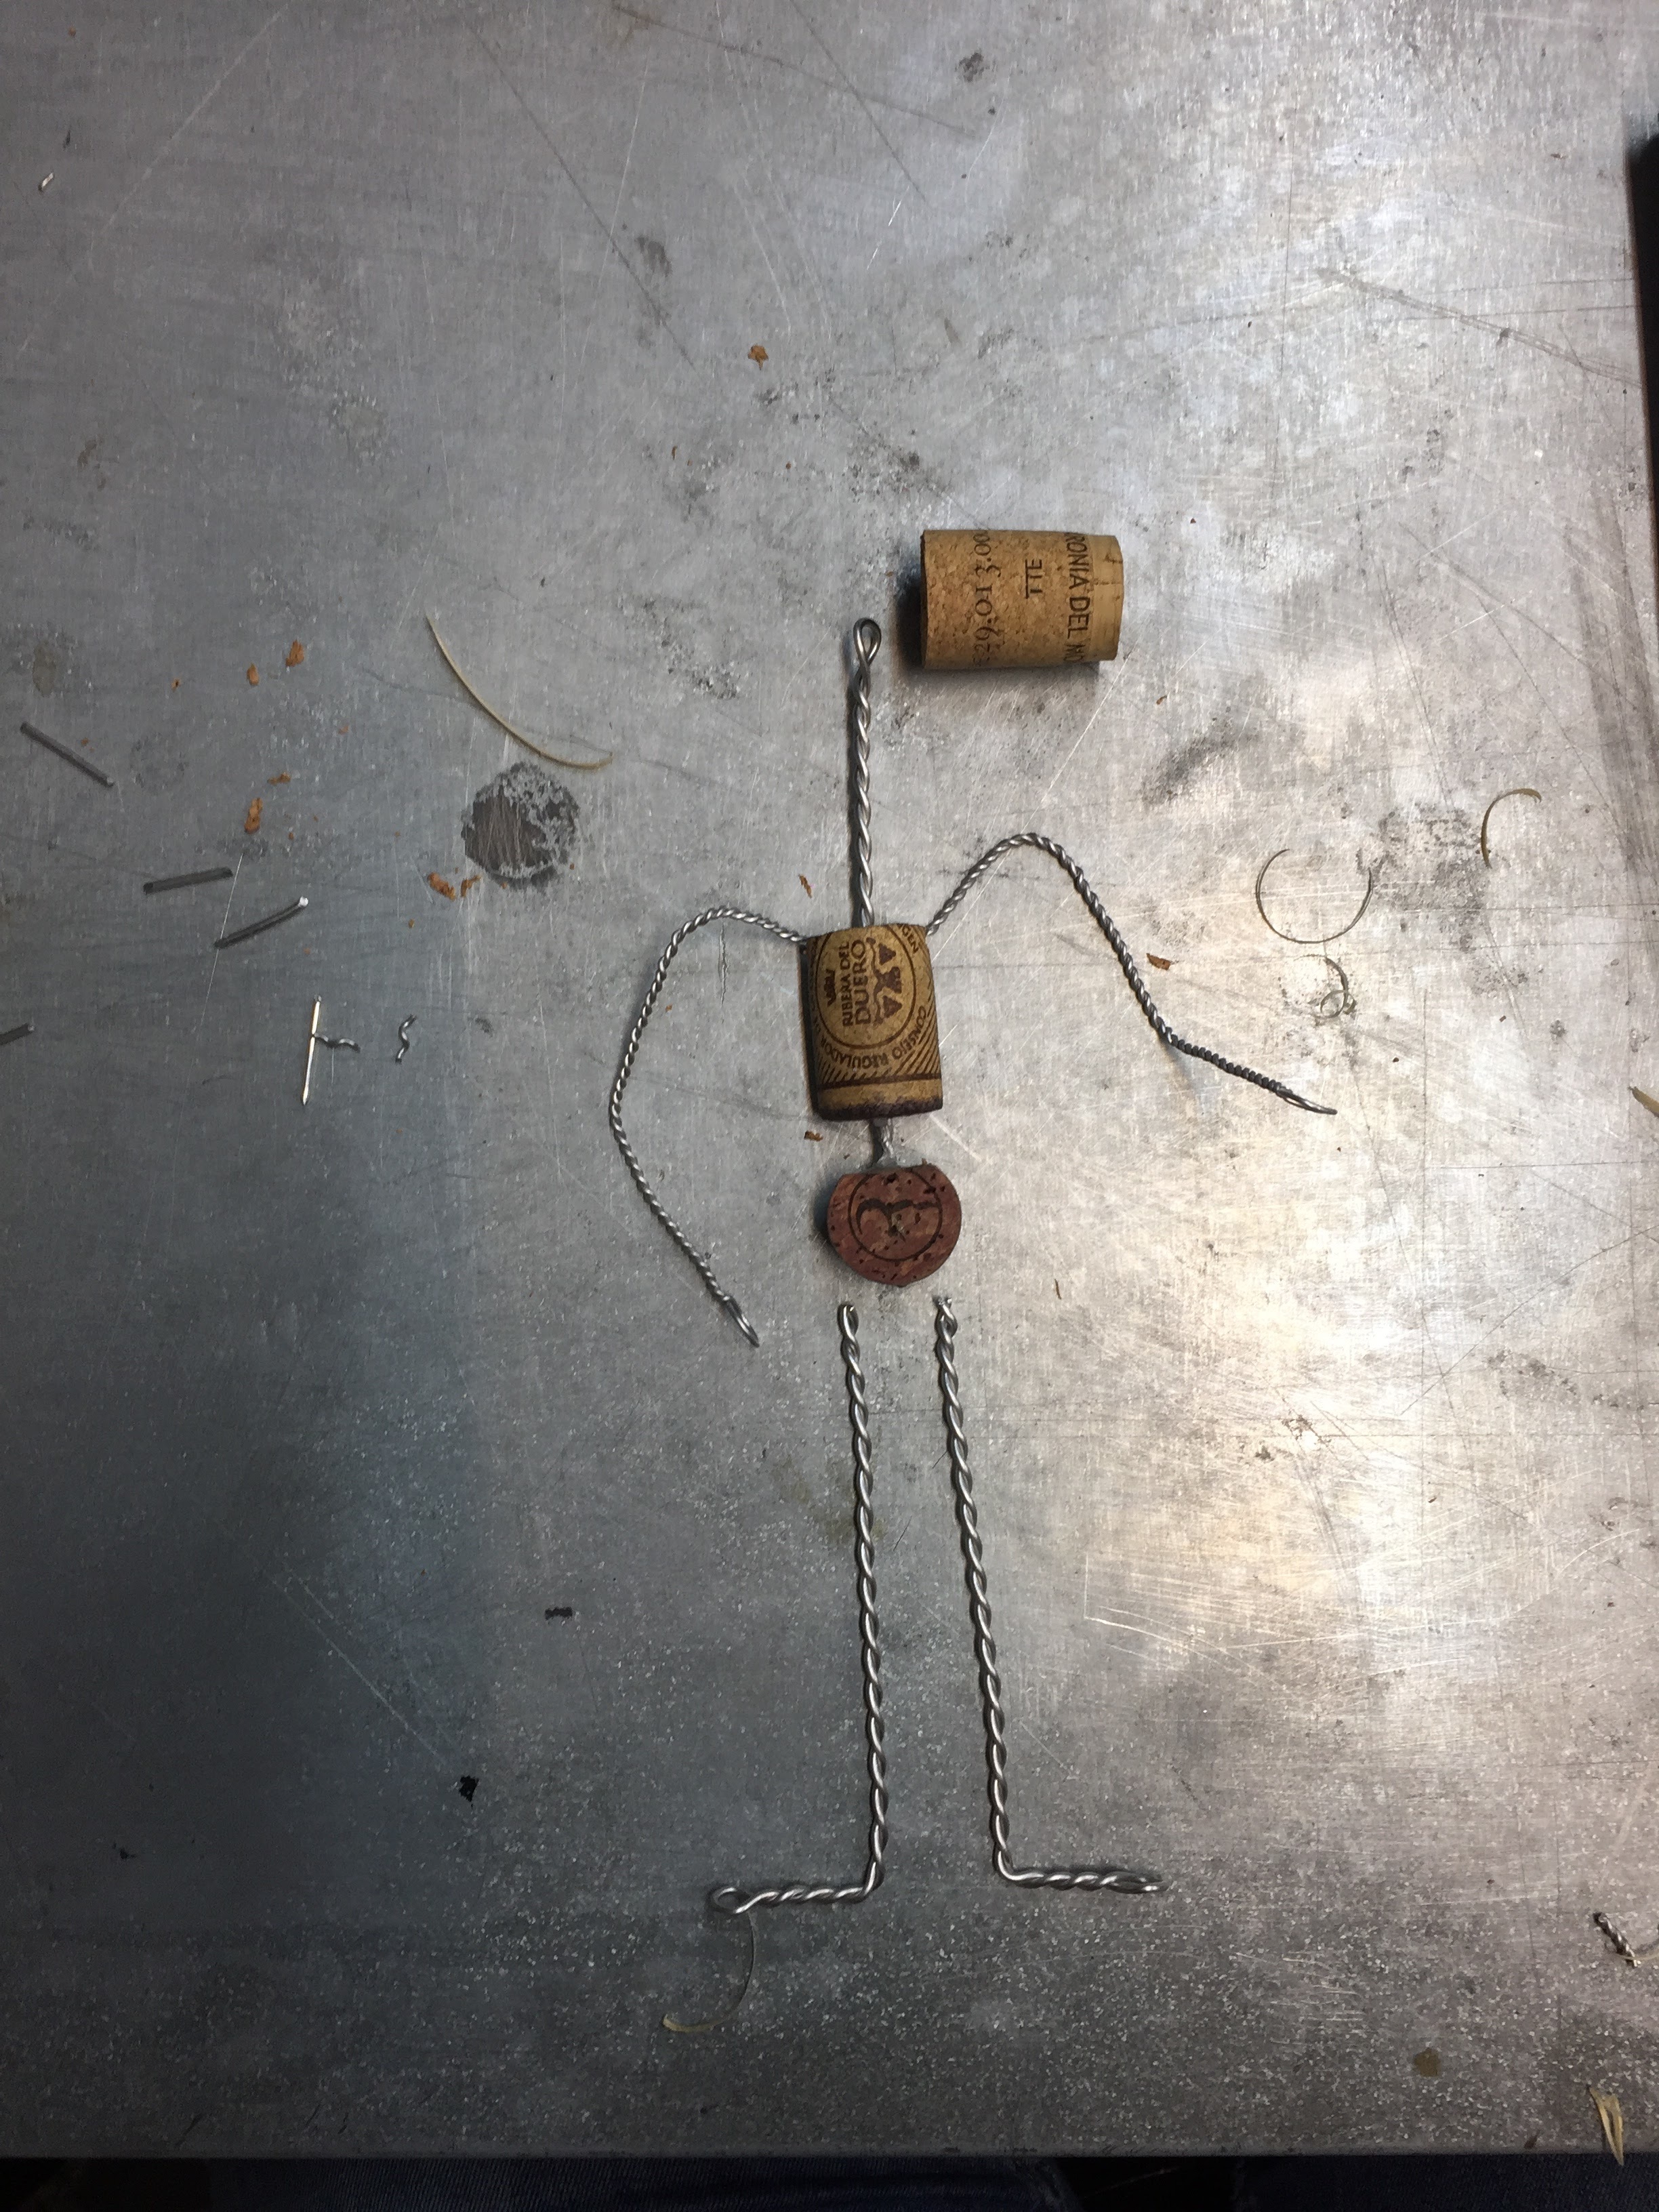
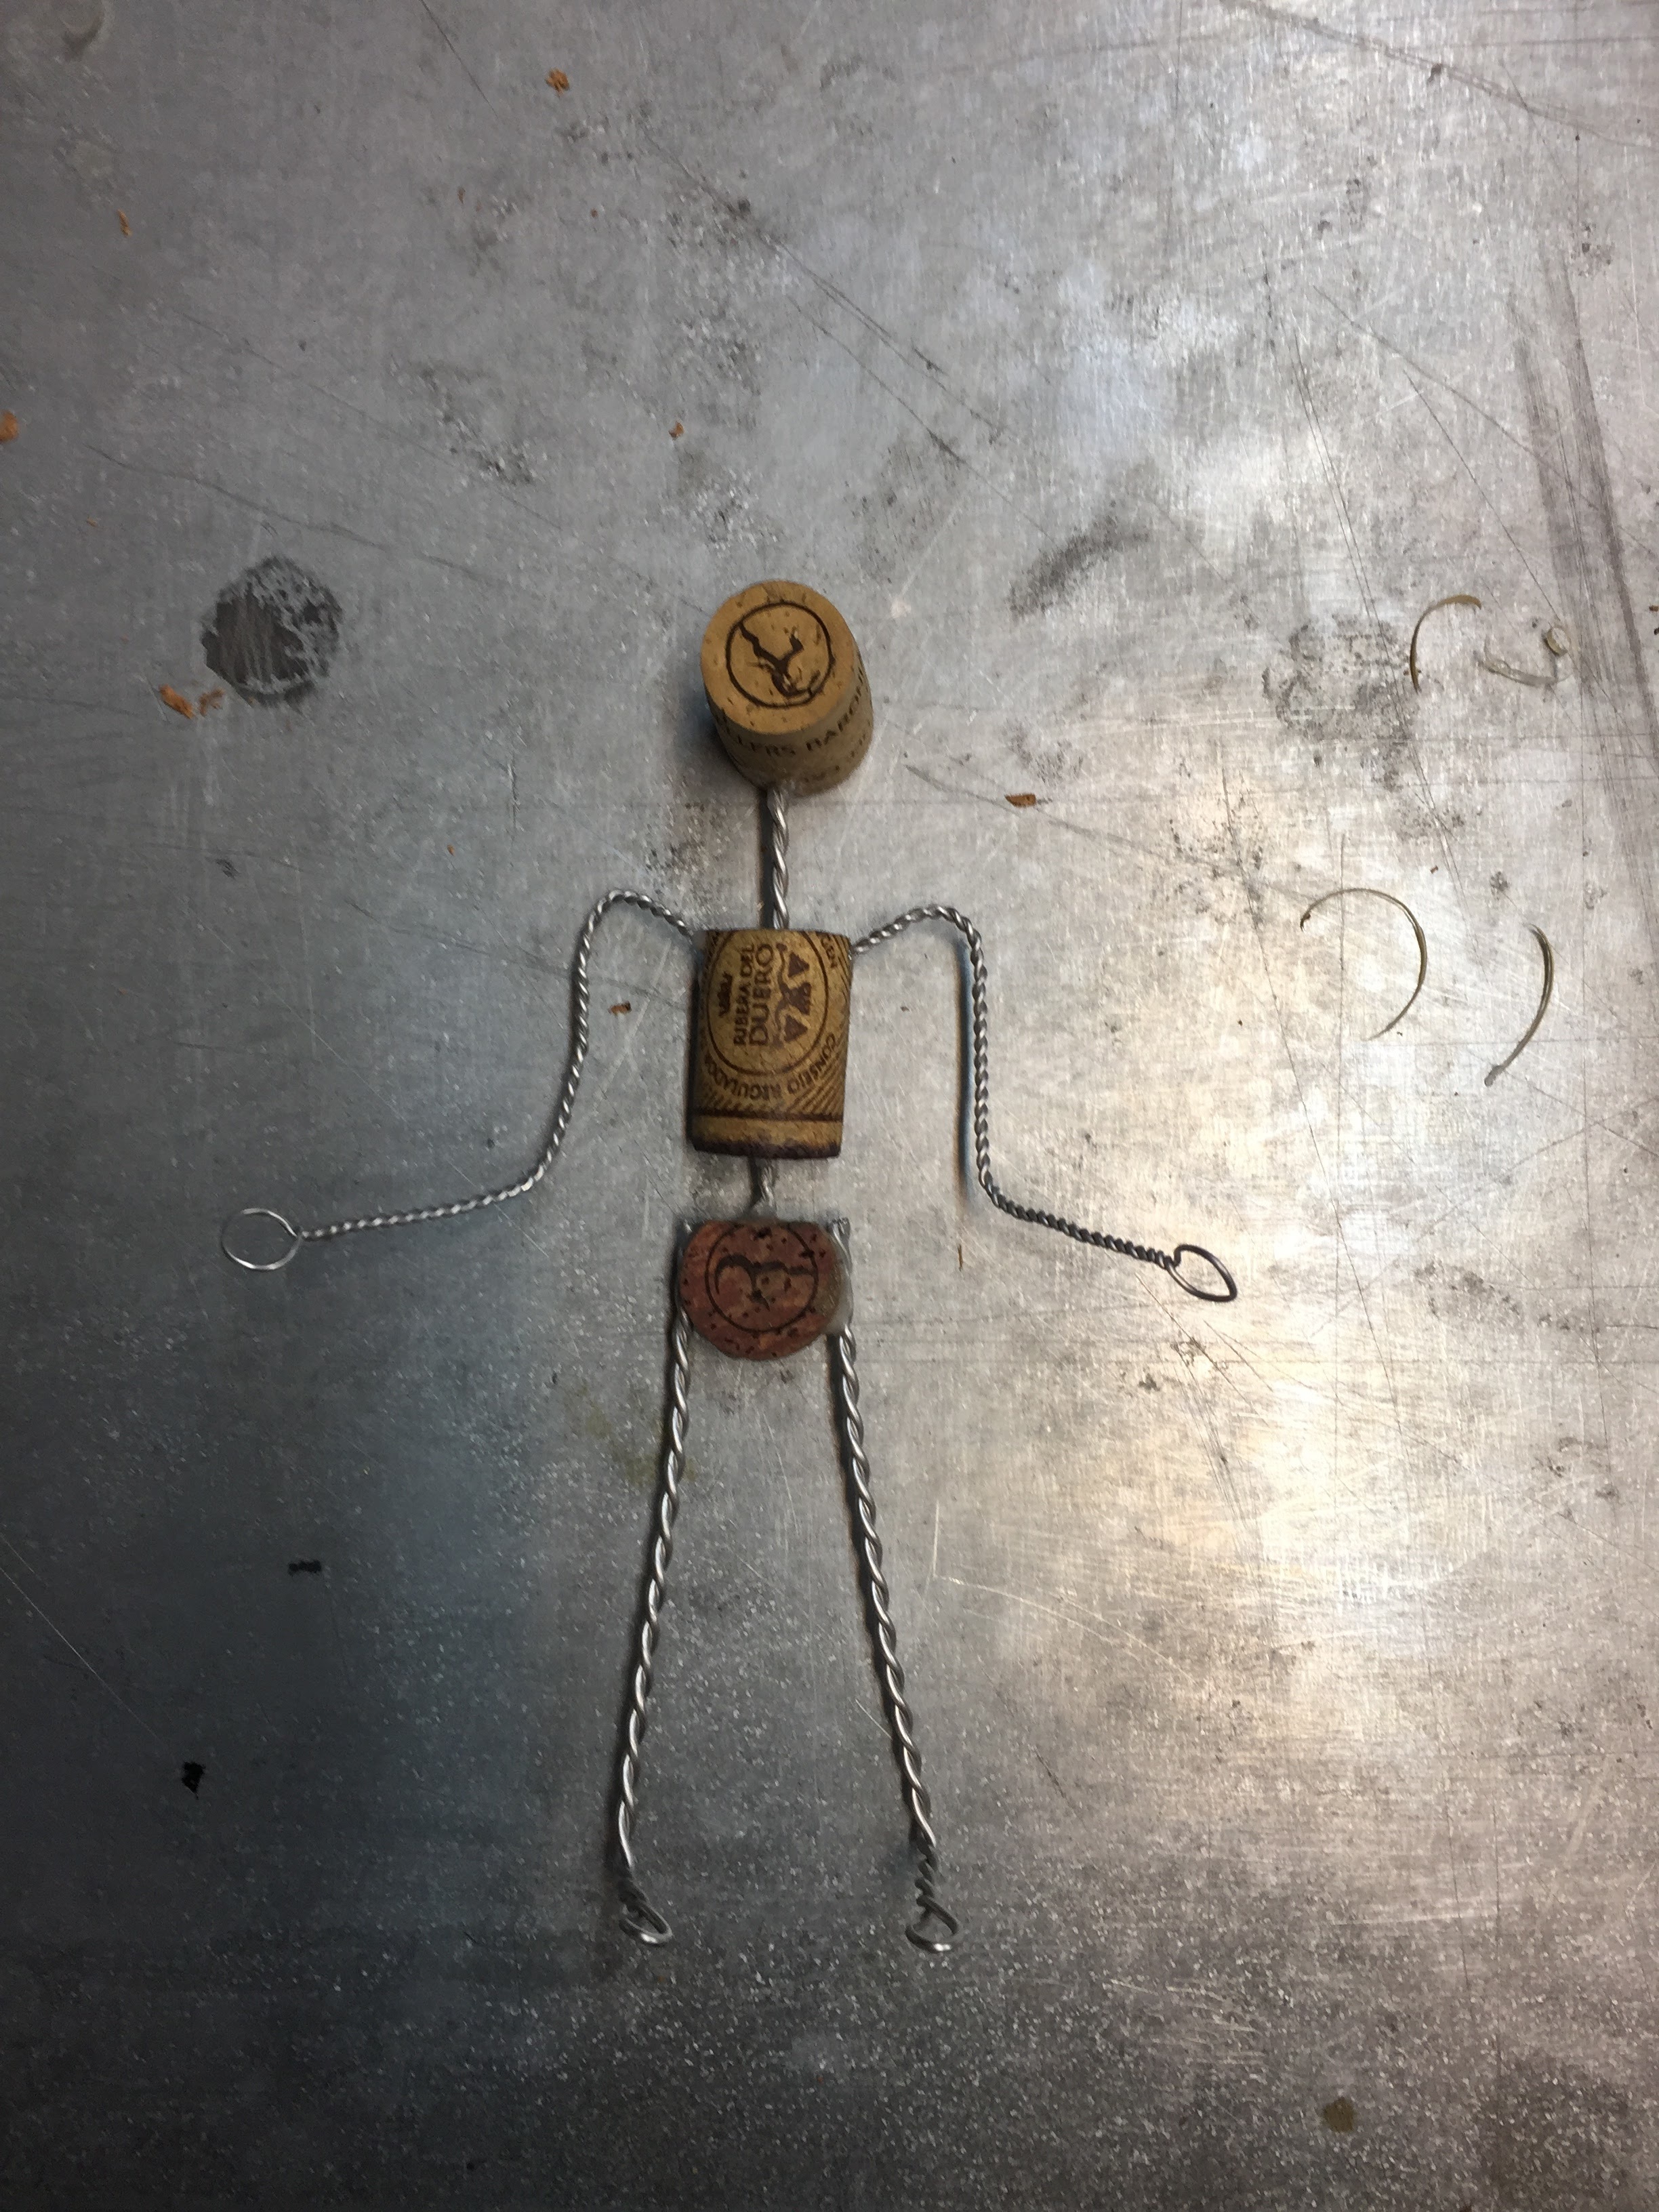
Cork Armature
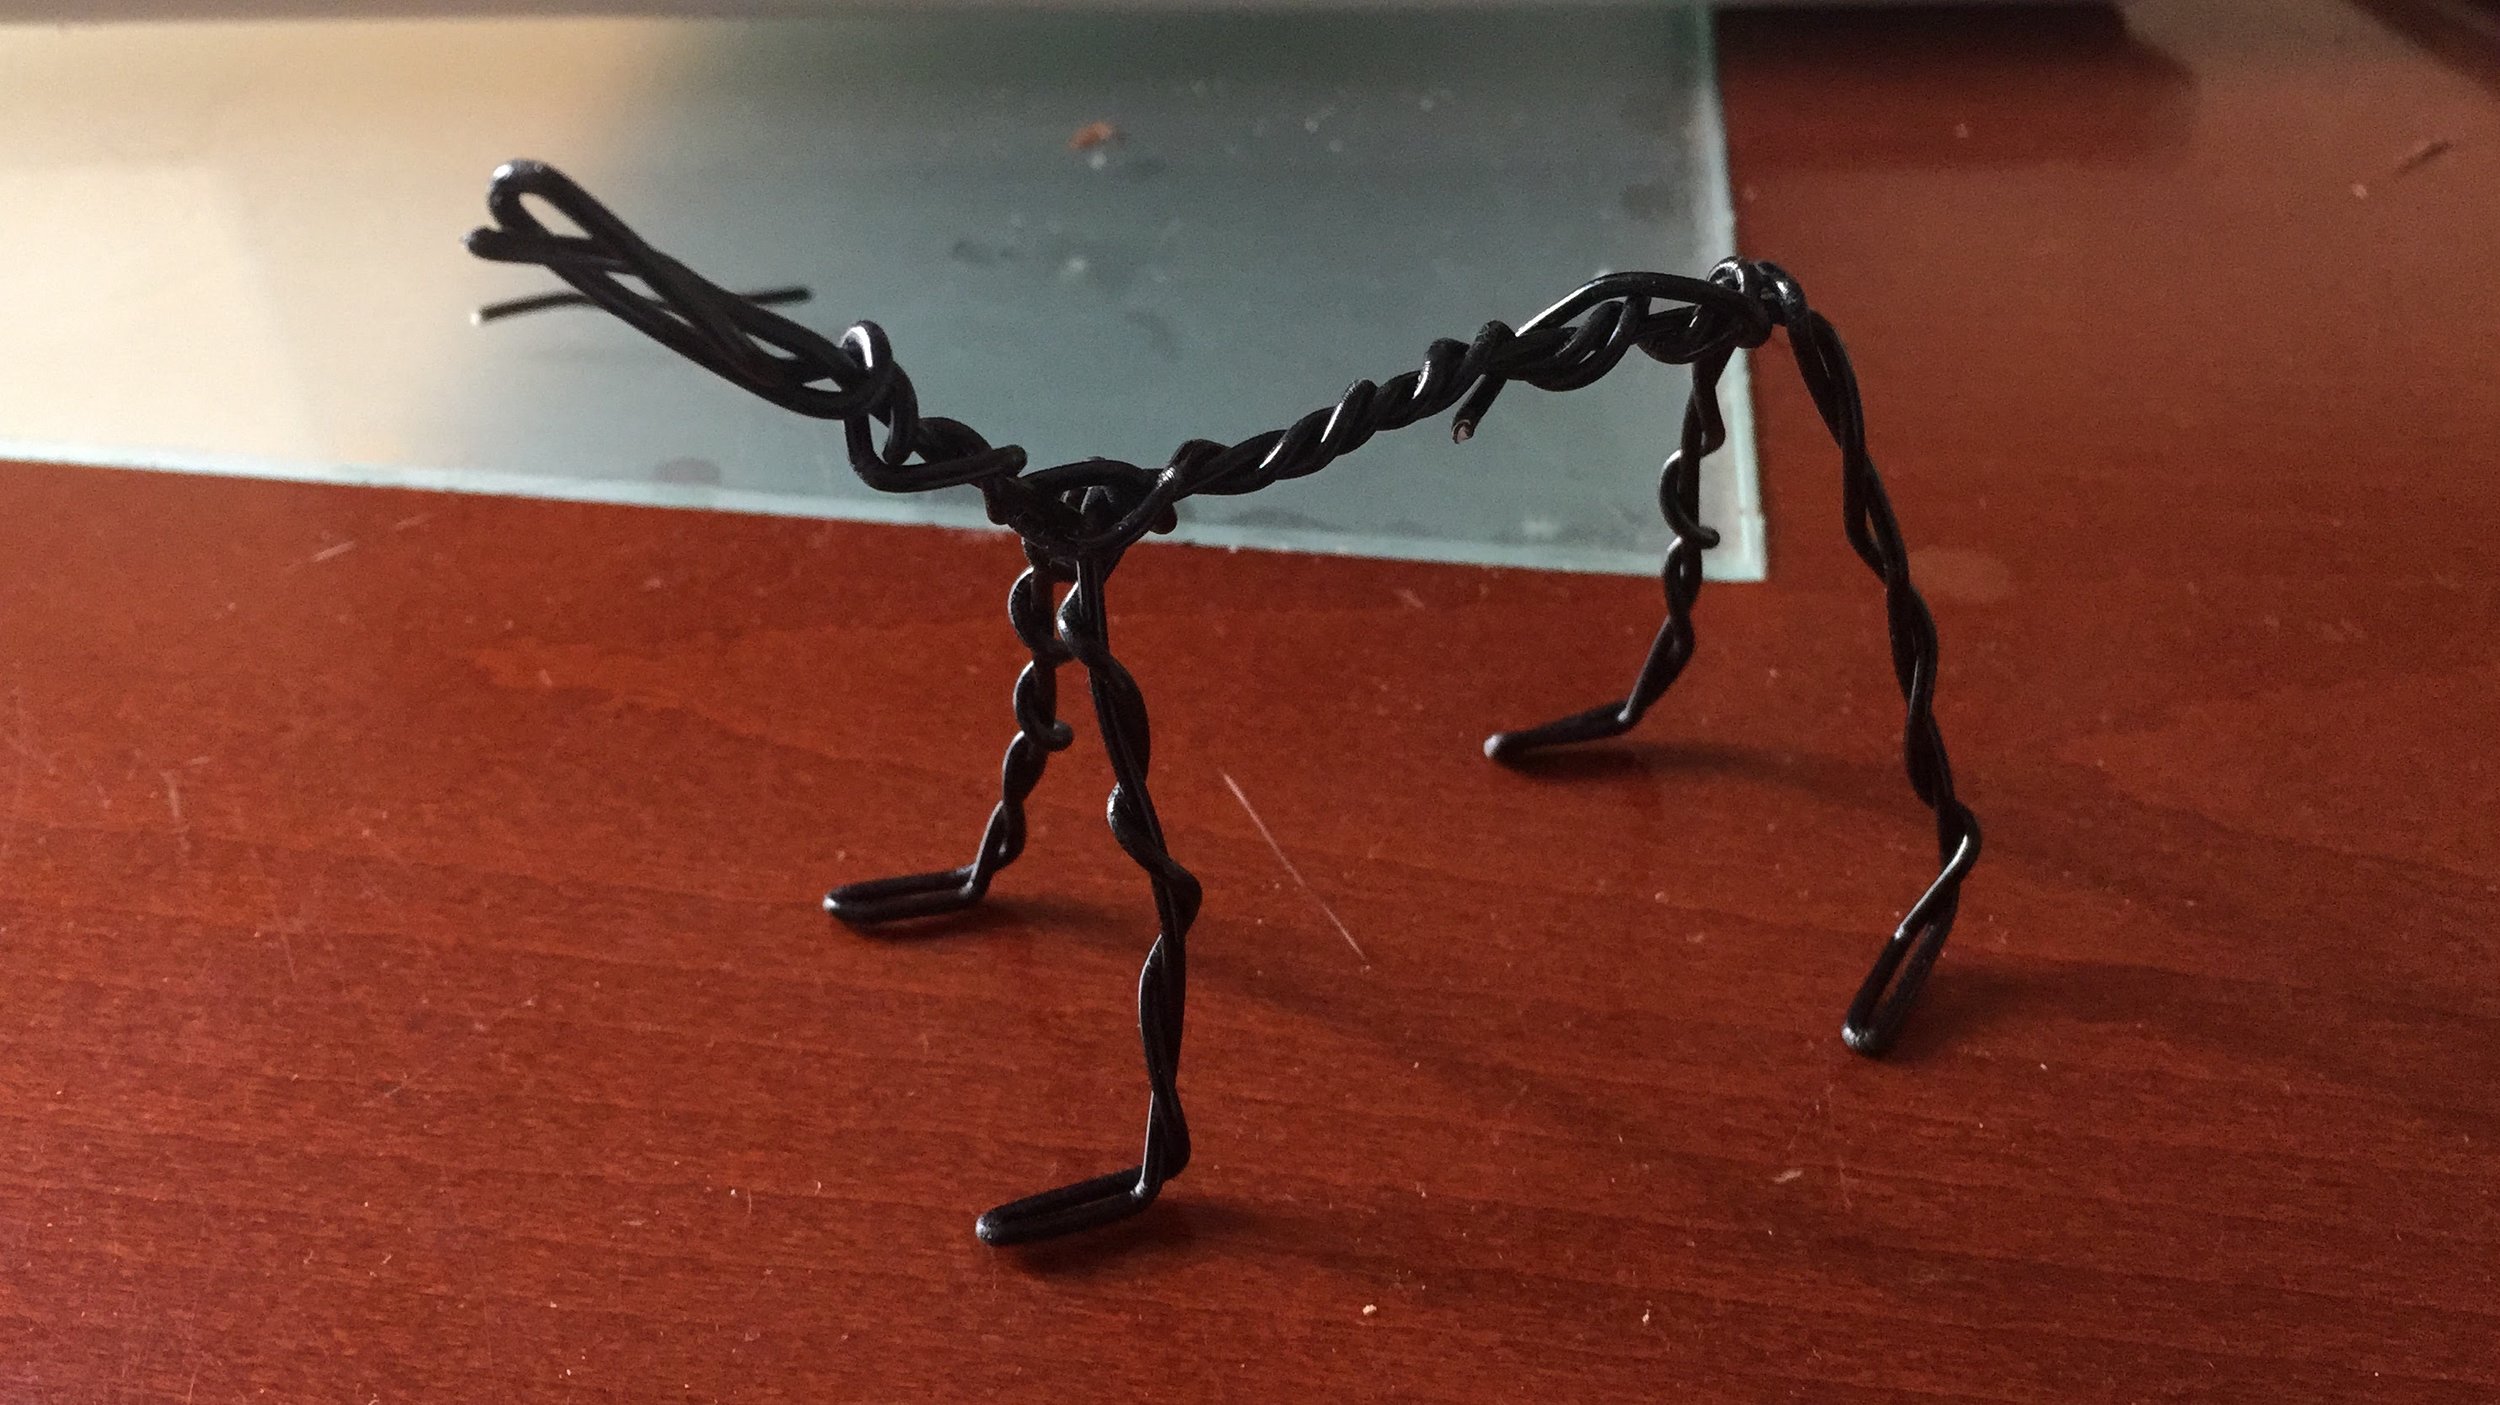
Here's an example of a simple armature that can be done very quickly and is great for beginners who want to directly jump to animation tests. All you need is two wine corks, some animation wire, glue and basic tools.
This armature is only to have fun animating. You can't build a character over it but you can give it a lot of attitude!

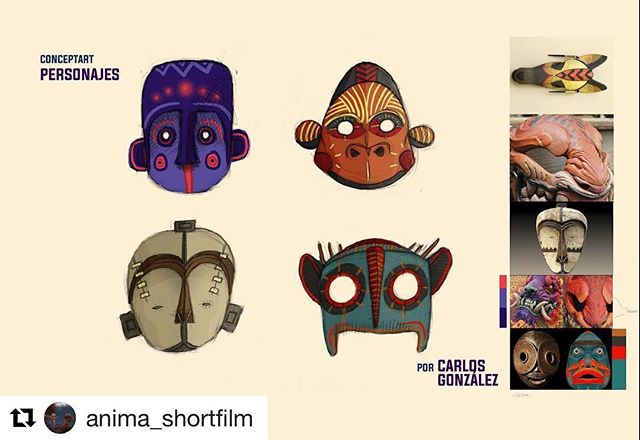
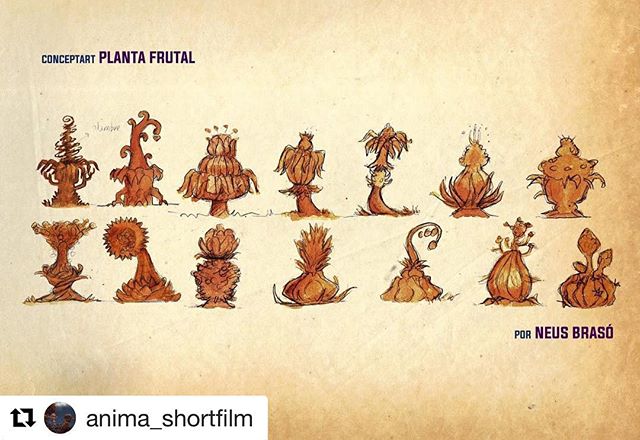
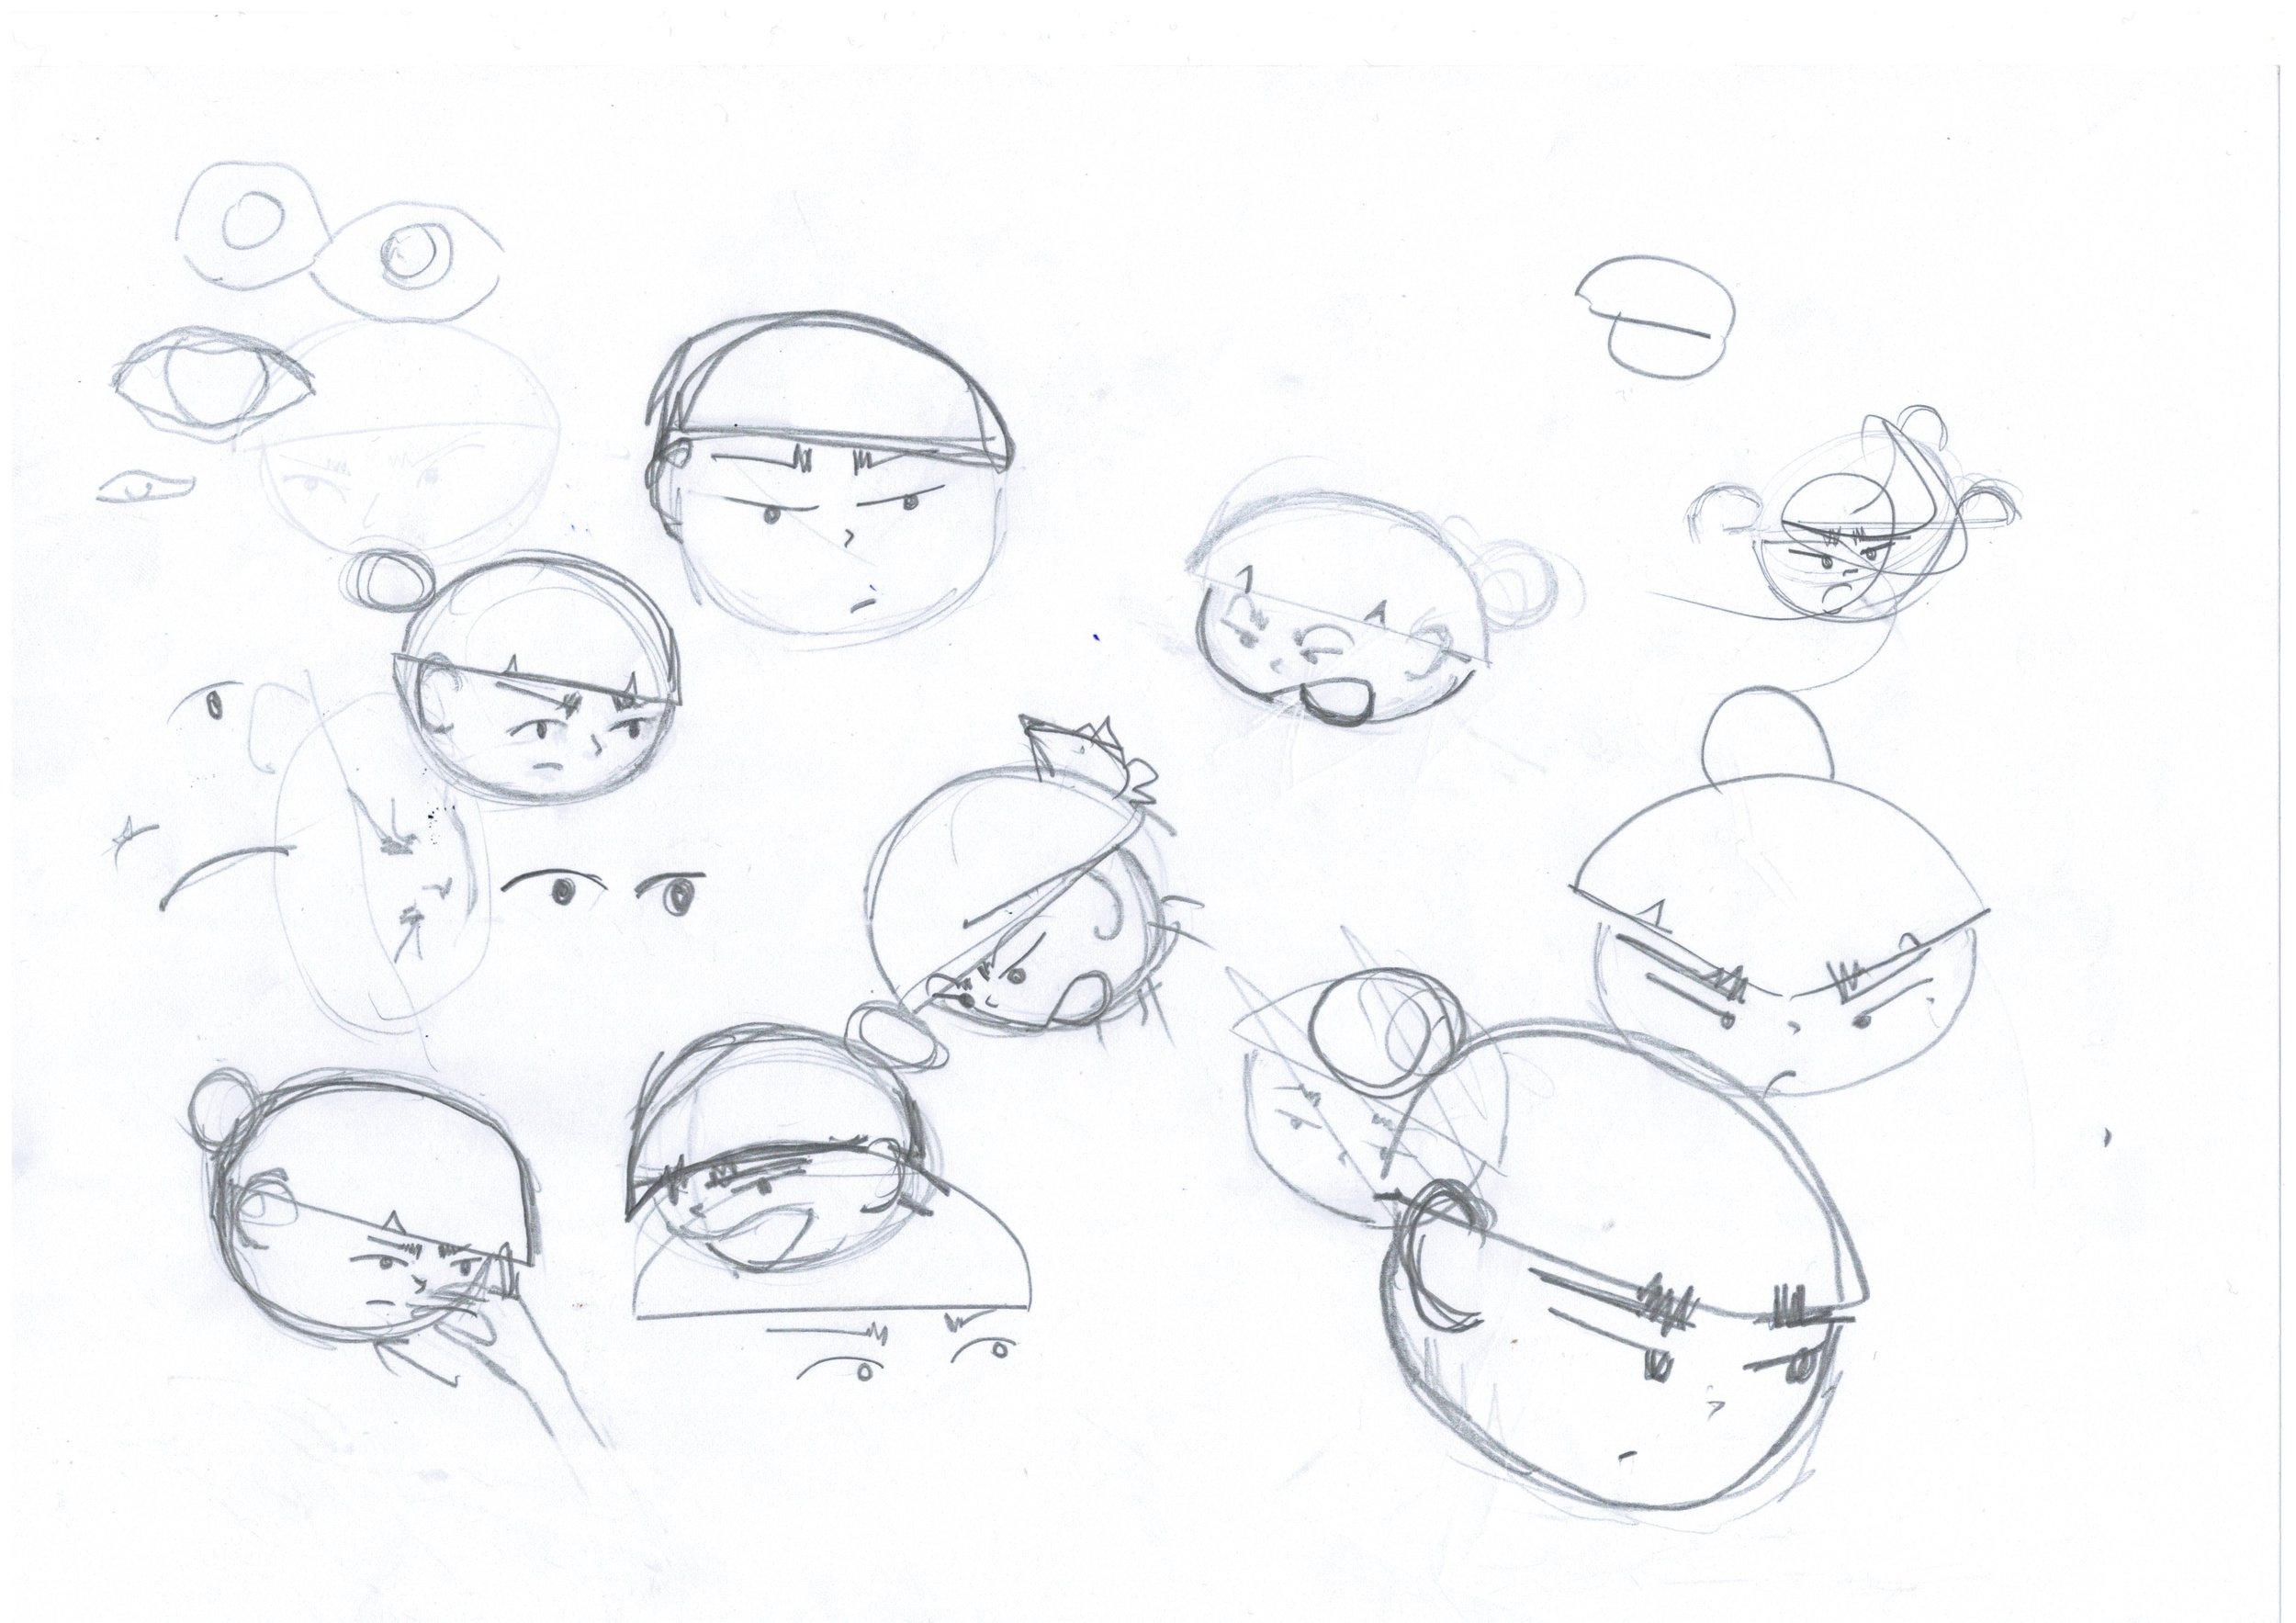
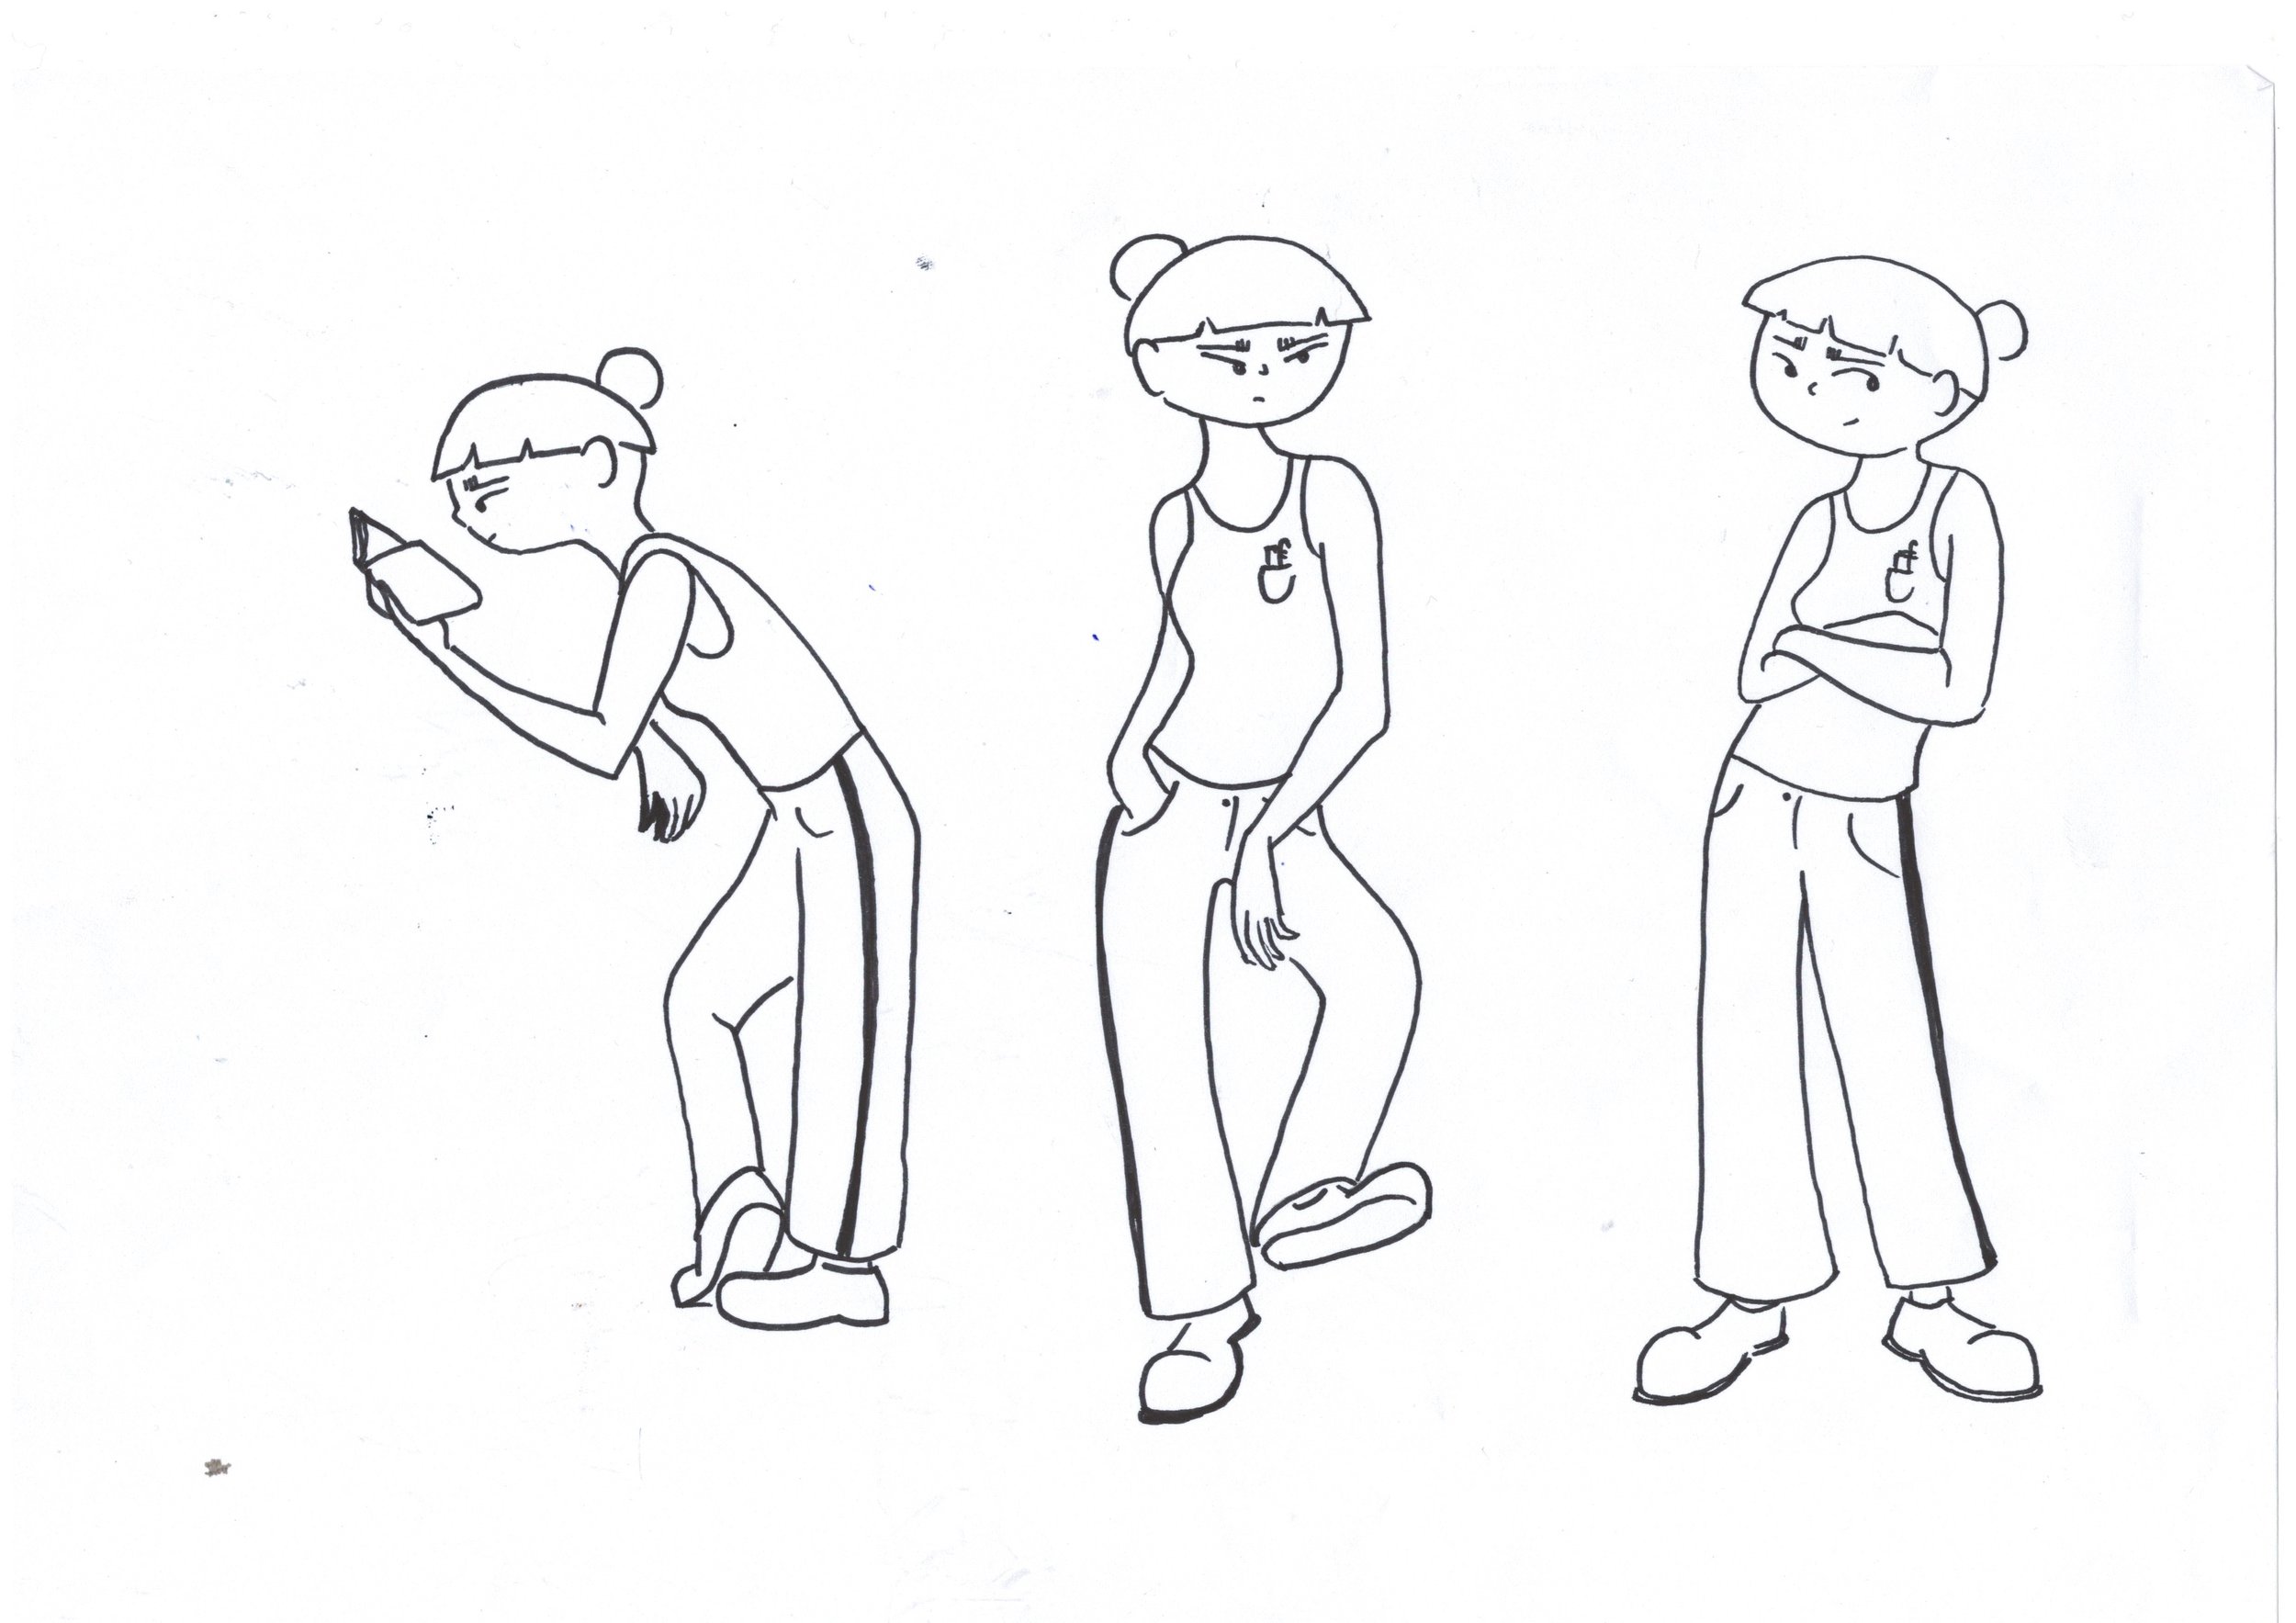
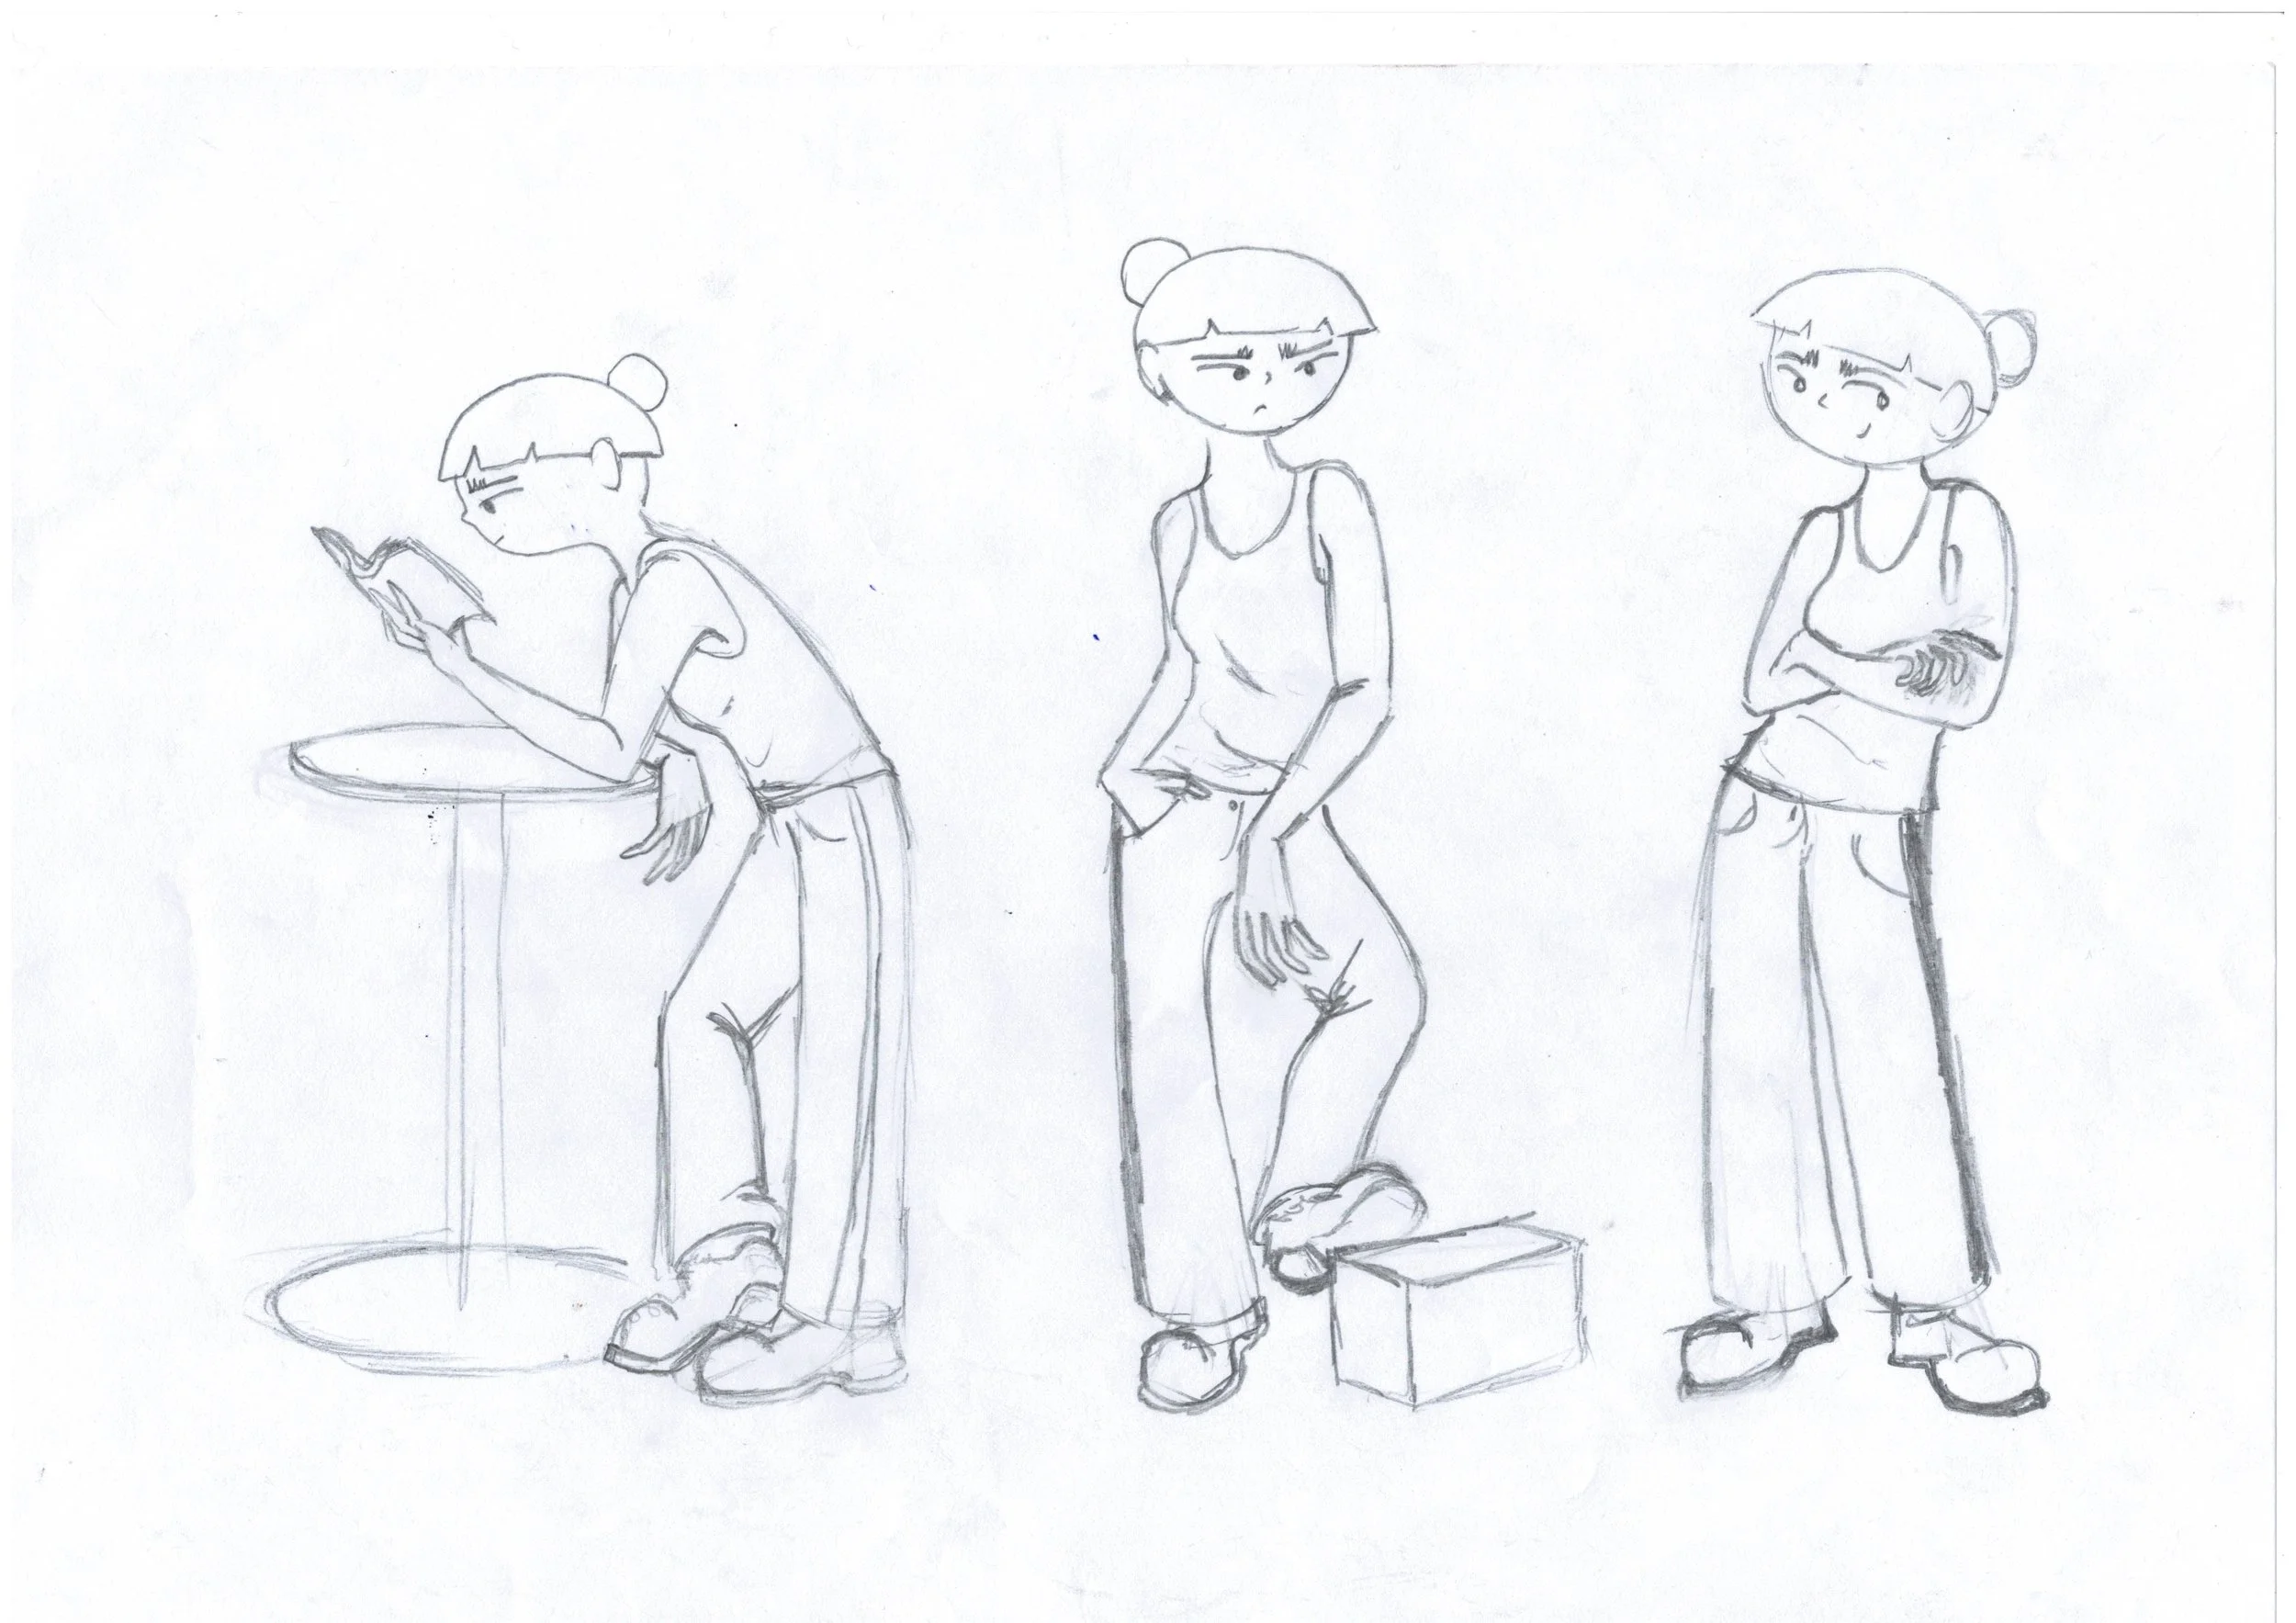
Character Design
Character design exercise.

Making of Maskoon Trailer
Making of the Maskoon Stop Motion Trailer (2016) at ALBA. Making of by Amandine Brenas
2D Animation Various
Jump with feather overlap.

Personality Walk.

Vanilla Walk.

Motion graphics Jump using Duik rig. Design of the character was given.
A Rabbit and a Flying Pig, Flash 2D, Morph done in 4 hours.
Making Of Cercles Brisés
This is a short Making of Cercles Brisés my end of year film at ALBA (Académie Libanaise des Beaux-Arts)
Sculpting
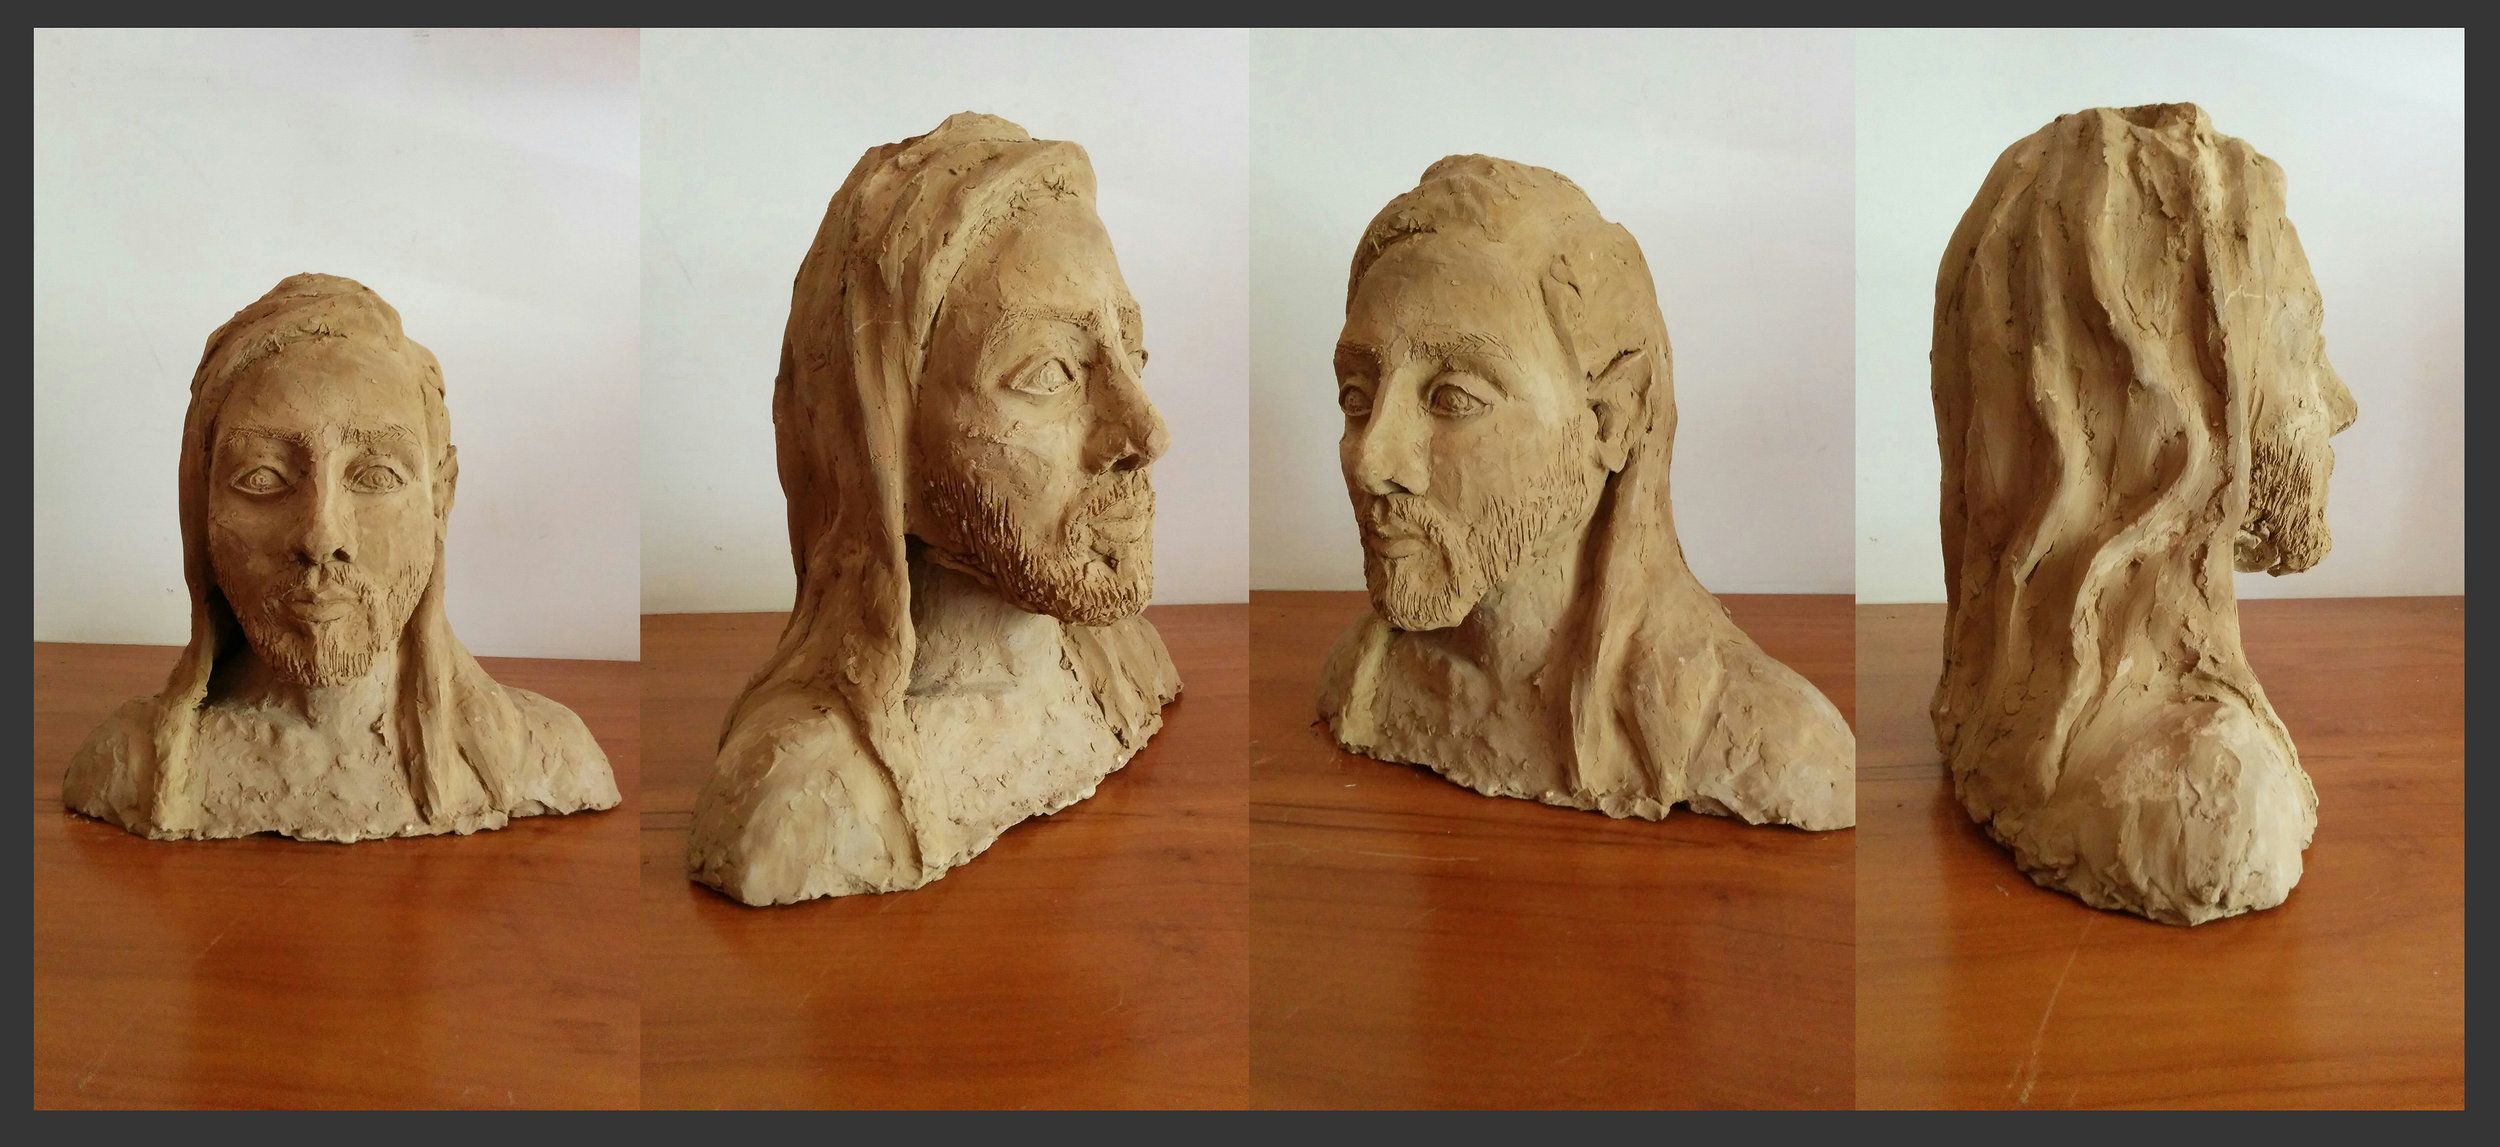
Aly
Clay, 40x50cm
Portait modeled by hand.
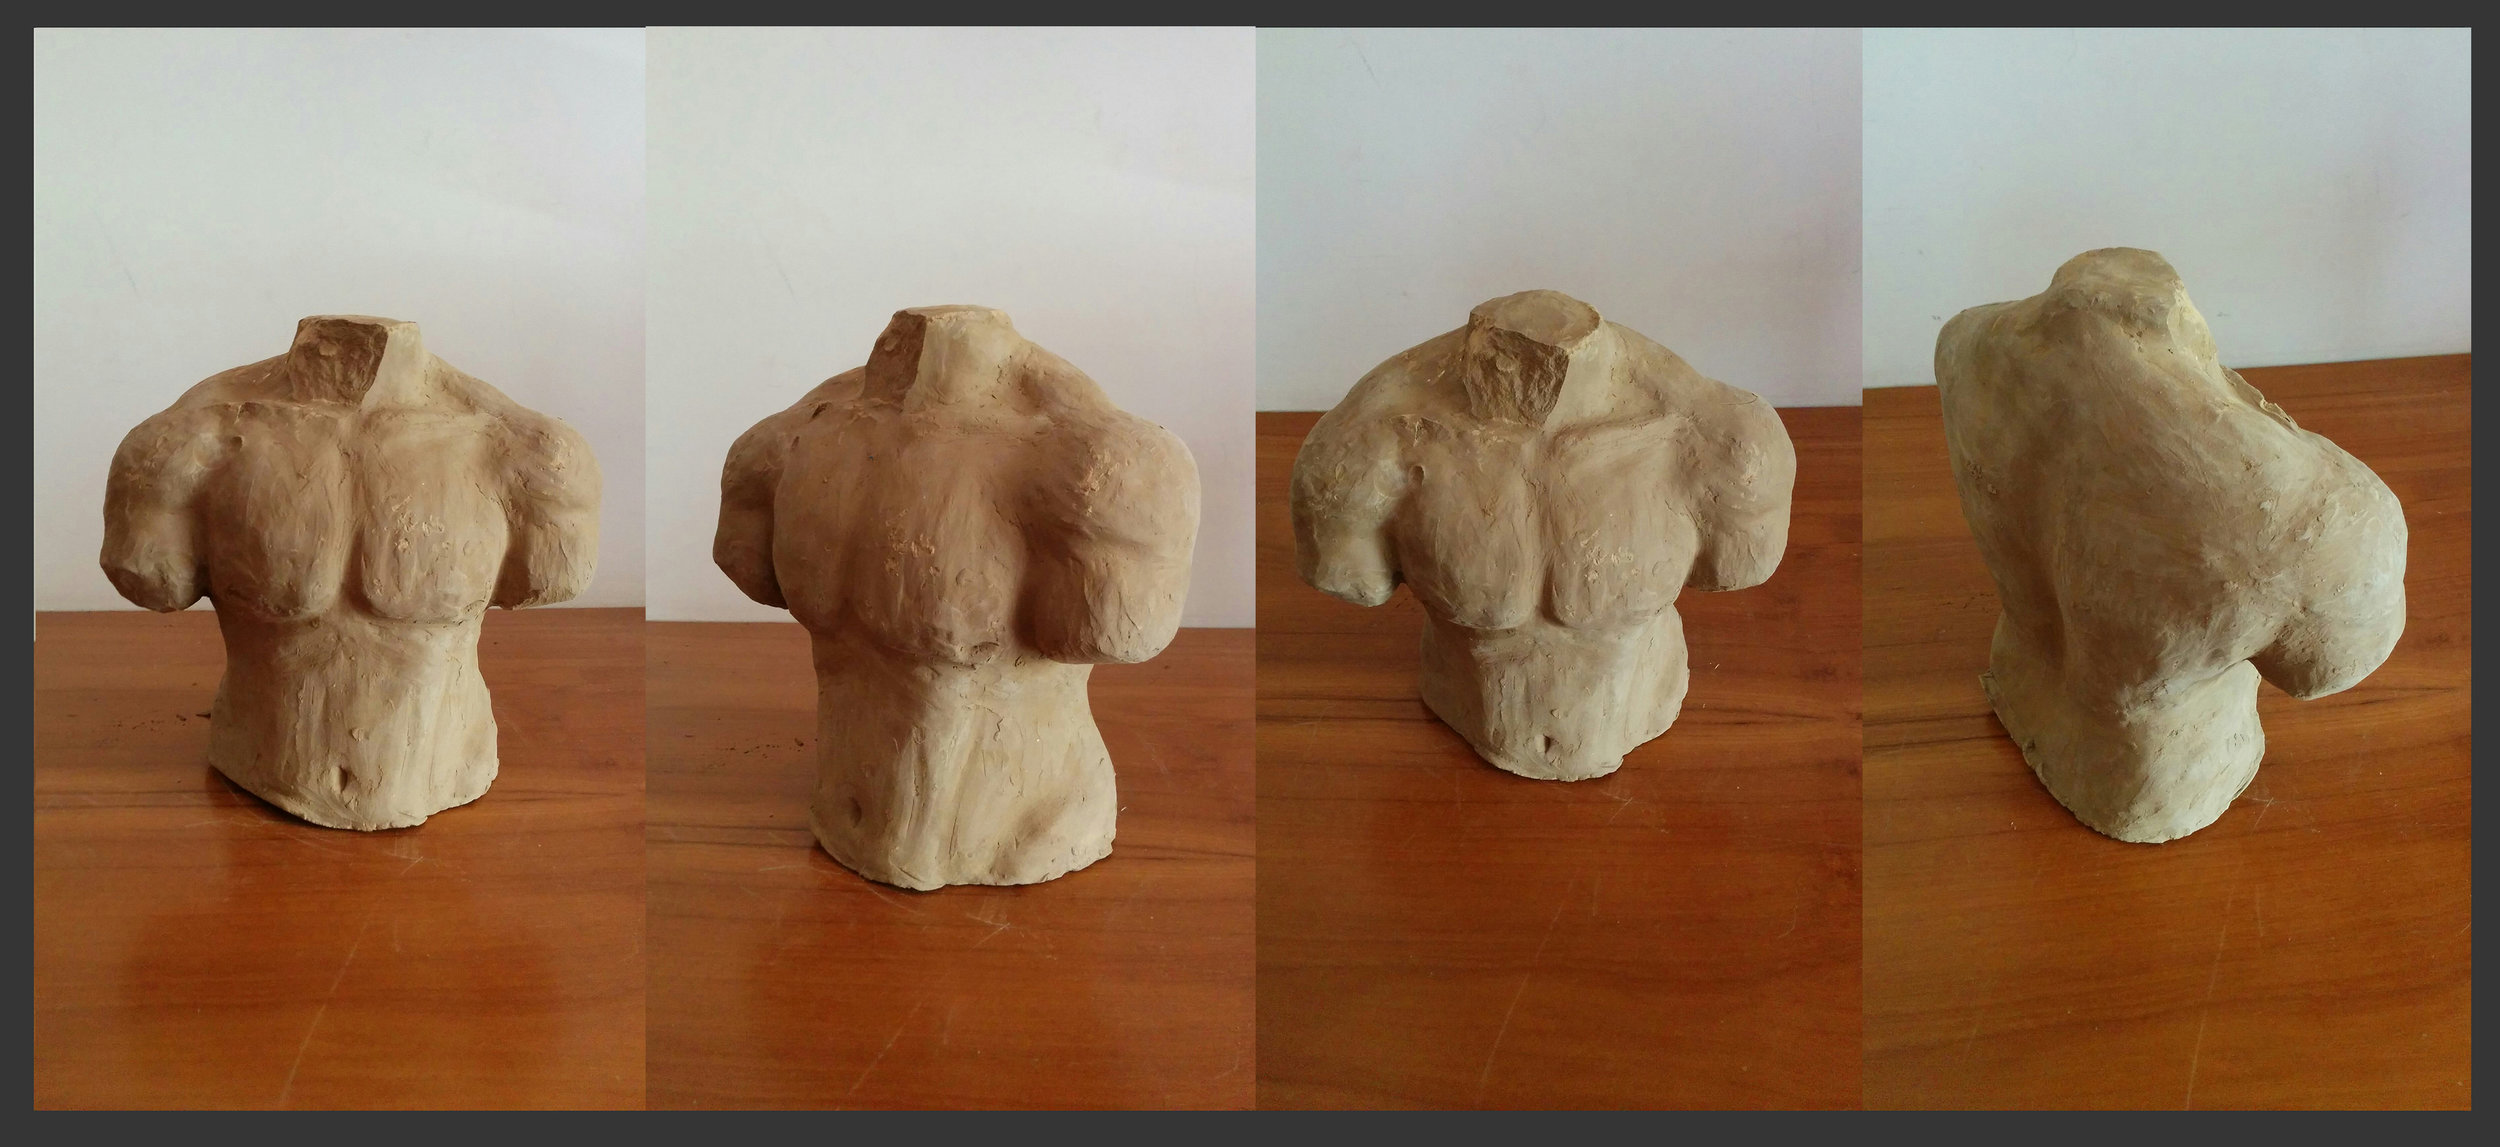
Clay, 30x35cm
Live Model Torso modeled by hand
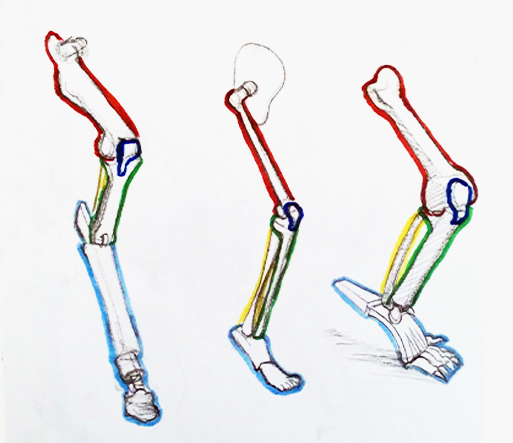
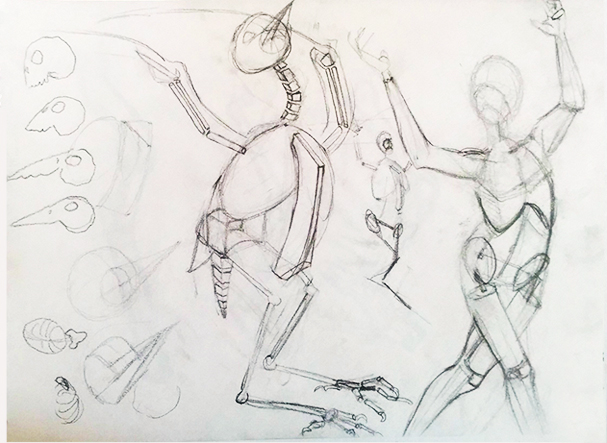
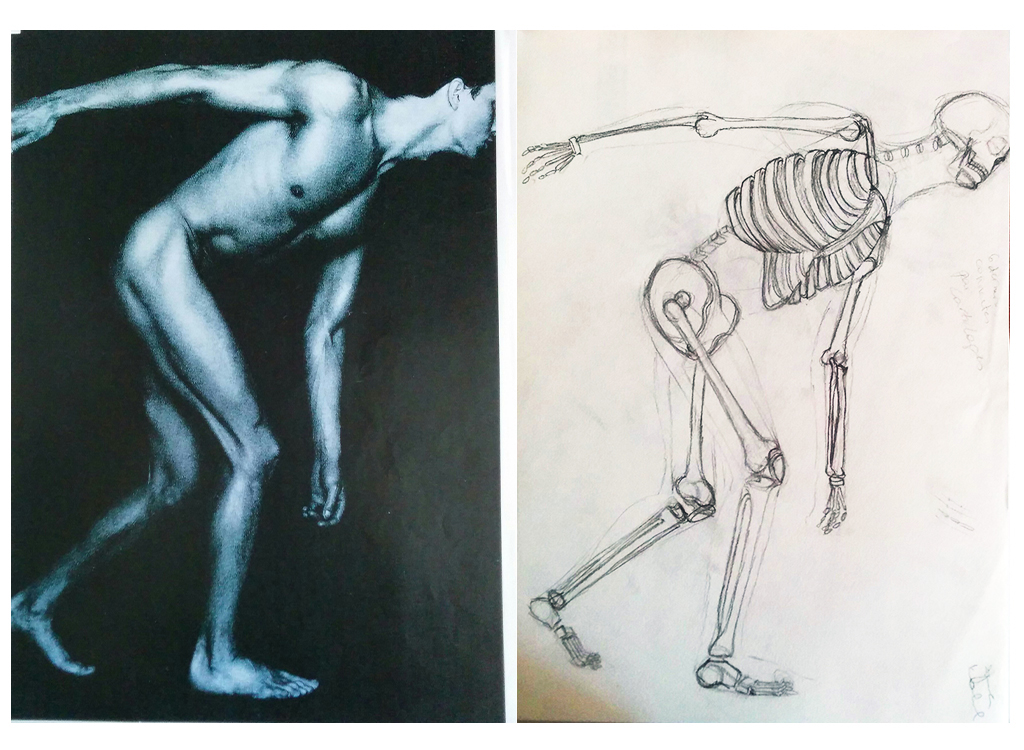
Anatomical Sketches
Here are some anatomical studies and sketches I did while at ALBA. Worked a lot on skeletons and bones and comparisons between the human form and animal anatomy.
Making of Teshwish
5-day Stop-Motion Workshop at ALBA supervised by Regina Pessoa and Abi Feijó. Making of تشويش - Teshwish (2015) and other shorts. Making of by Amandine Brenas.